Client Configuration
Overview
There are a number of ways to configure RustDesk Clients to use your own self-hosted server, we will cover some below.
1. Custom client generator (Pro only, basic plan or custom plan)
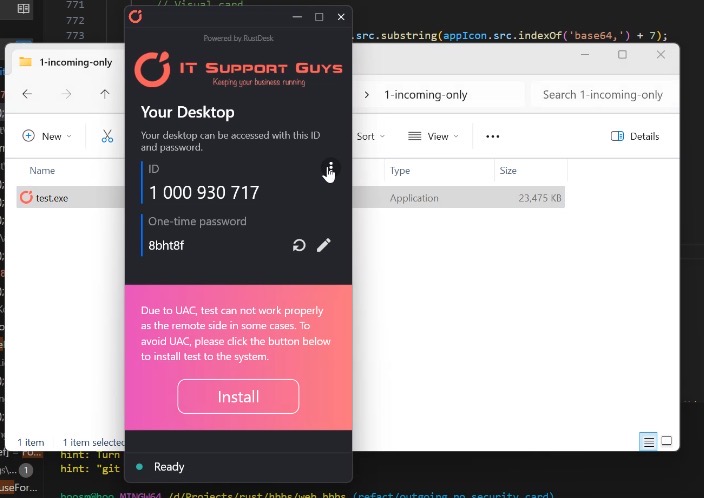
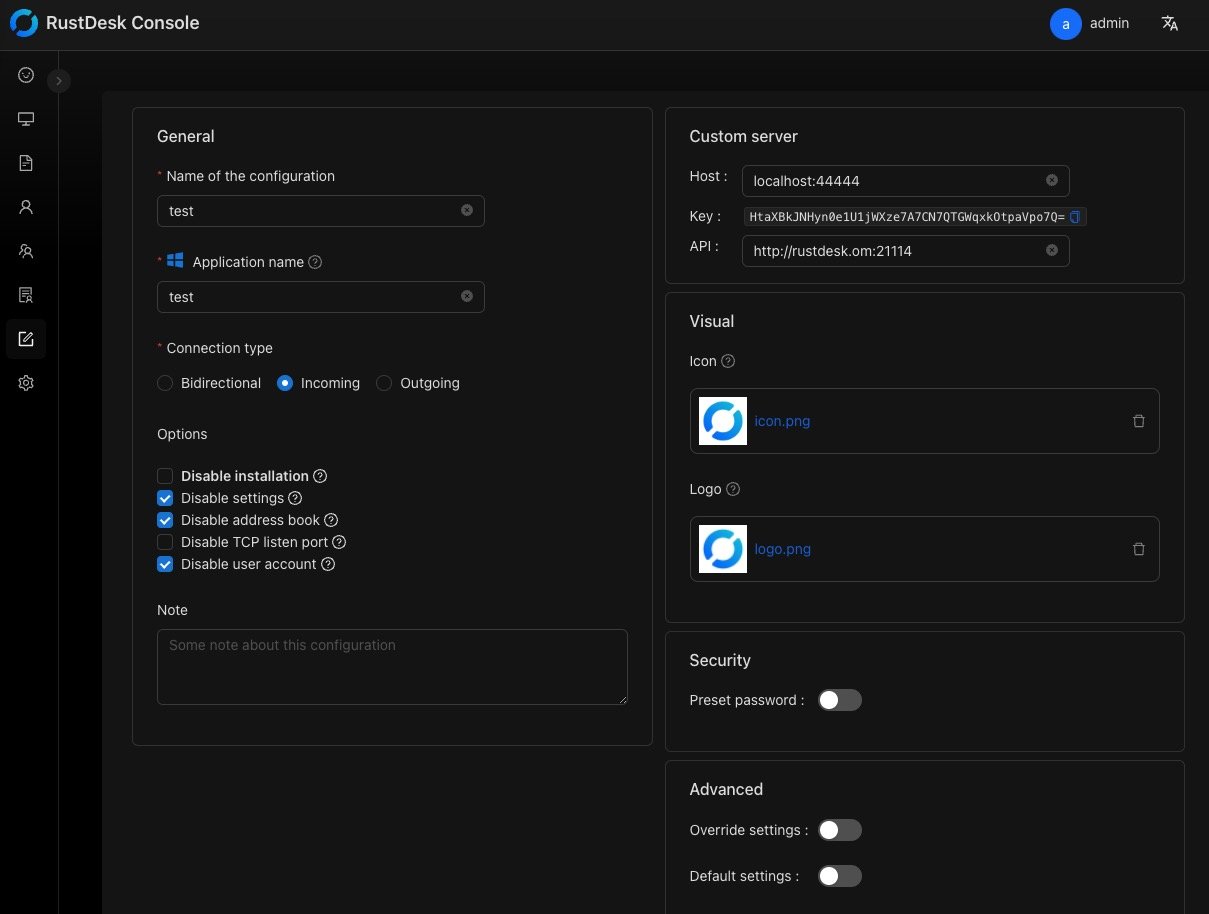
You can have your own name, logo, icon, configuration, be signed and more.
Currently, Windows X64, Mac Arm64 / X64, Linux, Android Arm 64 are supported.


2. Manual Config
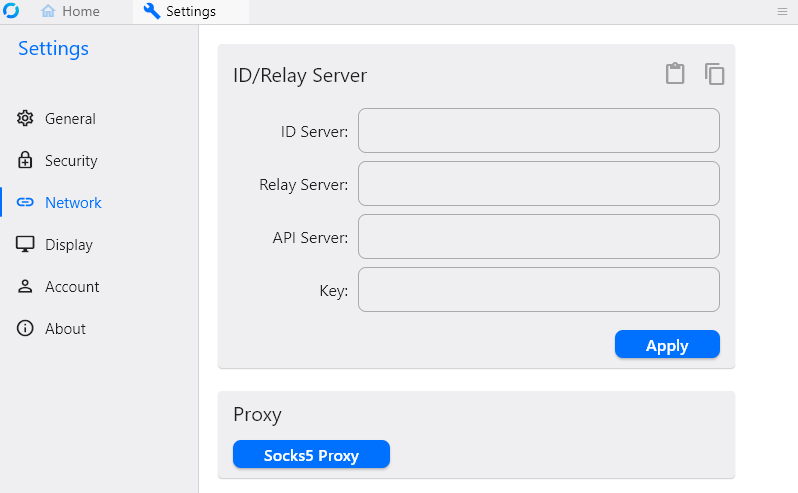
In the main RustDesk Client home click on the Menu button [ ⋮ ] next to your ID then click on Network, you can now unlock the settings using elevated privileges and set your ID, Relay, API and Key. It’s important to note that this Key is the public key used for connection encryption, distinct from the license key provided with your Pro version purchase.

Enter the hbbs host or IP Address in the ID Server input box (local side + remote side). The other two addresses can be left blank, RustDesk will automatically deduce (if not specially set), and the Relay Server refers to hbbr (port 21117).
e.g.
hbbs.example.comor
hbbs.example.com:21116Set Key
In order to establish an encrypted connection to your self-hosted server, you need to enter its public key. The key is usually generated on the first run of hbbs and can be found in the file id_ed25519.pub in your working directory / data folder.
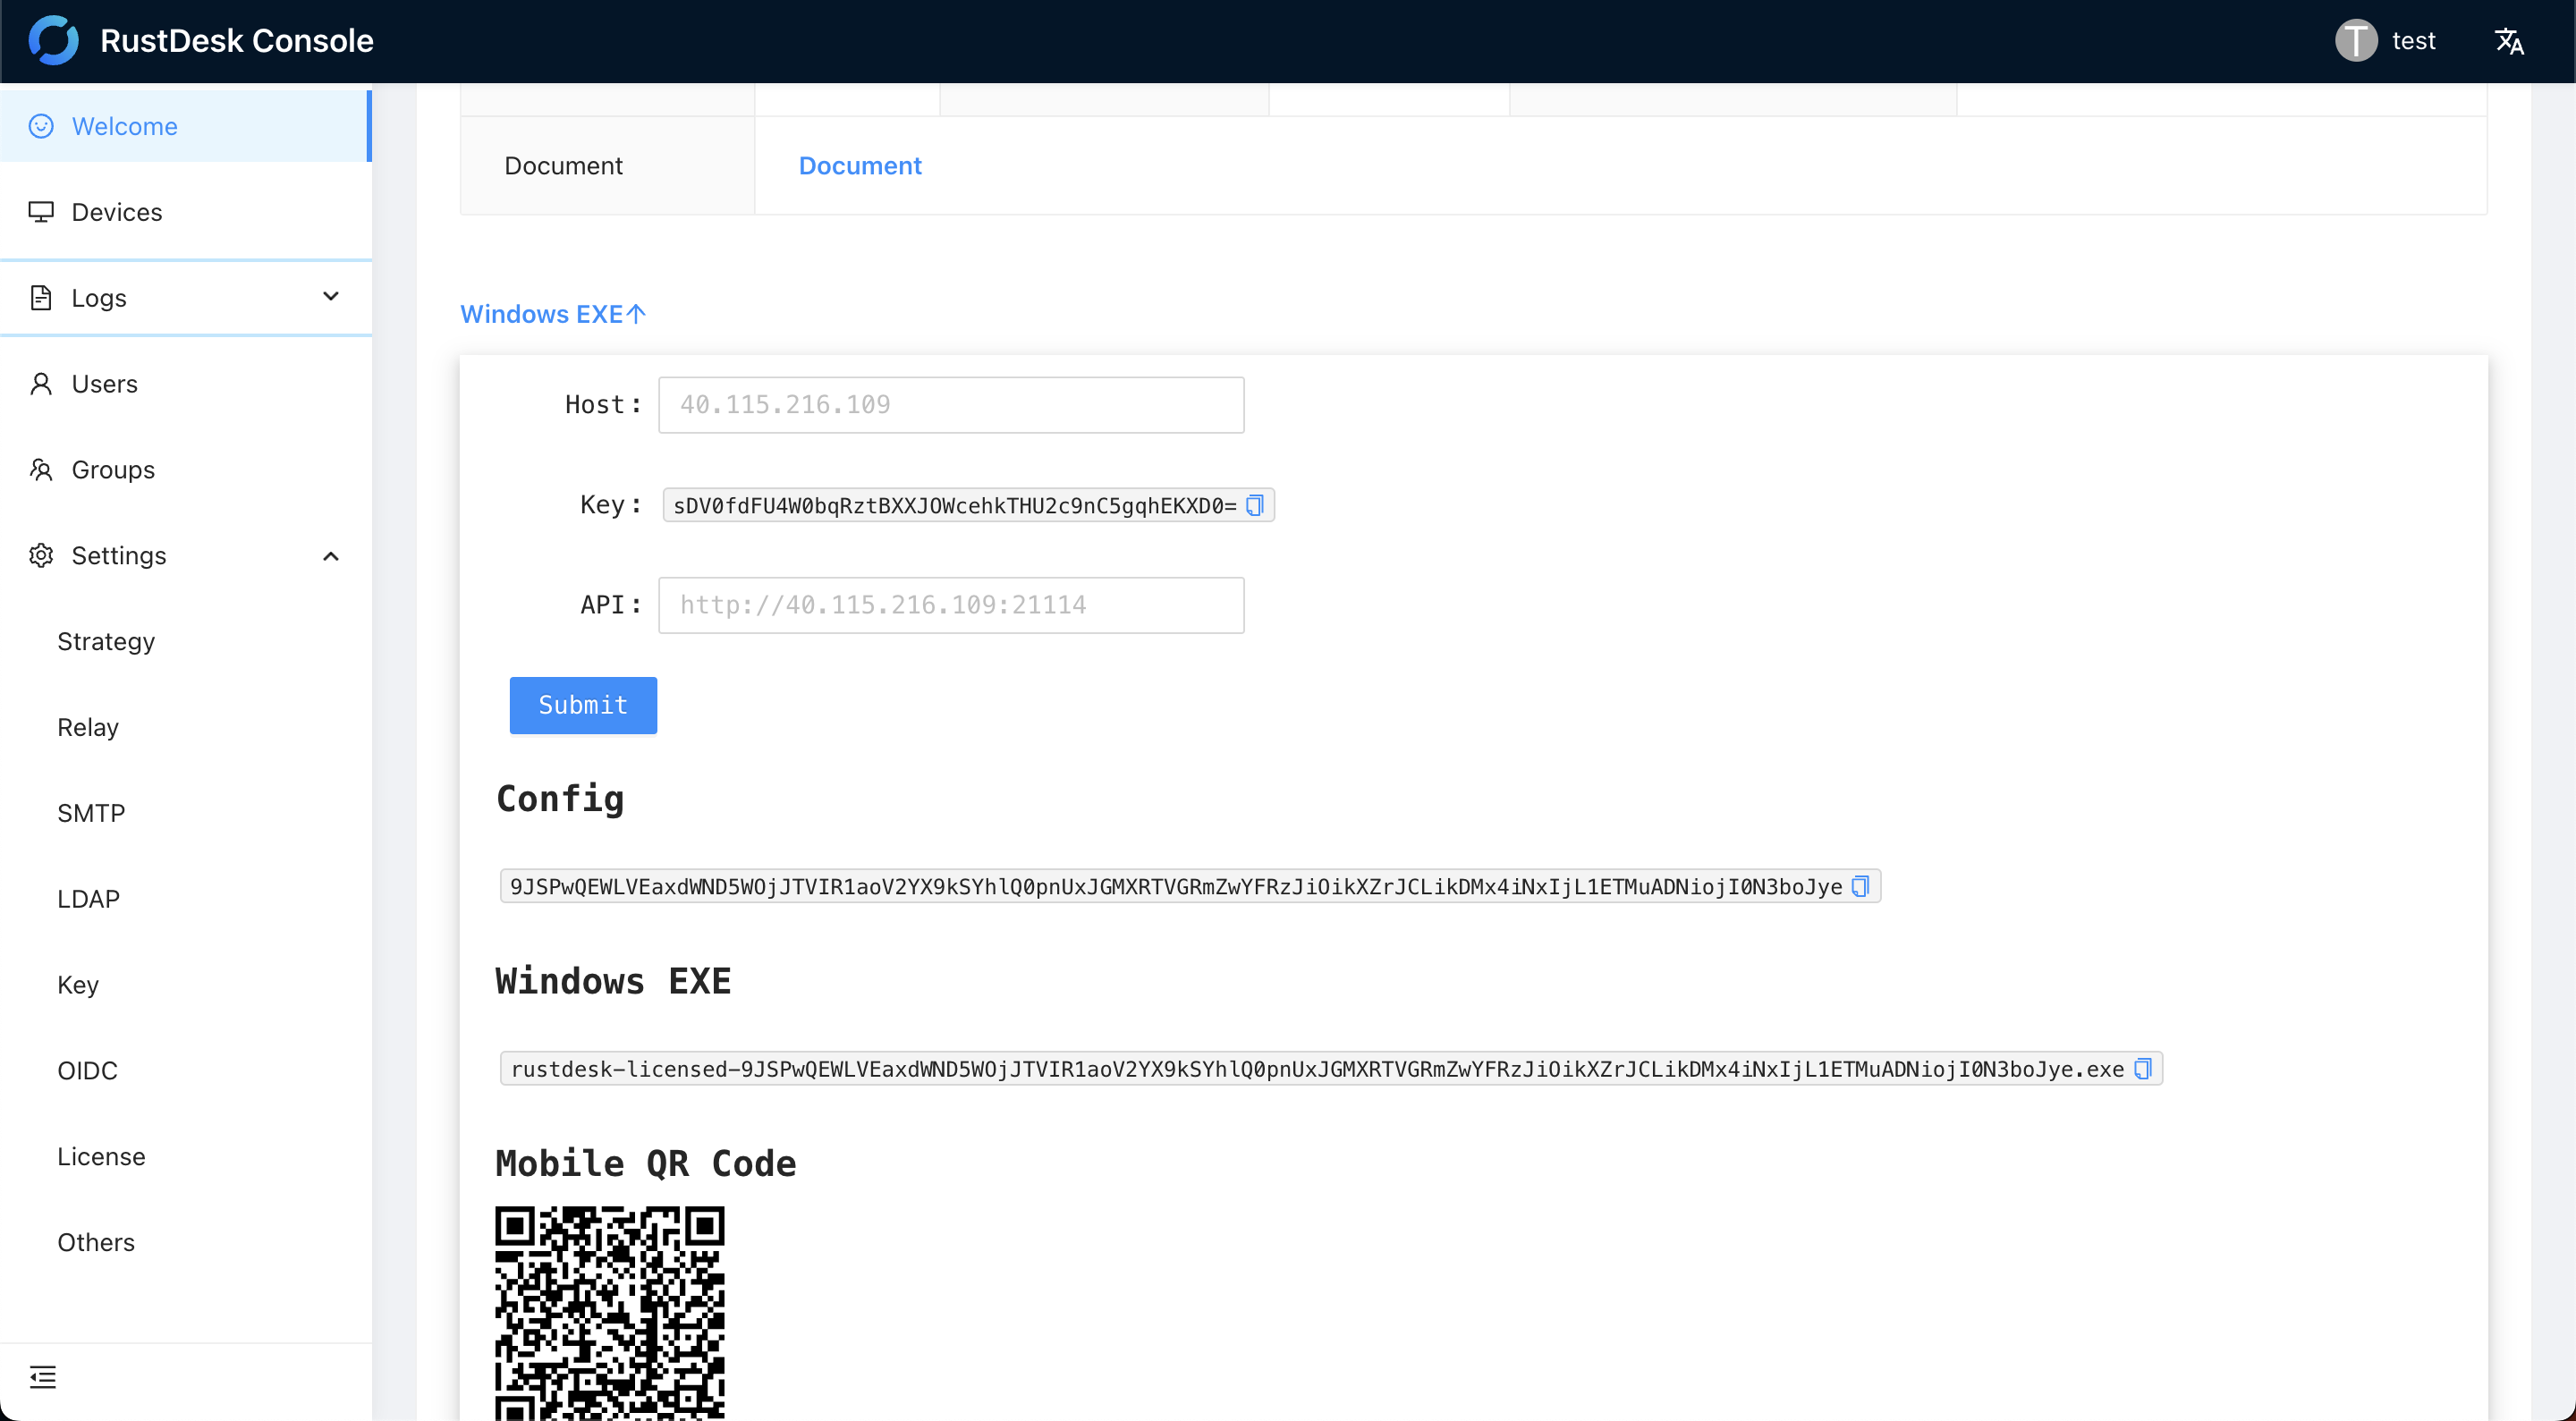
As a Pro user you will additionally be able to retrieve the Key from the web console.

Set API Server
This is for Pro user only. When you can log in on web console, but fail to log in on RustDesk client, it probably you have not set API Server correctly.
If your API Server does not run on default 21114 port (you may not add this port to firewall if you come from open source version), please specify API Server explicitly.
e.g. your API Server runs on default HTTPS port, please specify API Server with https://hbbs.example.com.
If you still can not confirm the value of API Server, please go to the welcome page of web console, the API Server is shown in above picture (The input box with API: label).
3. Setup Using Import or Export
- Use the steps above to configure RustDesk Client on a Device.
- Using the above machine go to Settings then Network and unlock.
- Click on
Export Server Config. - Paste the copied string into Notepad or similar.
- Go to new client, copy the above to clipboard.
- Go to Settings then Network in RustDesk Client, unlock and click
Import Server Config. - It will automatically paste the settings in.
- Click
Apply.
4. Automatic Config
The easiest way to setup automatically is using deployment scripts found here.
5. Import config from Pro via clipboard

https://github.com/rustdesk/rustdesk-server-pro/discussions/372#discussioncomment-10473298
6. Use command line --config
rustdesk.exe --config <config-string>
You can get the config string from web console (you can see it on above picture) or from RustDesk client “Settings → Network” (here is a discussion about this).