NAT Loopback issues
Note
NAT loopback, also called hairpin NAT, becomes a problem when devices on the same LAN try to reach your self-hosted RustDesk server through its public IP address or domain name. This guide explains why that happens and how to fix it with router support, local DNS, or hosts file overrides.
Quick answer
If your self-hosted RustDesk server works from outside the LAN but fails when clients on the same LAN use the public IP address or domain name, NAT loopback is usually the cause. The best fix is to enable hairpin NAT on the router when available. If that is not possible, use local DNS. A hosts file override is the fallback for a small number of devices.
Which fix should you choose?
| Fix | Best when | Tradeoff |
|---|---|---|
| Enable NAT loopback on the router | Your router supports hairpin NAT | Best long-term fix, but not all routers expose the setting |
| Use local DNS on the LAN | You manage multiple devices on the same network | More scalable than editing every device manually |
| Add hosts file entries | You only need to fix a few devices | Manual and easy to forget on laptops or roaming devices |
For more details about NAT Loopback, please check the Wikipedia page.
When you’re deploying RustDesk server on your home network or any other network environment that is behind a NAT firewall, the RustDesk server and your clients MUST either: A: Use the local ip addresss to access each other OR: B: Have a firewall that supports and has enabled the NAT Loopback.
You may notice you are unable to connect to your server through your Public IP or Domain (Which in theory points to your public IP).
Problem
In this example we will follow what happens when LAN devices try connecting to rustdesk.example.com. Assume your router’s public IP will be 172.16.16.1, the LAN IP of your server is 192.168.11.20 and the domain you desire is rustdesk.example.com, and you have a client using ‘192.168.11.2’.
When you setup a server behind the router’s NAT you can add a port forward in the router to change any incoming messages to the PUBLIC IP 172.16.16.1 to go to the server at 192.168.11.20
When a LAN device wants to access the internet, say a webserver on 8.8.8.8, it sends the request as coming from 192.168.11.2, and sends it to the router. The router will intercept that request and will rewrite that request to 8.8.8.8 as coming from 172.16.16.1. When 8.8.8.8 replies to 172.16.16.1 the router will check for a previous conneciton and re route that responce back to 192.168.11.2.
If the user at 8.8.8.8 sends a message to our network using 172.16.16.1 the port forward rule will rewrite the destination of 172.16.16.1 to the server at 192.168.11.20 leaving the source of the request as 8.8.8.8 so the server can respond (more or less) direclty to 8.8.8.8.
If the user at 8.8.8.8 decides to try to hack our network and claims to be sending it’s messages from 192.168.11.2 the router knows that traffic coming from 192.168.11.2 is only valid from the LAN devices and will typically block that traffic.
The problem occurs when you try to loop back into the LAN. If the LAN device tries to connect to rustdesk.example.com, which will be 172.16.16.1. At this point the router has lots of choices to make. It just sent a message from it’s LAN port to it’s WAN port coming FROM 192.168.11.2 going to 172.16.16.1. Once it hit’s the WAN port this message is indistingusable by itself from the above example where someone on the internet was trying to hack into our network.
The NAT Loopback feature will effectively change the source “From 192.168.11.2” part of the address earlier in the process so that it knows it has to use the NAT table to pass messages back and forth between the server and the client.
If there is an issue with connections only while you are inside the LAN, but it works fine from offsite this may be the problem you are having.
Solutions
There are three ways to solve this issue.
1. Set up NAT Loopback on your router
You could set up NAT Loopback on your router if you know how to, but setting this requires knowledge of networking. Some routers don’t have the ability to adjust this setting, so this is not the best option for everyone.
Note
2. Deploy a DNS server on your LAN
First, choose which you prefer, AdGuard Home or Pi-hole. You could deploy it through docker, or you could deploy on the same server as your RustDesk Server. The example below will show you some steps for this example.
Both of them are DNS based adblockers, but you could disable this functionality if you don’t want to block ads.
First, point your domain to your RustDesk server’s LAN IP (for example 192.168.11.20). Then go to your router’s DHCP setting (Caution: NOT WAN) and set your First DNS IP to the server that you deployed AdGuard Home or Pi-hole. Secondary DNS could be your ISP’s DNS or other public DNS, e.g. 1.1.1.1 for Cloudflare or 8.8.8.8 for Google, and you’re done!
Here is an example:
AdGuard Home
Blocking ads may cause problems, if you don’t want to figure out the solution and want to disable this functionality, click “Disable protection” button.

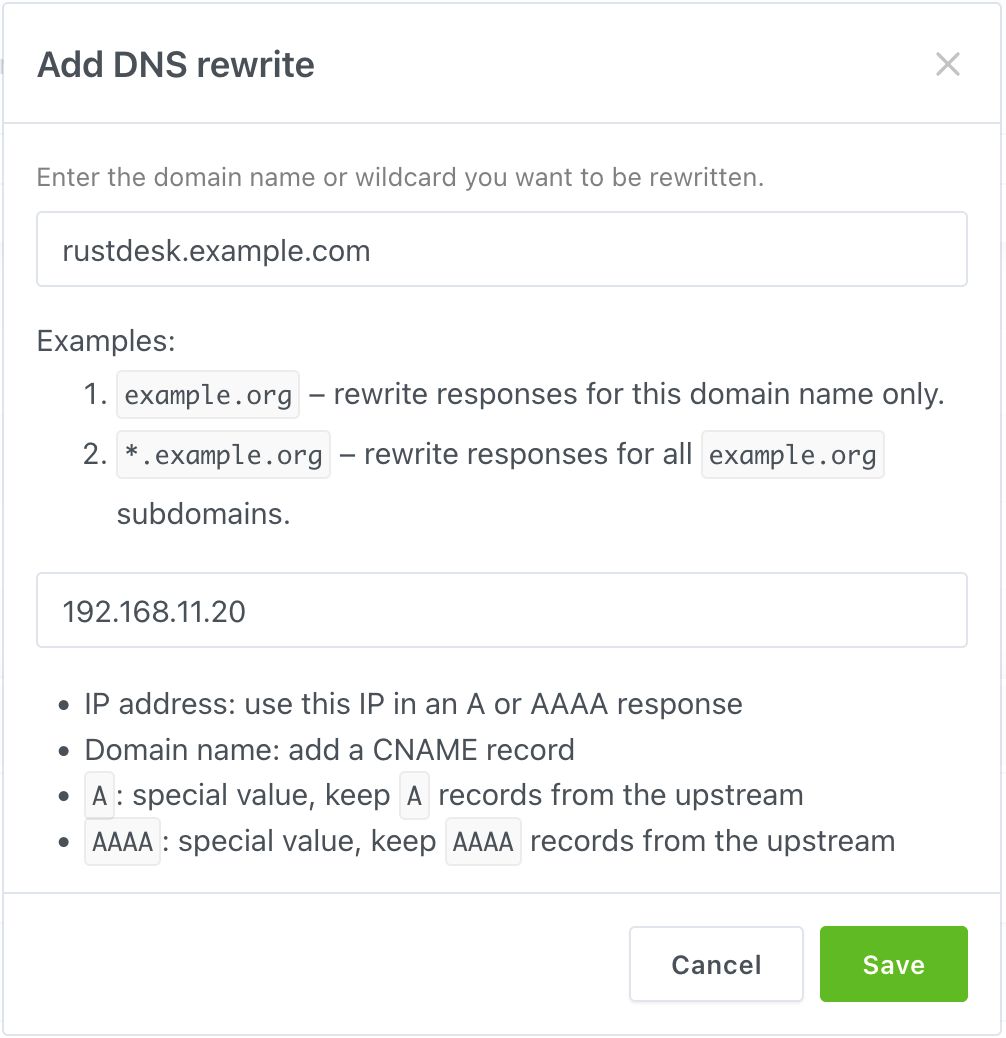
Go to “DNS rewrites” setting.

Click “Add DNS rewrite”, then type your domain and server’s LAN IP in the field.
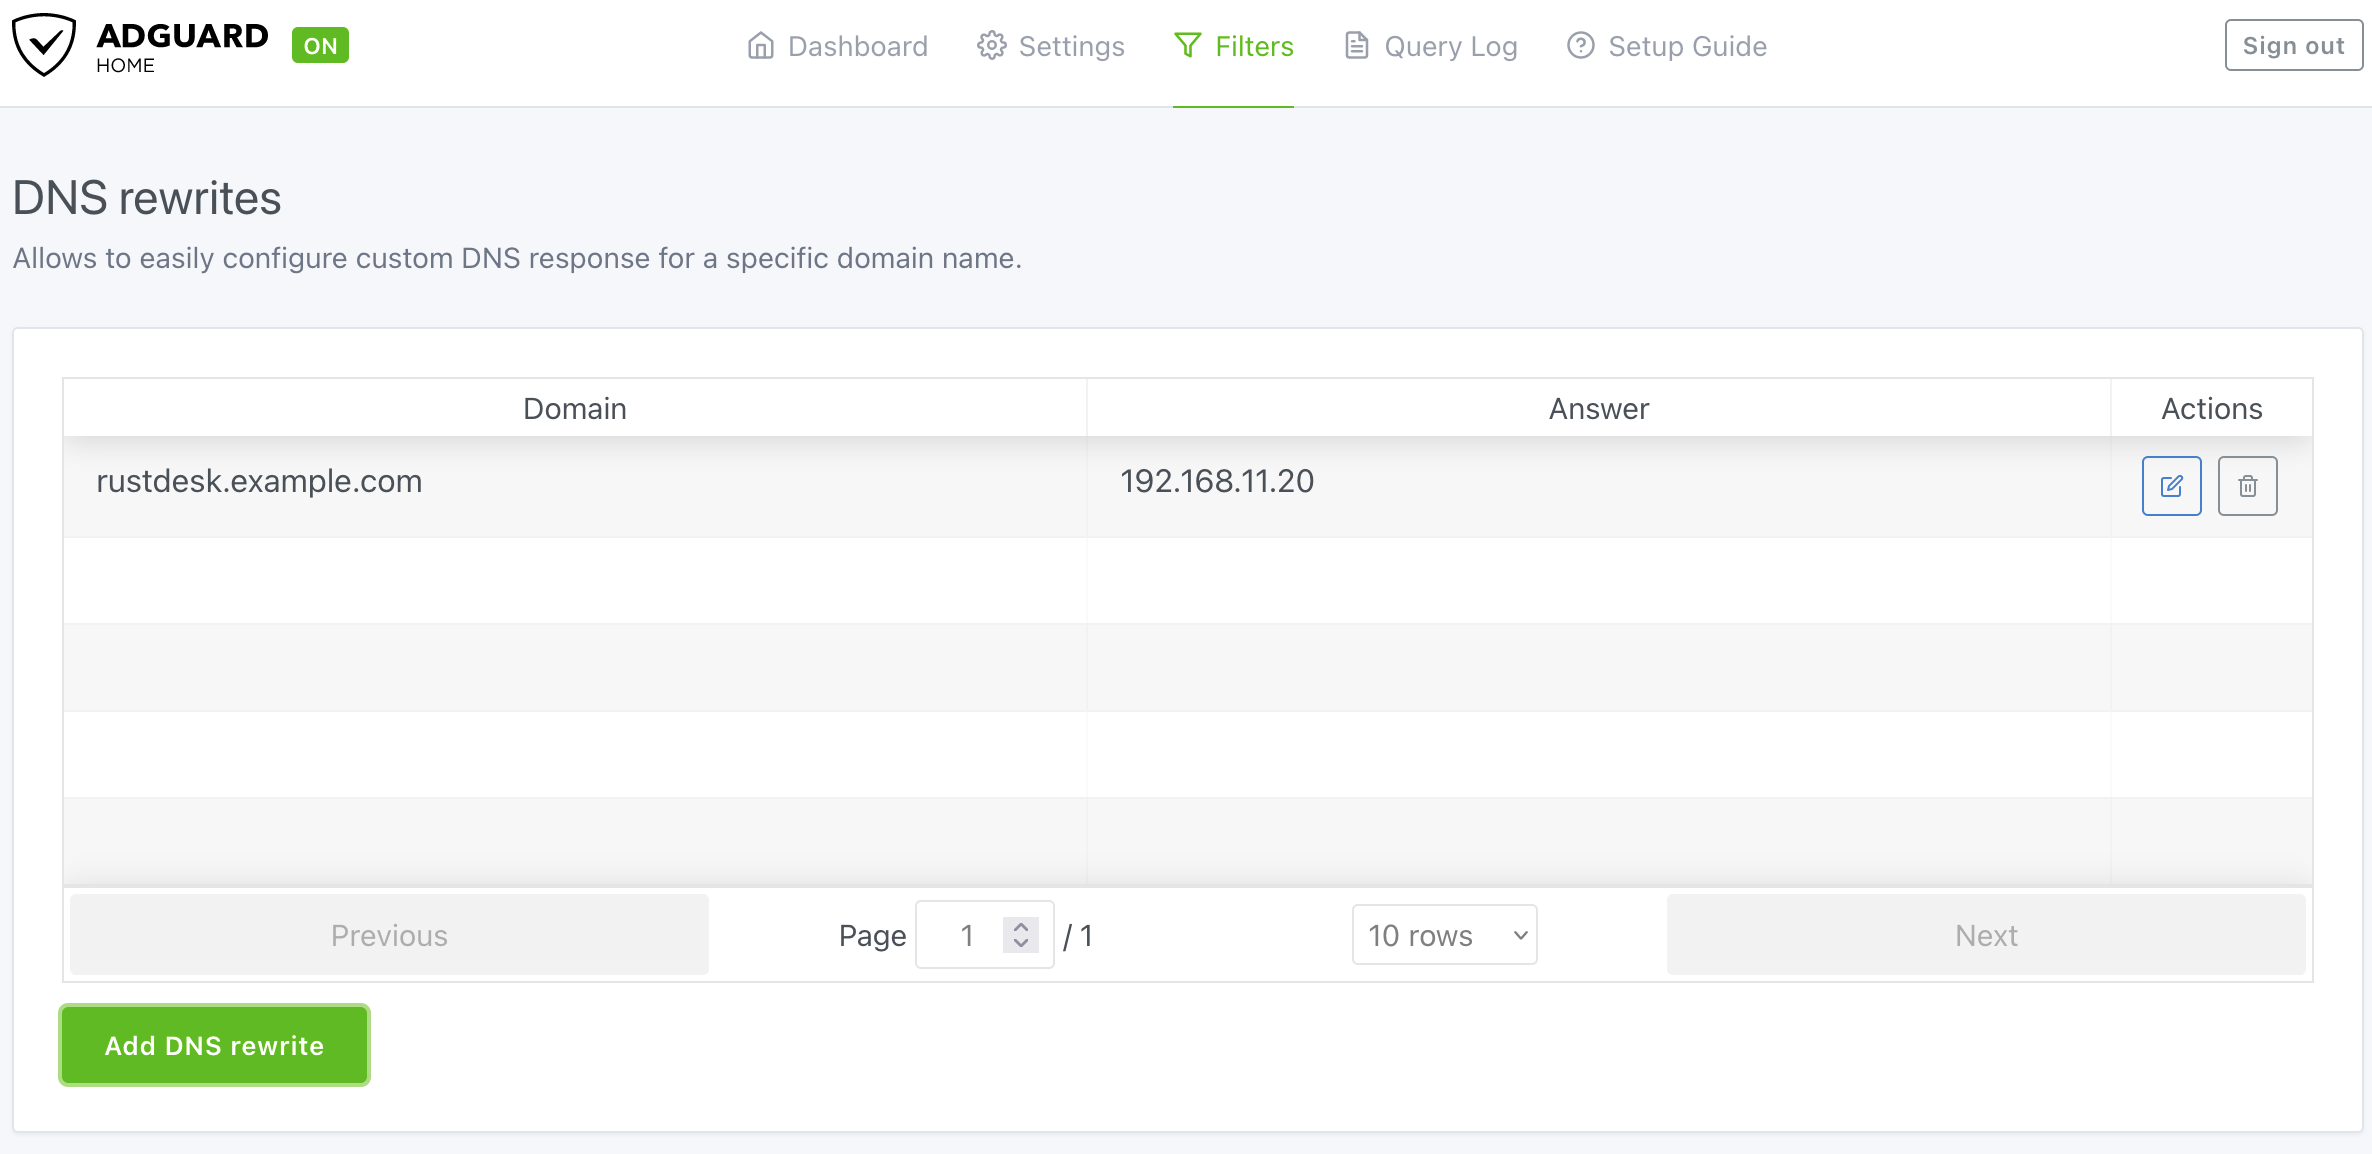
Here is what the final result looks like.
Don’t forget to assign your AdGuard Home to your router’s LAN DHCP!
Pi-hole
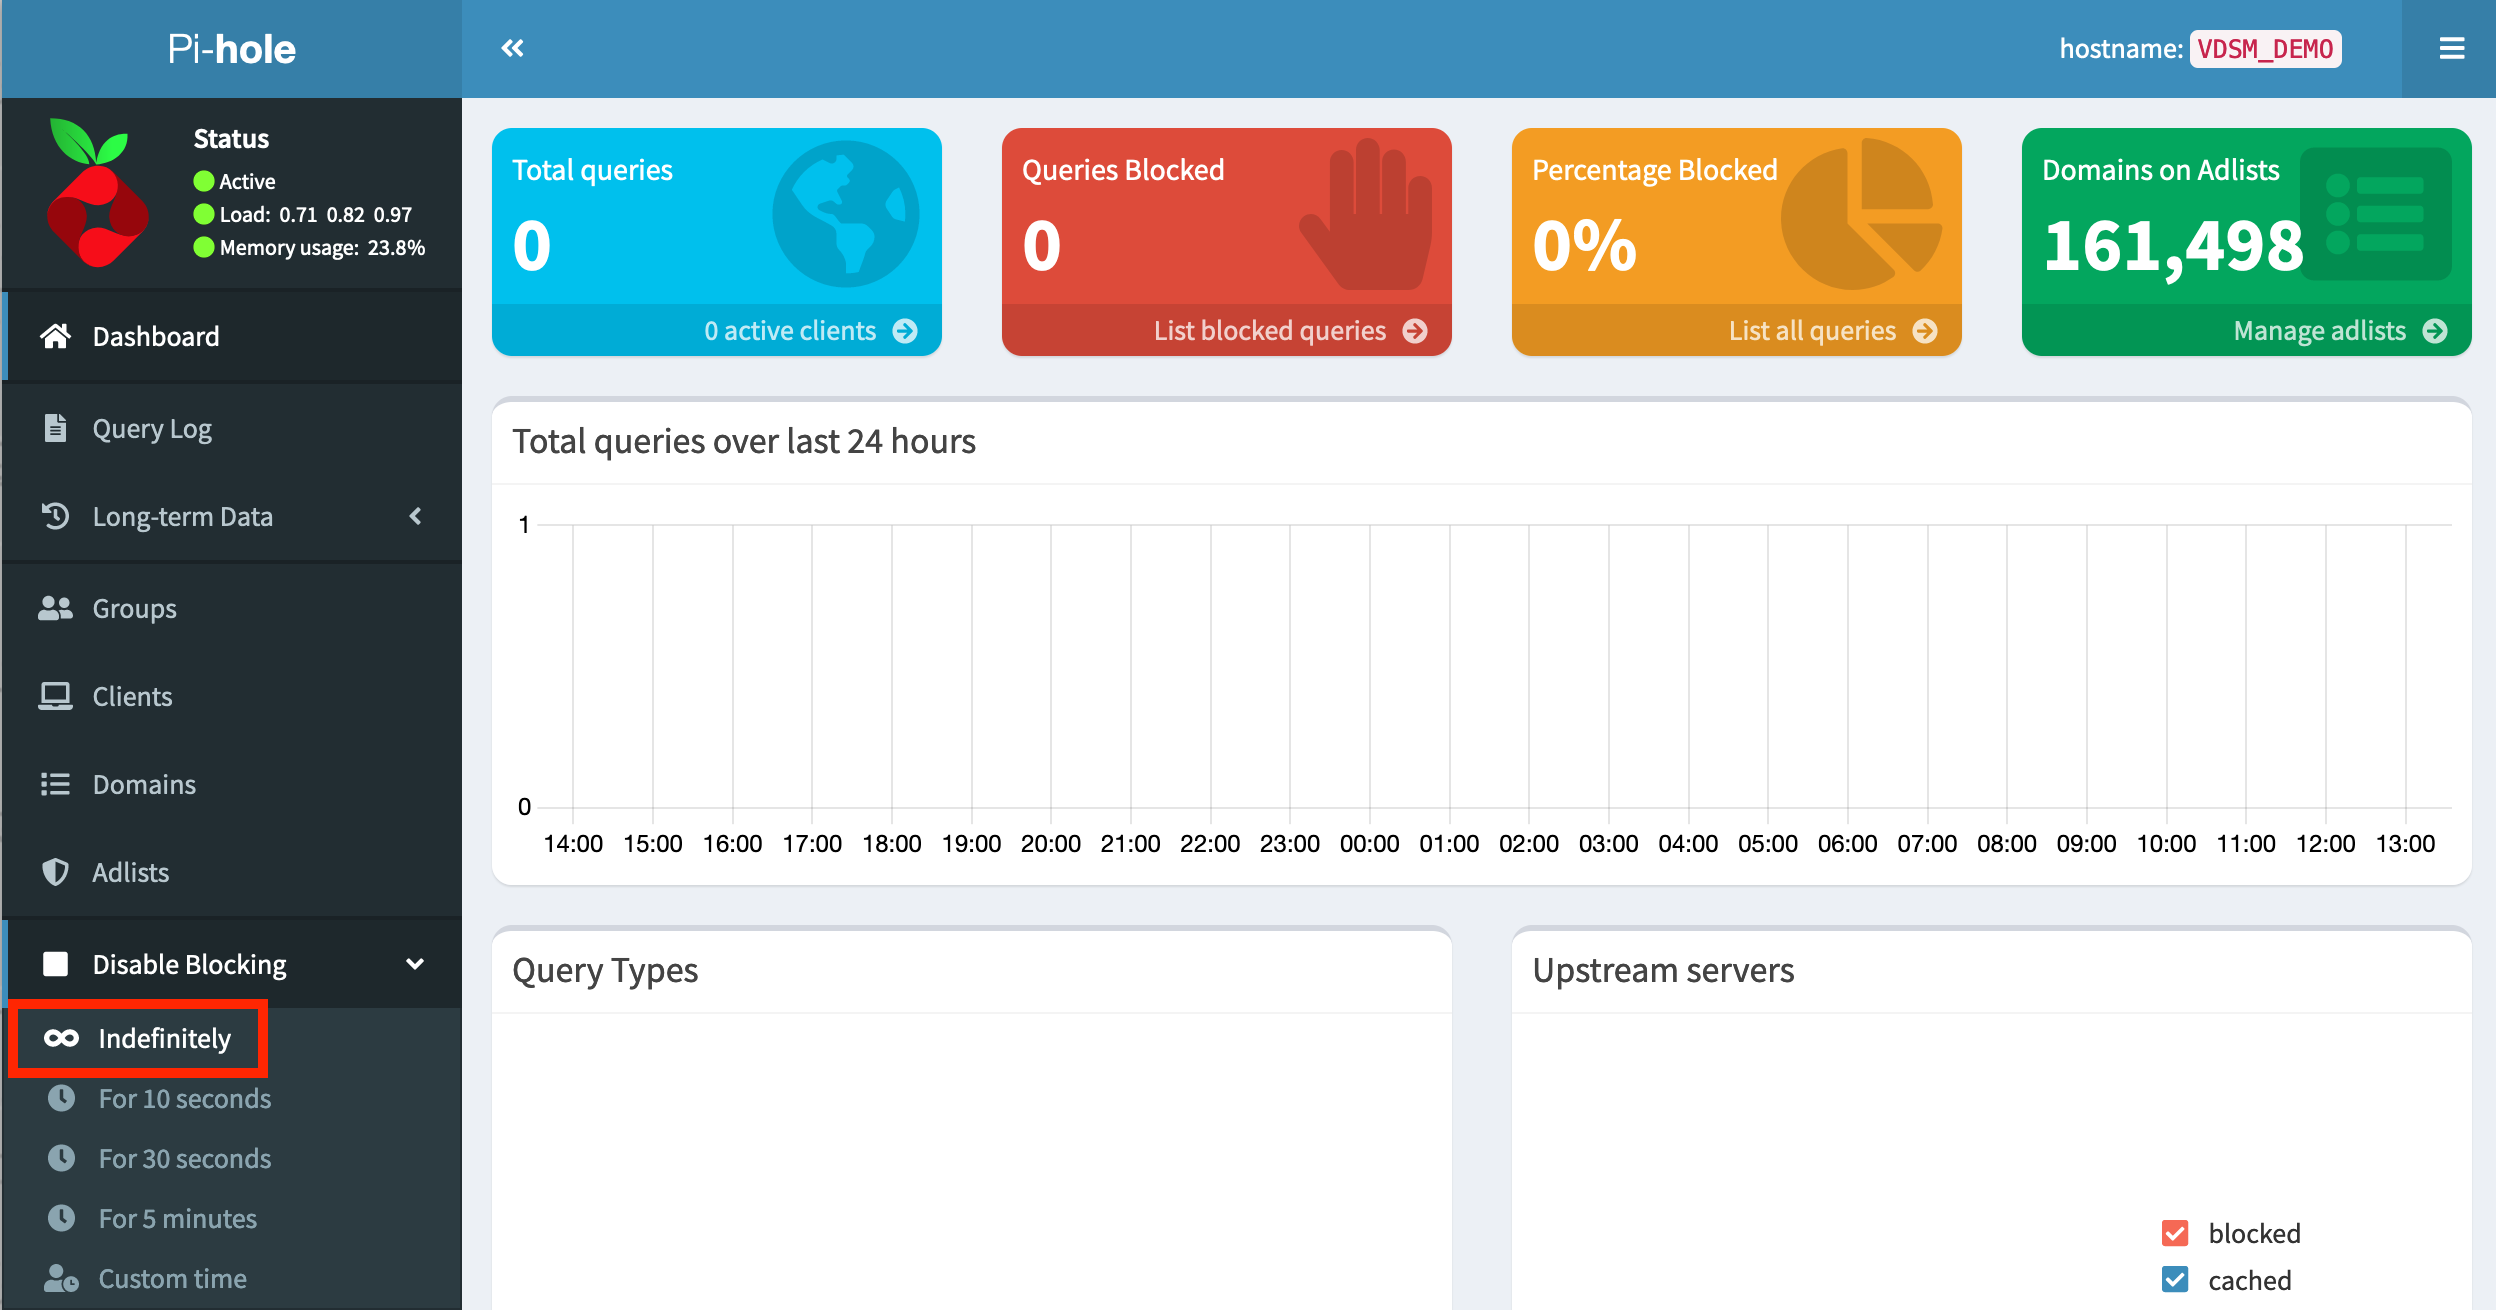
Blocking ads may cause problems, if you don’t want to figure out the solution and want to disable this functionality, click “Indefinitely” button within the “Disable Blocking” submenu.
Go to “Local DNS → DNS Records”.
Type your domain and IP to the box, than click “Add”.
To check the final results, check the yellow lines in this picture.

Don’t forget to assign your Pi-hole to your router’s LAN DHCP!
3. Add rules to your hosts file
This method is only recommended if you have a small number of devices. If you have many devices the DNS method is preferred. Otherwise you would have to manually do this on each device that needs access to the server.
Warning
Path for different OS:
Windows
C:\Windows\system32\drivers\etc\hostsYou can edit with elevated privilages or you can copy this file to Desktop and edit it. After you edit it, copy back to original path.
macOS
/etc/hostsYou could use vim, it is pre-installed.
sudo vim /etc/hostsLinux
/etc/hostsYou could use vim or nano.
sudo vim /etc/hostsThe format is the same in all three operating systems. IP first followed by domain. One entry per line.
For example:
192.168.11.20 rustdesk.example.com