NAT Loopback issues
This explanation involves complex networking knowledge, we need your assistance to improve its readability.
When you’re deploying RustDesk server on your home network or any other network environment that you will put your RustDesk server and your clients on the same LAN or behind the same router, you may notice you are unable to connect to your server through your Public IP or Domain (Which in theory points to your public IP).
More details about NAT Loopback, please check Wikipedia page.
Explain this in a simple way:
For example: Your router’s public IP is 8.8.8.8, the LAN IP of your server is 192.168.11.20 and the domain you desire is rustdesk.example.com. Router port forwarding is set up to your server behind your LAN (NAT/router).
Your client and server are behind the same router, so when your LAN devices connect to rustdesk.example.com. First, it will query the domain IP, which will be 8.8.8.8, and connect to this IP. Then your router may just not know where this connection needs to go, and it will think this connection should go to the router itself, and your connection will fail.
Solutions
There are three ways to solve this issue.
1. Set up NAT Loopback on your router
You could set up NAT Loopback on your router if you know how to, but setting this requires knowledge of networking. Some routers don’t have the ability to adjust this setting, so this is not the best option.
An article from MikroTik explains this very well. You could start learning from here.
2. Deploy a DNS server on your LAN
First, choose which you prefer, AdGuard Home or Pi-hole. You could deploy it through docker, or you could deploy on the same server as your RustDesk Server. The example below will show you some steps for this example.
Both of them are DNS based adblockers, but you could disable this functionality if you don’t want to block ads.
First, point your domain to your RustDesk server’s LAN IP (for example 192.168.11.20). Then go to your router’s DHCP setting (Caution: NOT WAN) and set your First DNS IP to the server that you deployed AdGuard Home or Pi-hole. Secondary DNS could be your ISP’s DNS or other public DNS, e.g. 1.1.1.1 for Cloudflare or 8.8.8.8 for Google, and you’re done!
Here is an example:
AdGuard Home
Blocking ads may cause problems, if you don’t want to figure out the solution and want to disable this functionality, click “Disable protection” button.

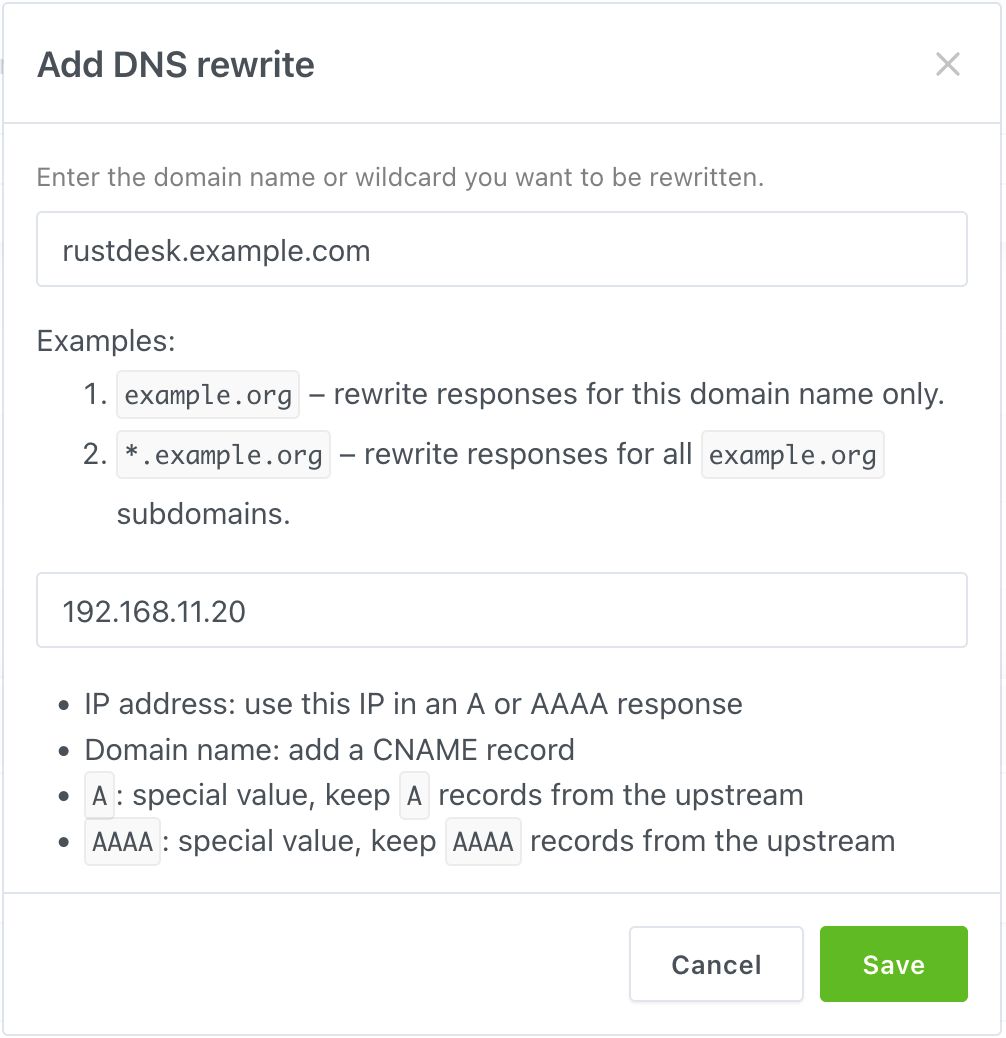
Go to “DNS rewrites” setting.

Click “Add DNS rewrite”, than type your domain and server’s LAN IP in the field.
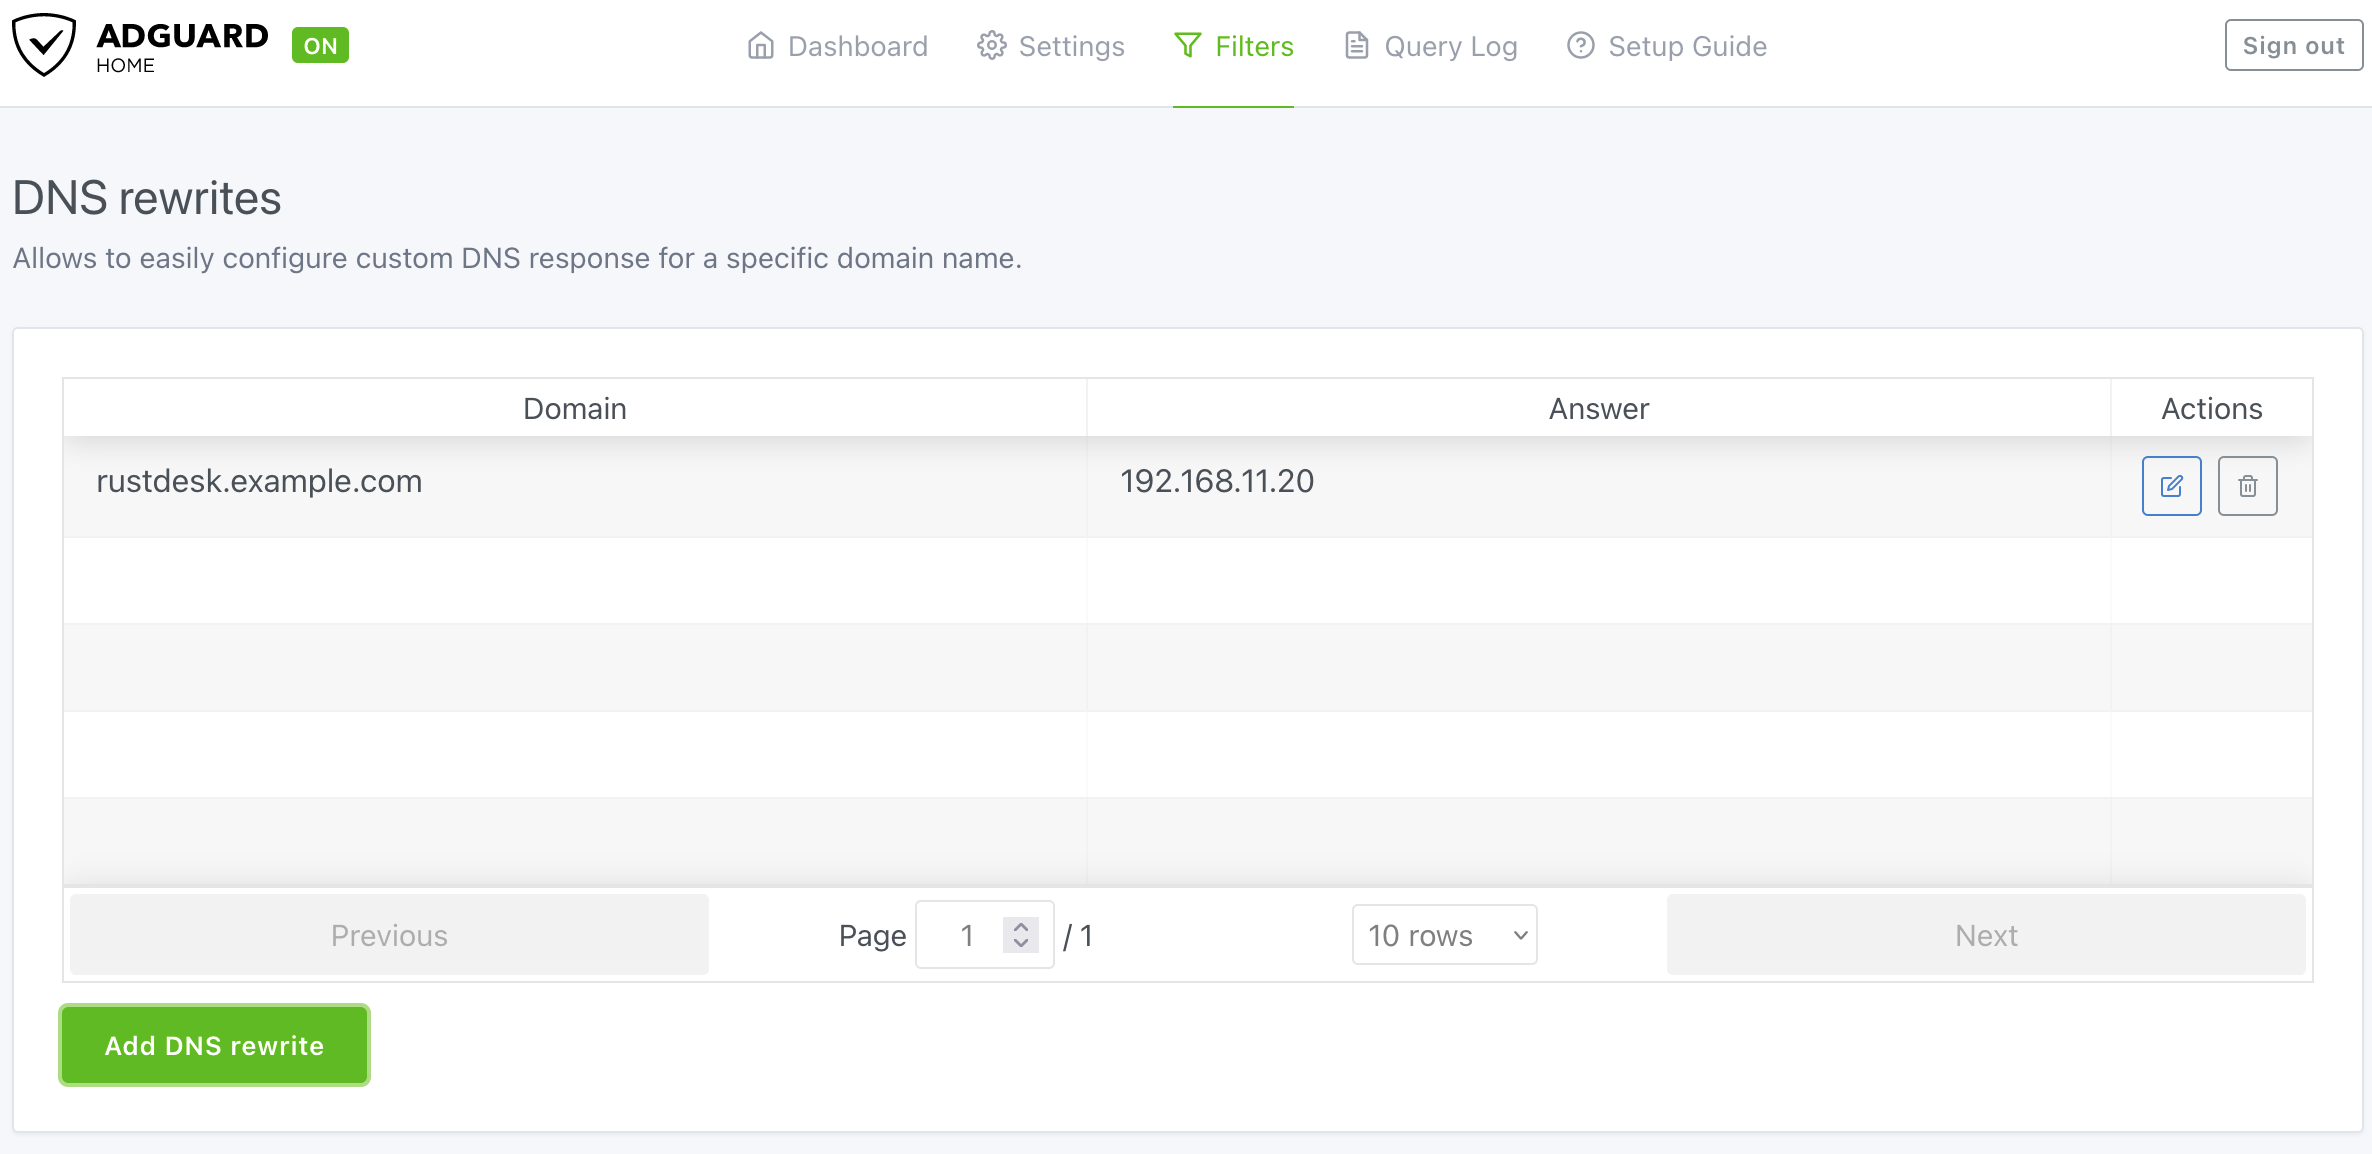
Here is the final result looks like.
Don’t forget to assign your AdGuard Home to your router’s LAN DHCP!
Pi-hole
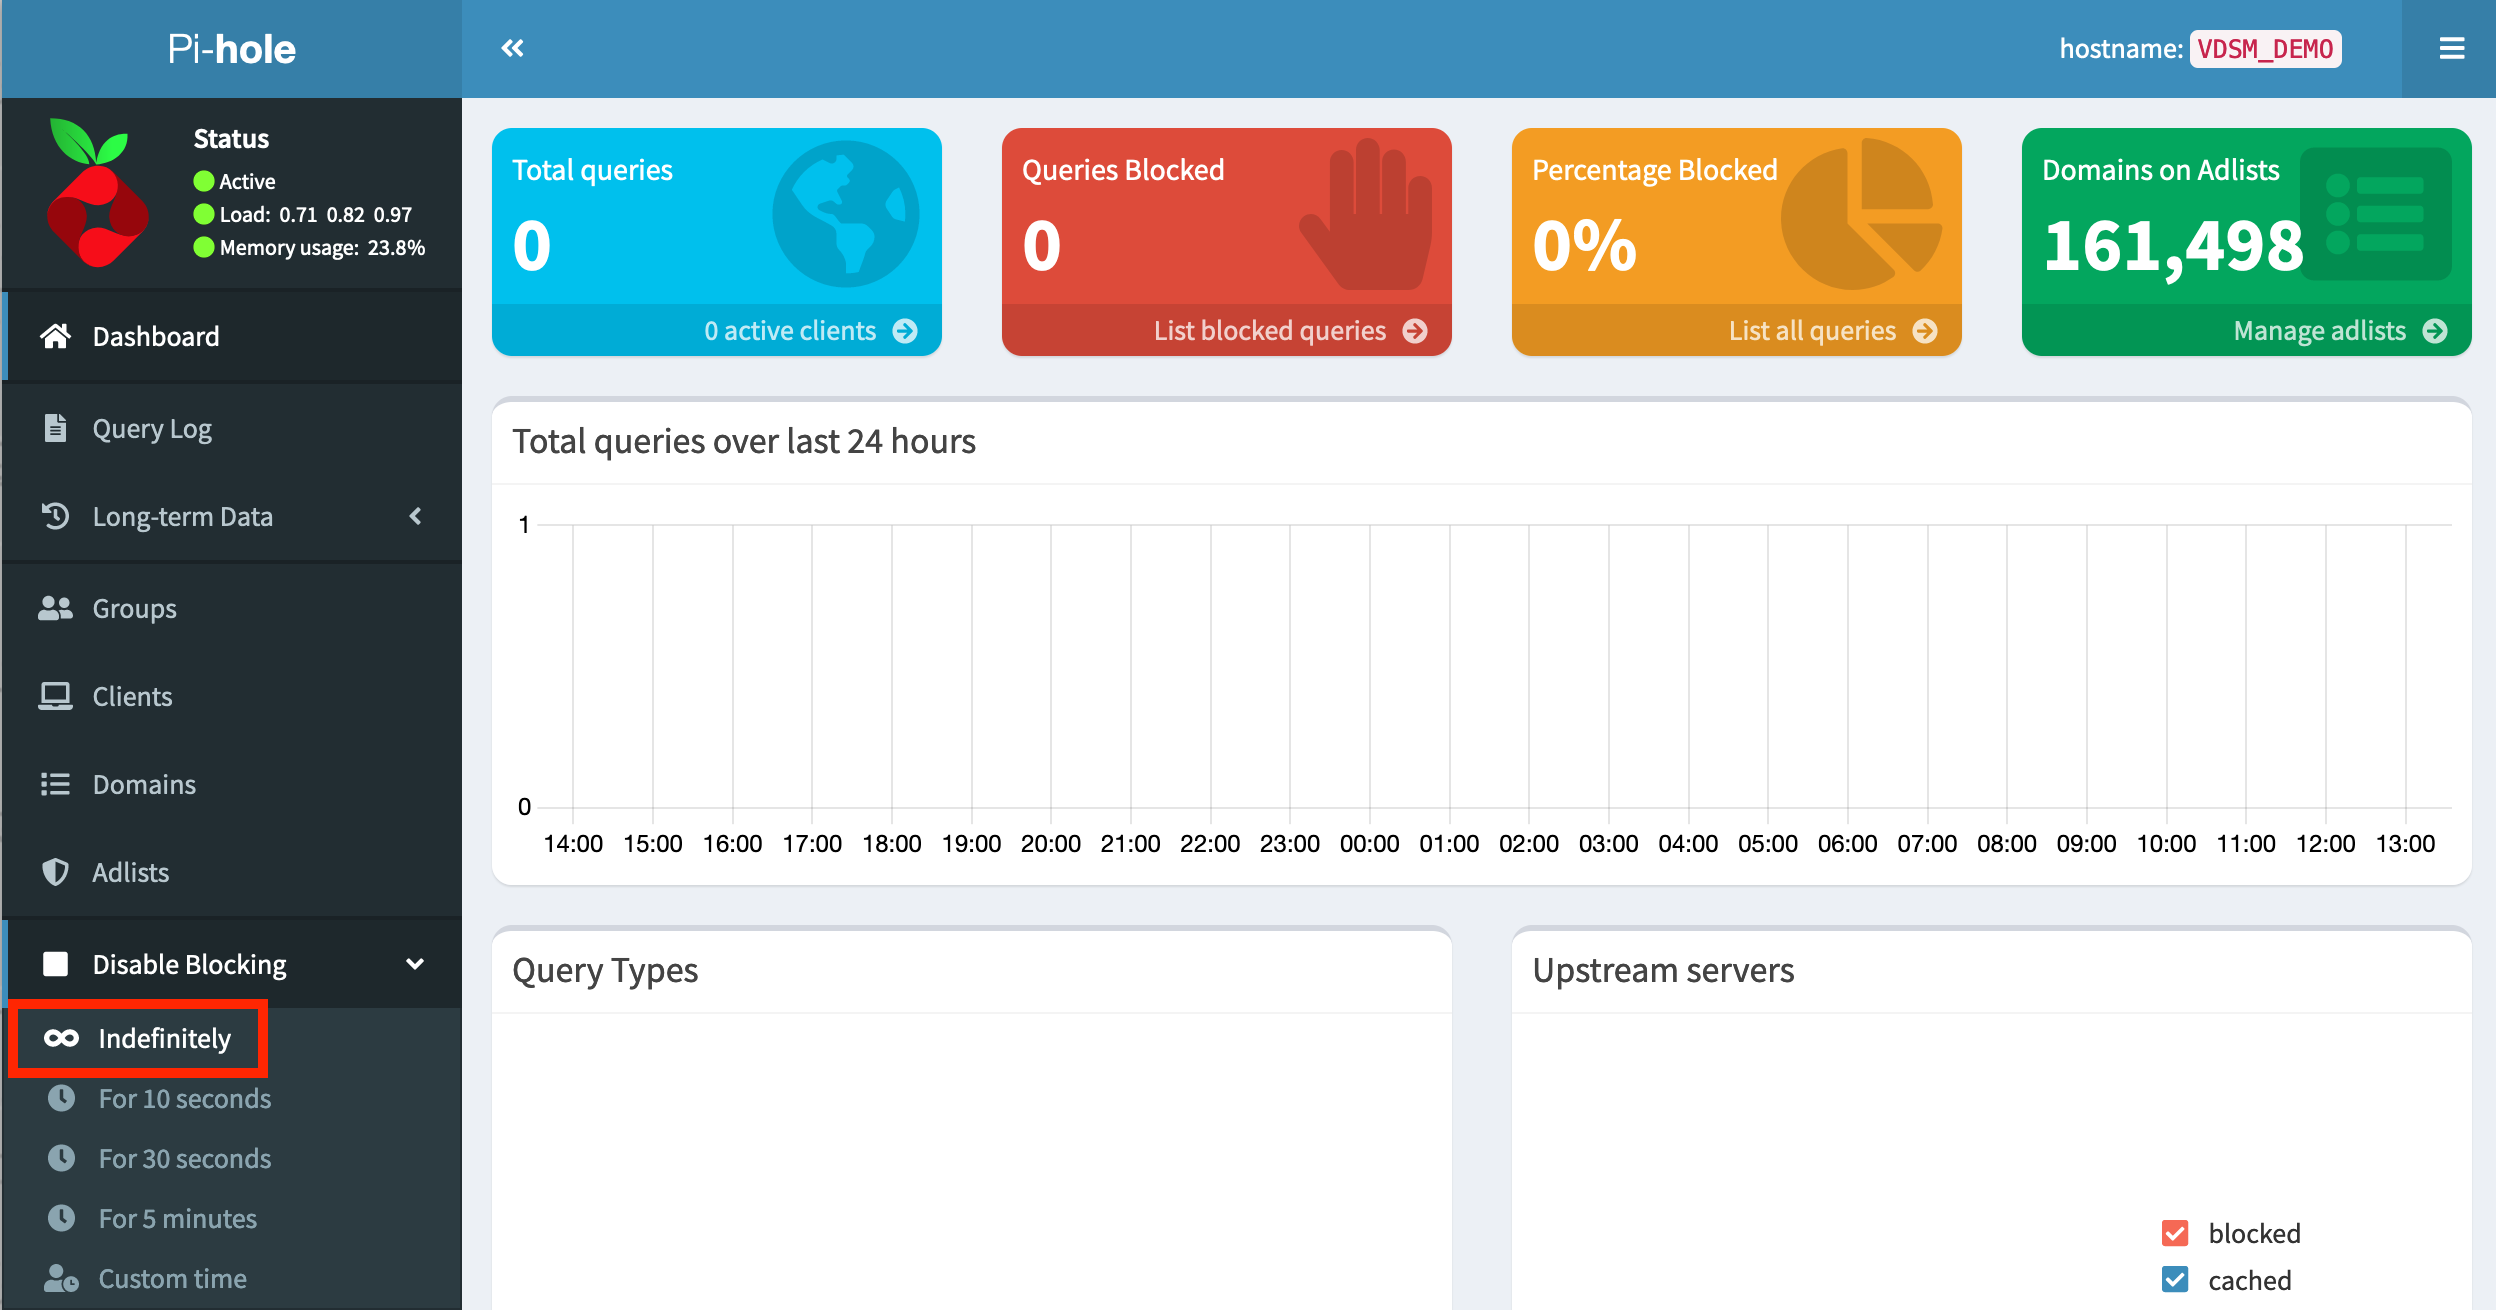
Blocking ads may cause problems, if you don’t want to figure out the solution and want to disable this functionality, click “Indefinitely” button within the “Disable Blocking” submenu.
Go to “Local DNS → DNS Records”.
Type your domain and IP to the box, than click “Add”.
To check the final results, check the yellow lines in this picture.

Don’t forget to assign your Pi-hole to your router’s LAN DHCP!
3. Add rules to your hosts file
Only recommend this method when you have only few devices. If you have many devices, DNS method is more recommend.
Don’t use this method if your environment have laptops, because this laptop will not able to connect the server when outside your LAN.
Path for different OS:
Windows
C:\Windows\system32\drivers\etc\hosts
Copy this file to Desktop and edit it. After you edited, copy back to original path.
macOS
/etc/hosts
You could use vim, it is pre-installed.
sudo vim /etc/hosts
Linux
/etc/hosts
You could use vim or nano.
sudo vim /etc/hosts
The format among three operating systems is same, all with IP first, than domain.
For example:
192.168.11.20 rustdesk.example.com