Synology DSM 7.2
After DSM 7.2 update, Synology renamed their “Docker” package to “Container Manager”. It brings a new GUI, and comes with “docker-compose” within its GUI, which make you create Docker more easily.
Supported models and requirements
Container Manager brings ARM64 support for some low-end models, such as J series, for detail list of supported model, please check Synology website. Most of time you won’t need to install extra RAM for install Docker and RustDesk Server.
1. Install Container Manager (Docker)
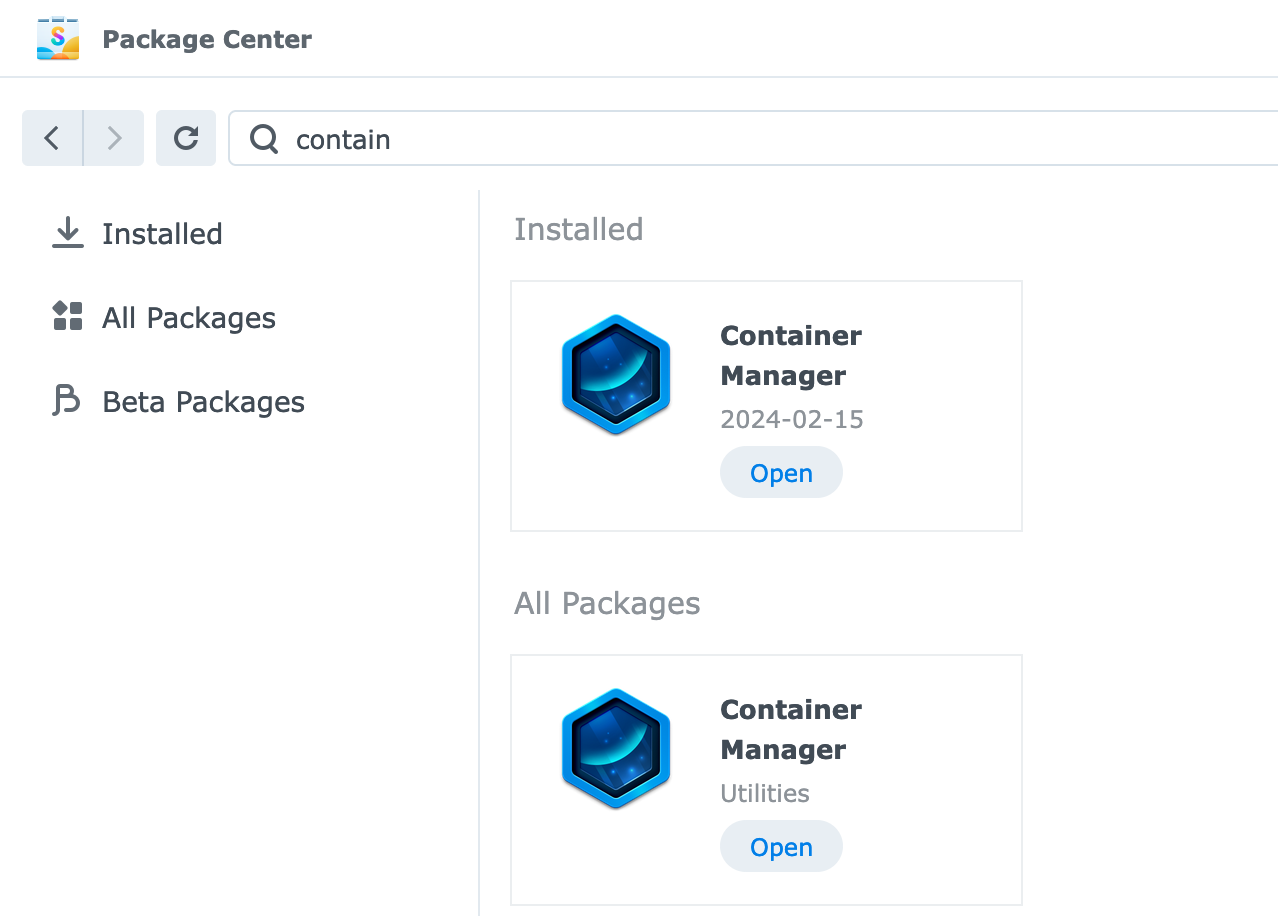
Open “Package Center”, search and install “Container Manager”.
2. Create folder
After you installed “Container Manager”, it will create a Shared Folder called docker, let’s put our server’s data here.
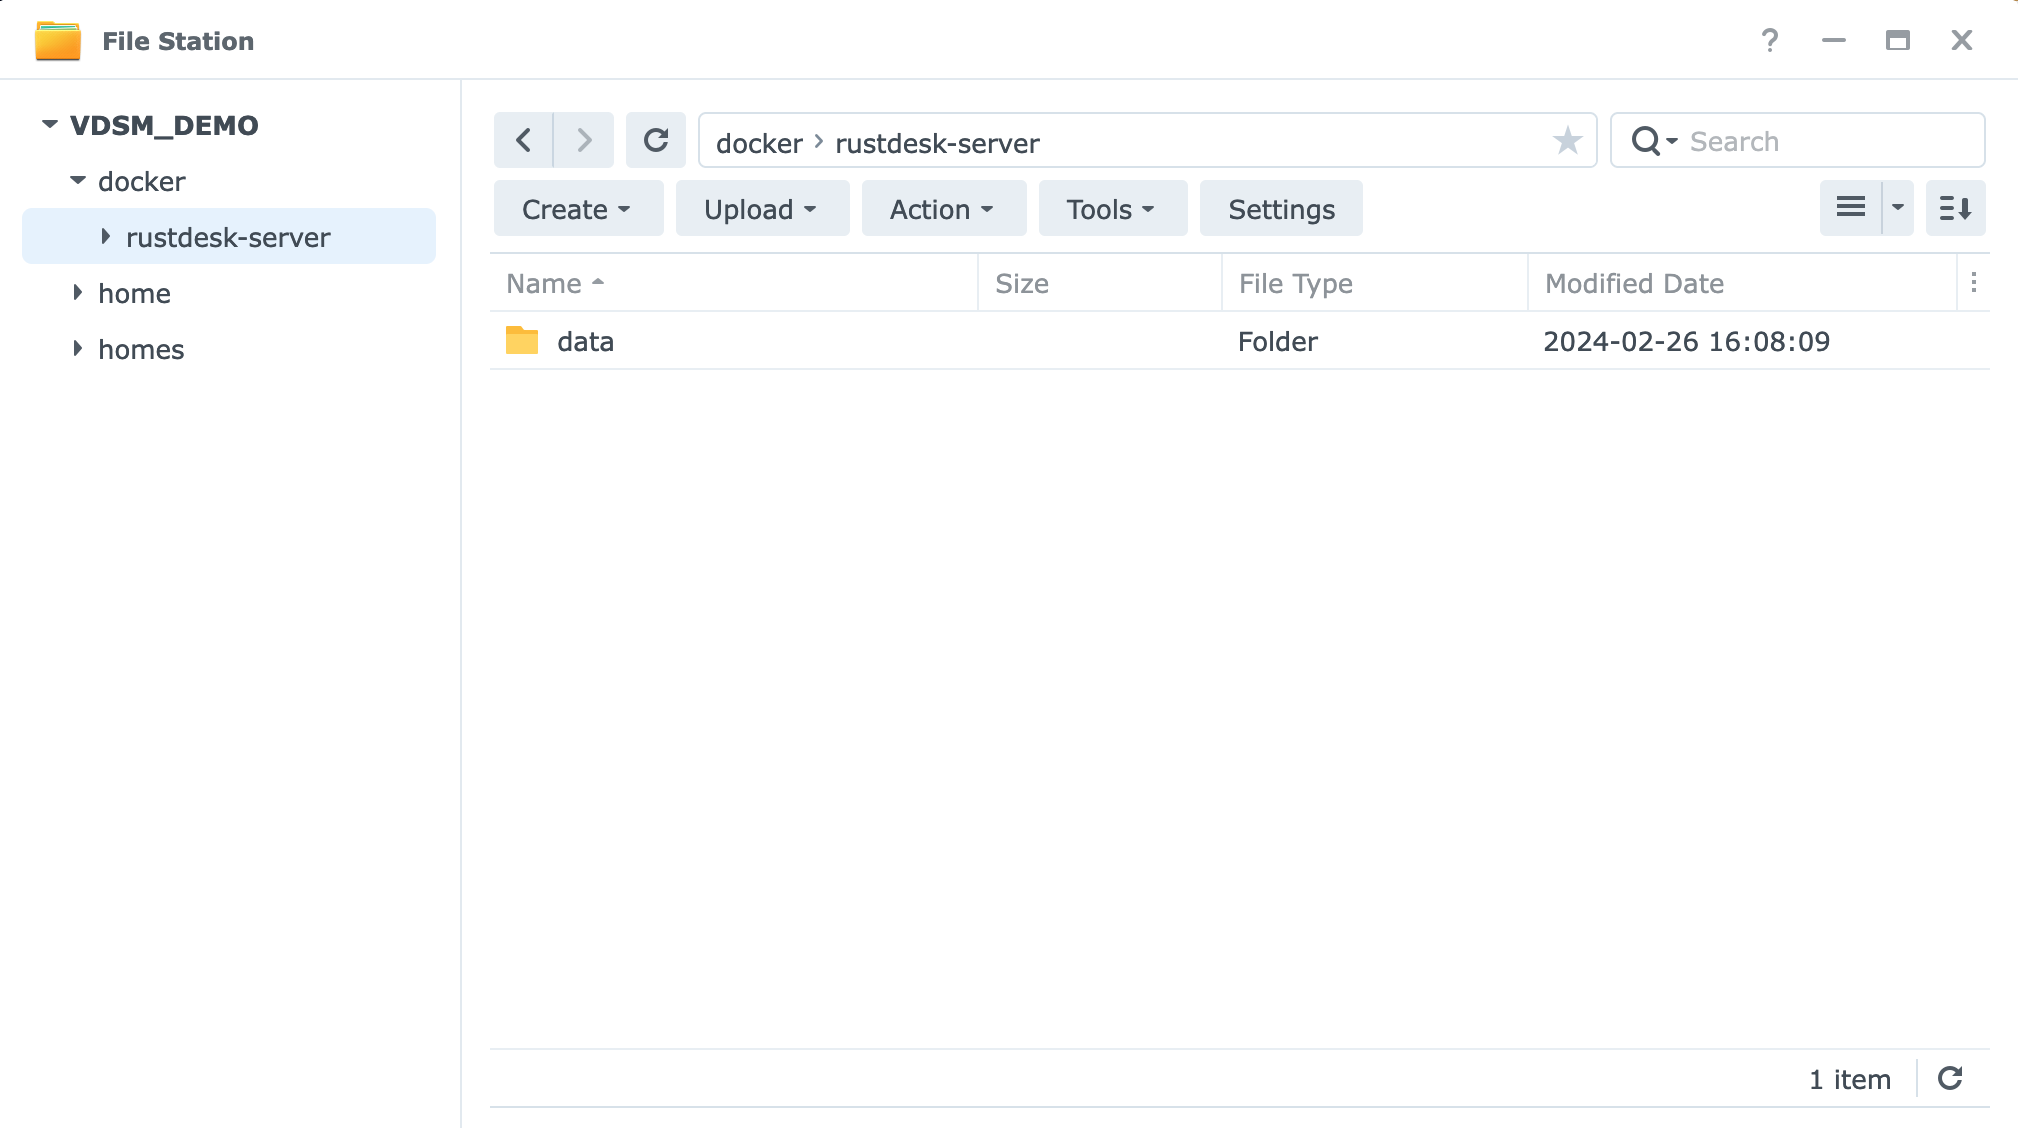
Open your File Station, create a folder named rustdesk-server(or whatever you like). Then create a folder named data in it just like the picture.
3. Create container
Open your Container Manager, go to Project and click Create.
Enter the project name rustdesk-server and change Source from “Upload compose.yml” to “Create compose.yml”, and copy following contents to the box.

services:
  hbbs:
    container_name: hbbs
    image: rustdesk/rustdesk-server:latest # Please change this to rustdesk/rustdesk-server-pro:latest if you want to install Pro.
    command: hbbs
    volumes:
      - ./data:/root
    network_mode: host
    depends_on:
      - hbbr
    restart: always

  hbbr:
    container_name: hbbr
    image: rustdesk/rustdesk-server:latest # Please change this to rustdesk/rustdesk-server-pro:latest if you want to install Pro.
    command: hbbr
    volumes:
      - ./data:/root
    network_mode: host
    restart: always

# Because using docker host mode
# Just in case you forgot the ports:
# 21114 TCP for web console, only available in Pro version
# 21115 TCP for NAT type test
# 21116 TCP TCP hole punching
# 21116 UDP heartbeat/ID server
# 21117 TCP relay
Please skip Web portal settings then done.
4. Check it is working
Open your File Station, you should see id_ed25519, id_ed25519.pub on your docker/rustdesk-server/data folder. You could download it and open it though any text editor or use Synology Text Editor. This is the public key that you need for your RustDesk client.
The public key will looks like this:
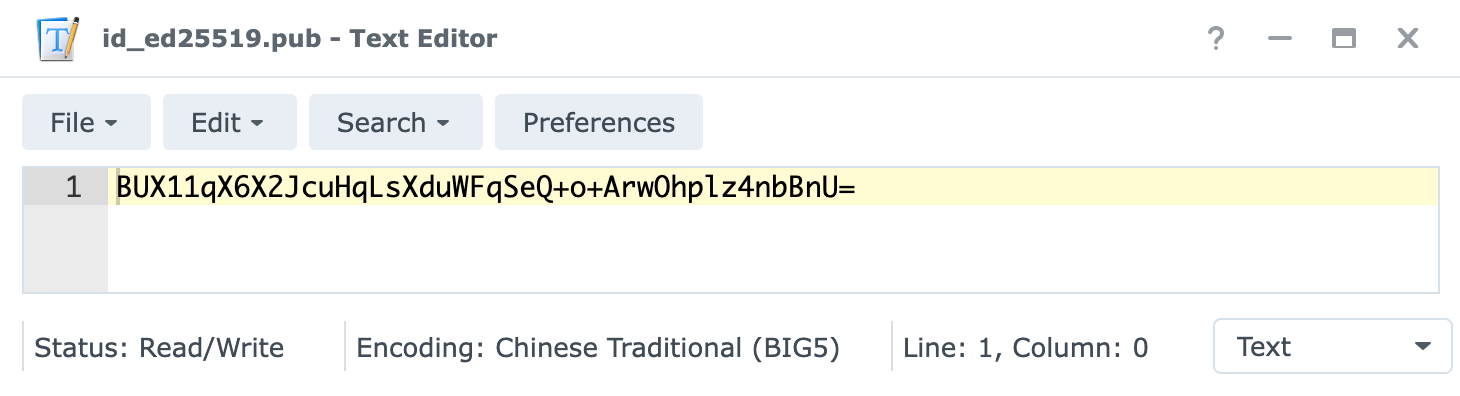
Check here to set up your client. Only ID server and Key is needed. Relay server isn’t needed because we’ve set it in hbbs, hbbs will provide this information automatically.
5. Set port forwarding on your router
Go to your router’s admin webpage, find anything related to Port forwarding, it should appear in WAN or Firewall settings.
If you still can’t find the setting, Google search {Router brand} + port forwarding or {Router model} + port forwarding. If this device is from your ISP, ask them.
Open these required ports:
21114TCP for web console, only available in Pro version21115TCP for NAT type test21116TCP TCP hole punching21116UDP heartbeat/ID server21117TCP relay