Ubuntu Server with Docker
Following tutorial will use Ubuntu Server 22.04 minimal as example. And especially command line procedures, because lowest price spec of VPS can’t handle desktop environment.
Preparation
First, you need:
- Visual Studio Code
- (Optional) Find and remember your timezone, or your system’s timezone will be UTC+0
If you want to install with your local machine, I assume you install your Ubuntu Server as a virtual machine.
You will also need:
- Public IP, dynamic IP is fine, but static IP would be better
- Ubuntu Server ISO
- Ability to setup port forwarding on your ISP modem or router, if you got these devices from your ISP and don’t know how to enter the admin page, please ask your ISP
VPS/VM specs choosing/setting
If you plan to run only RustDesk Server, lowest spec should be fine, except AWS Lightsail, because its lowest spec is 512 MB RAM which may too low and crash, any spec with 1 GB RAM should fine.
For self-hosted VMs, 1 GB RAM and 32 GB of disk will suit your need, and UEFI BIOS is preferred.
For any other hypervisor that runs on Windows or Linux with GUI, such as VirtualBox or VMware Workstation, please set your virtual network card to bridged mode.
1. Installing Ubuntu Server
Skip 2. Setup Server, if you decide to rent a VPS.
This tutorial assume you install your Ubuntu Server as a virtual machine. If you decide to install on a physical machine, doing wrong procedures, may cause data loss.
Use Tab to navigate different options, use Space to choose different options, use Enter when hitting Done.
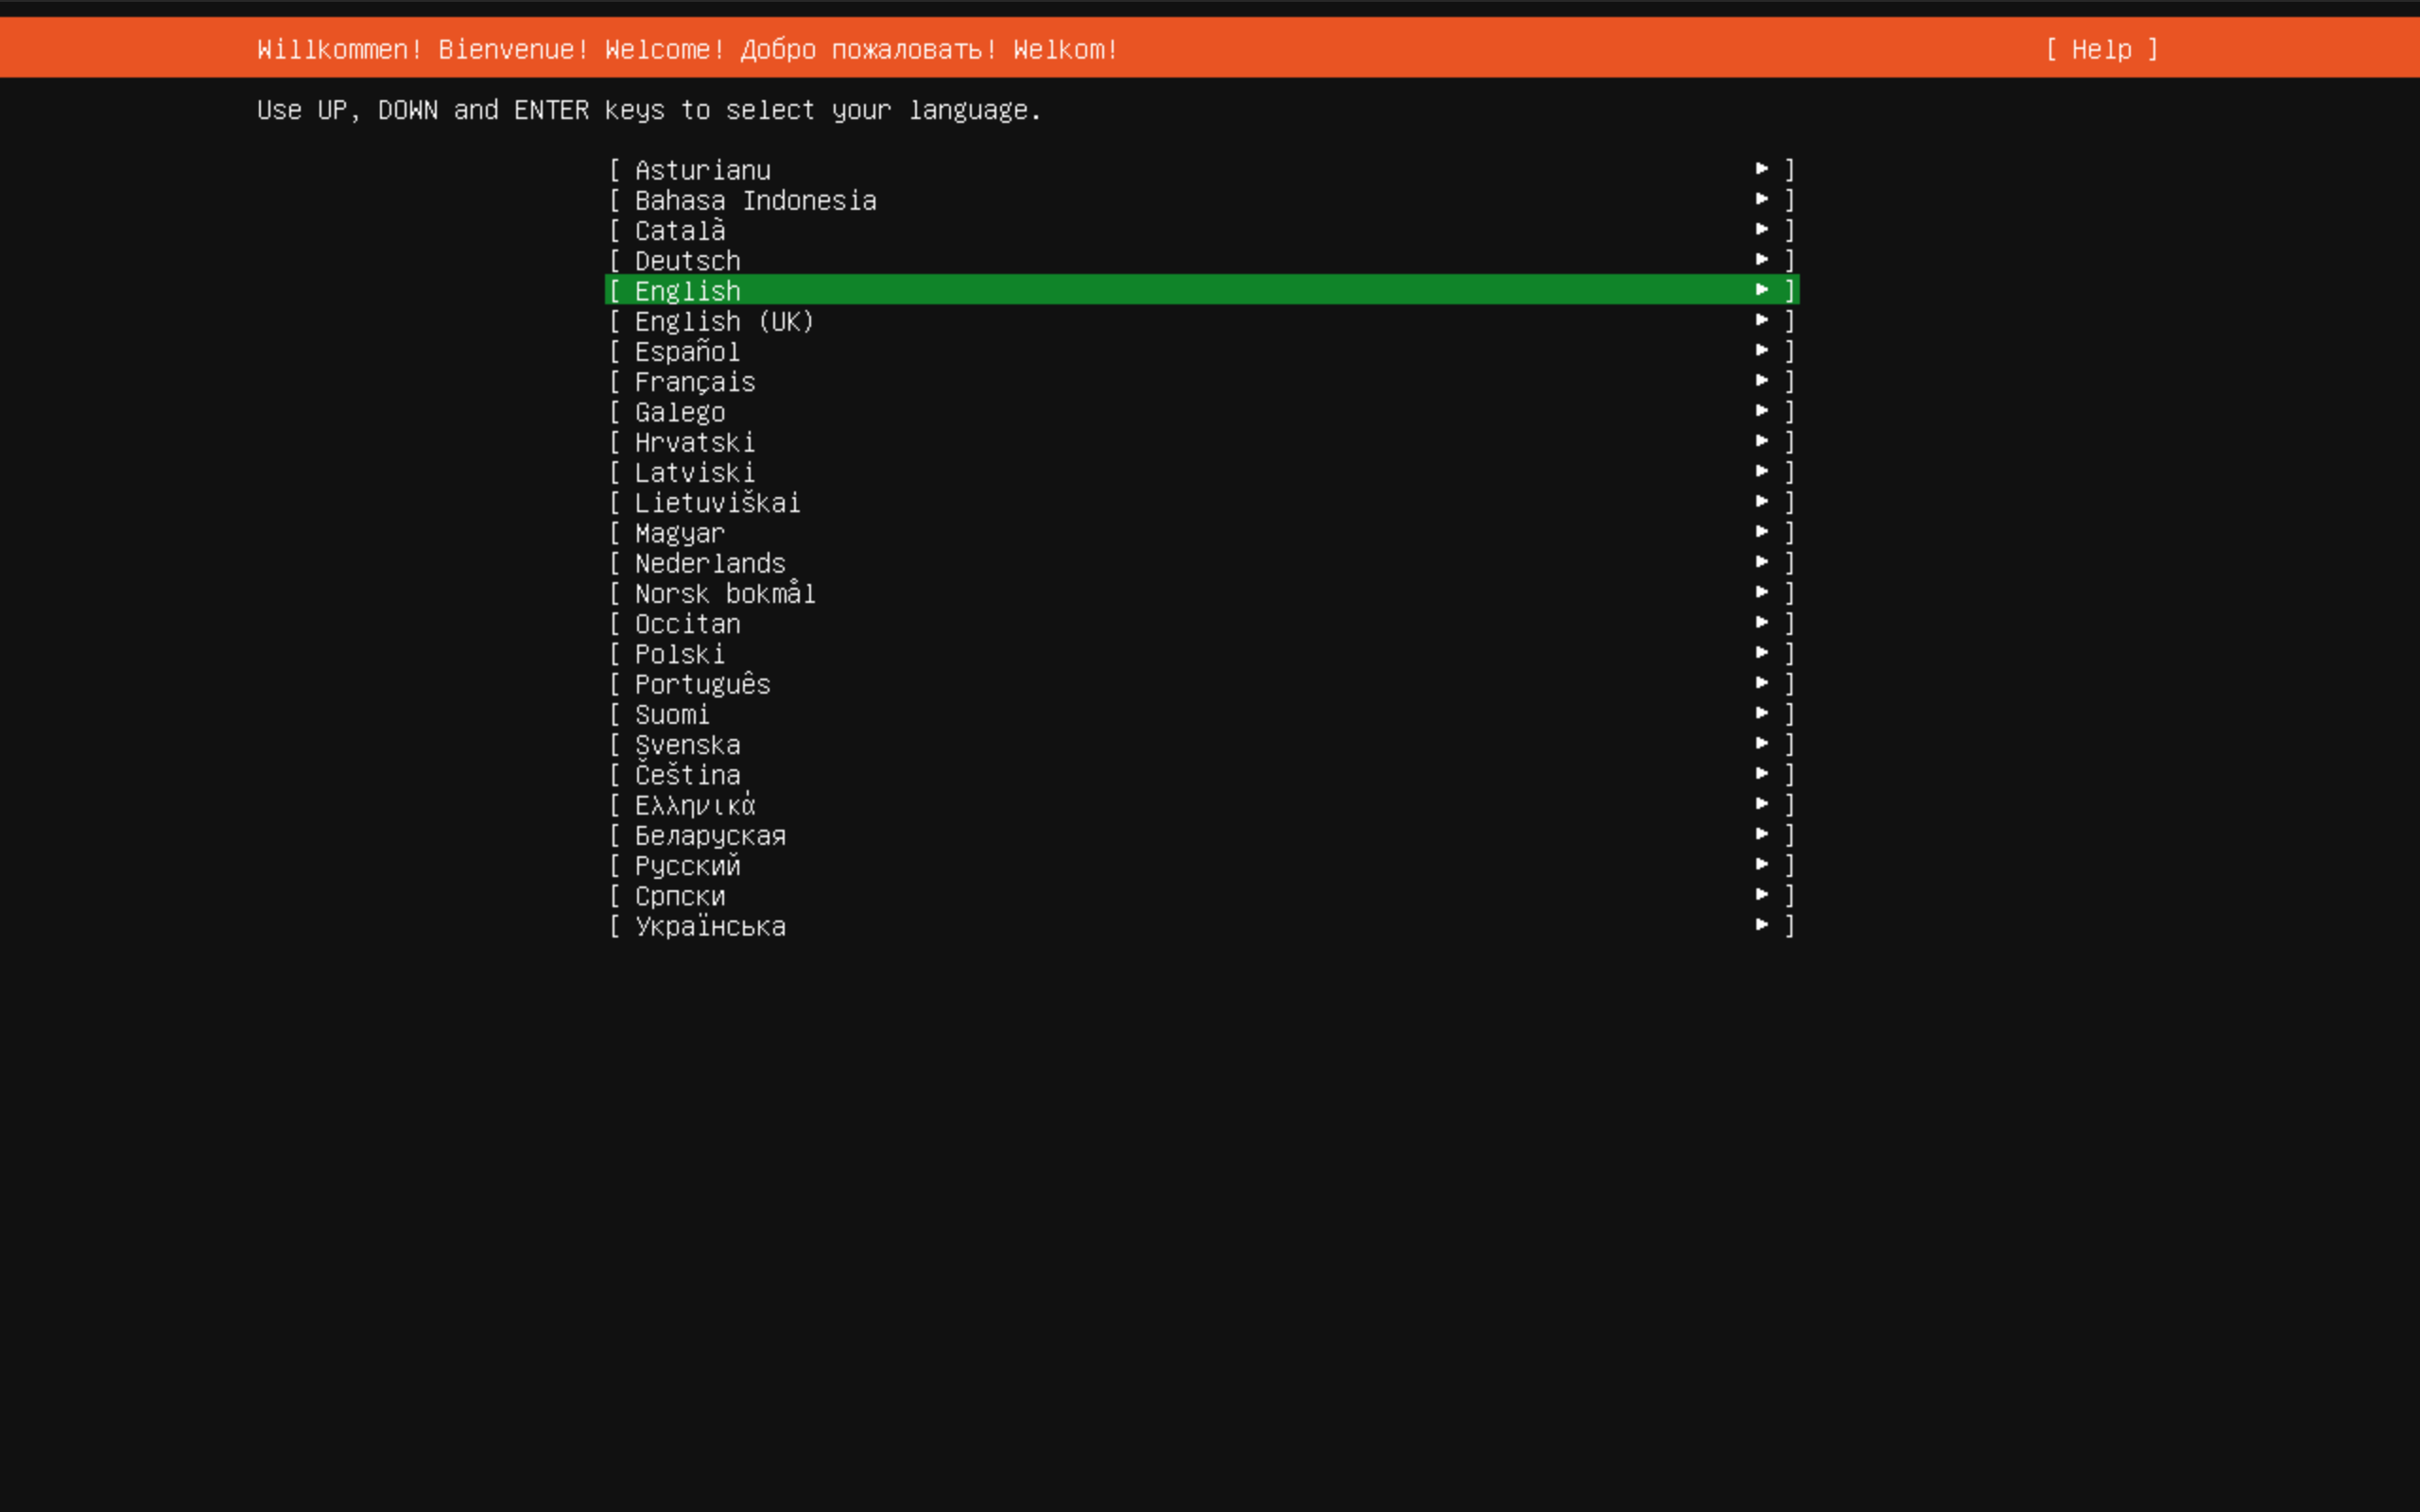
Choose language
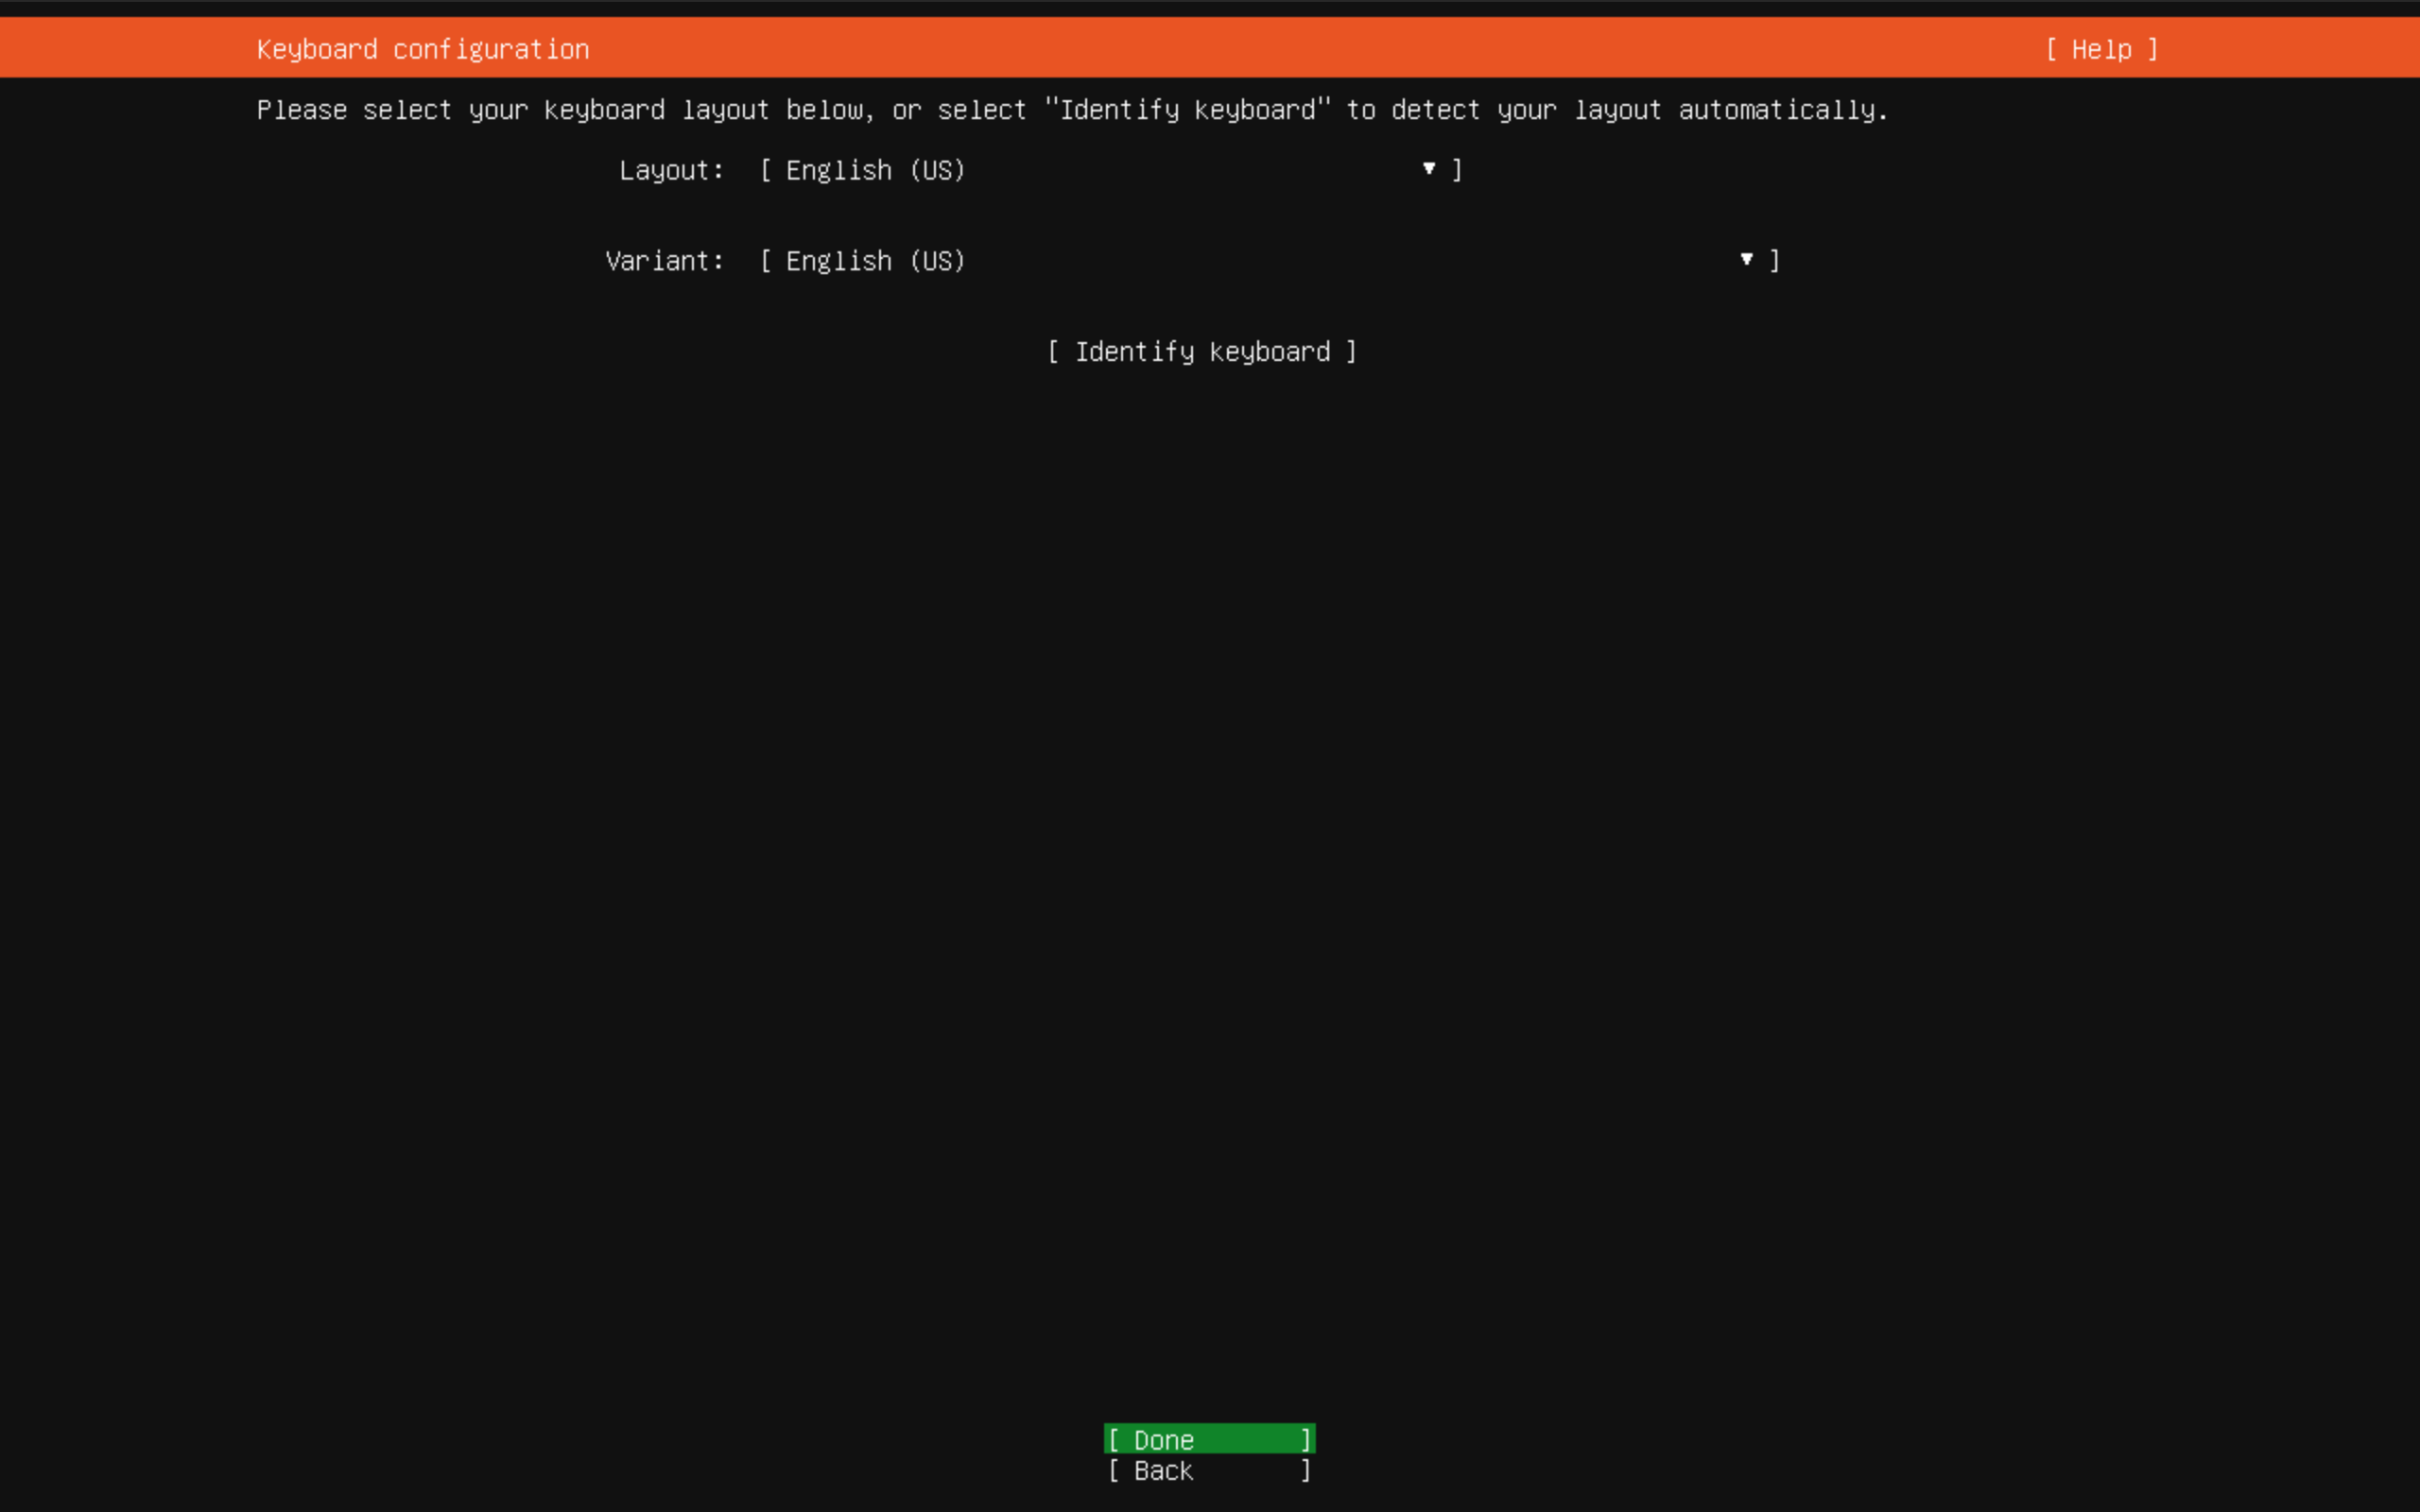
Choose your keyboard layout
Network Configuration, please keep it DHCP
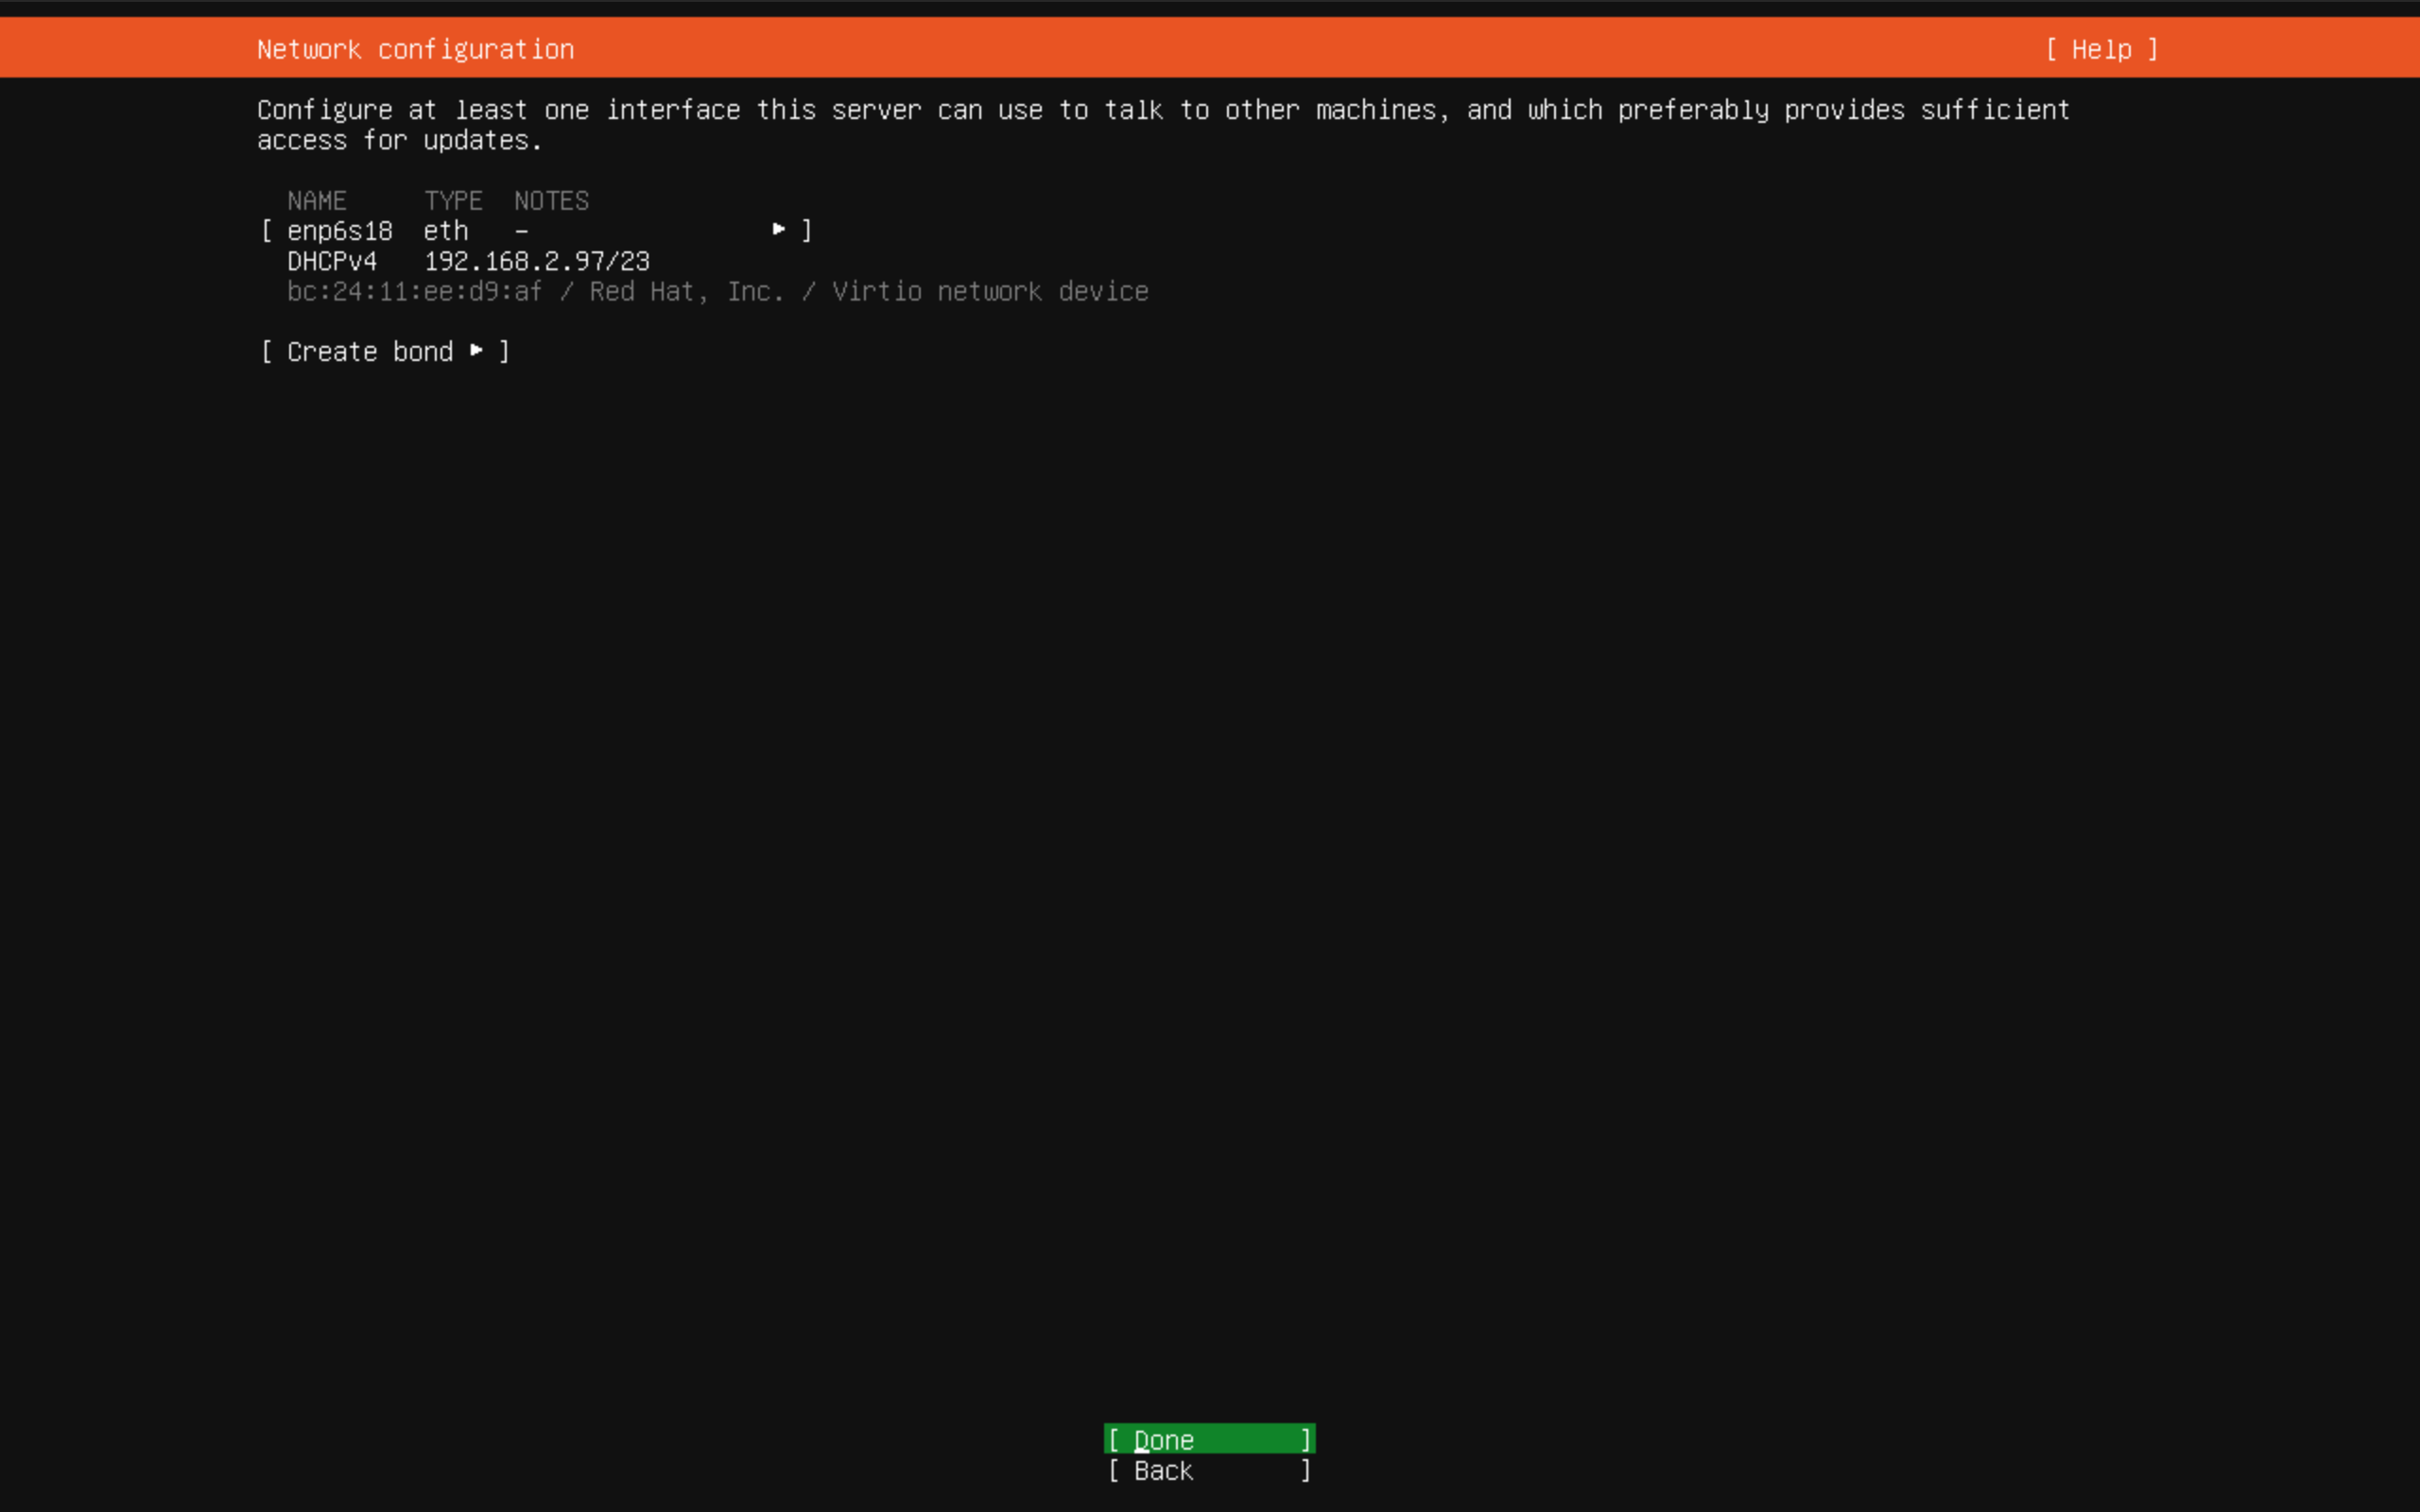
Now, you could go to your router’s DHCP settings, find and add your VM’s LAN IP address to DHCP reservation, if you want, you could also assign other IP address.
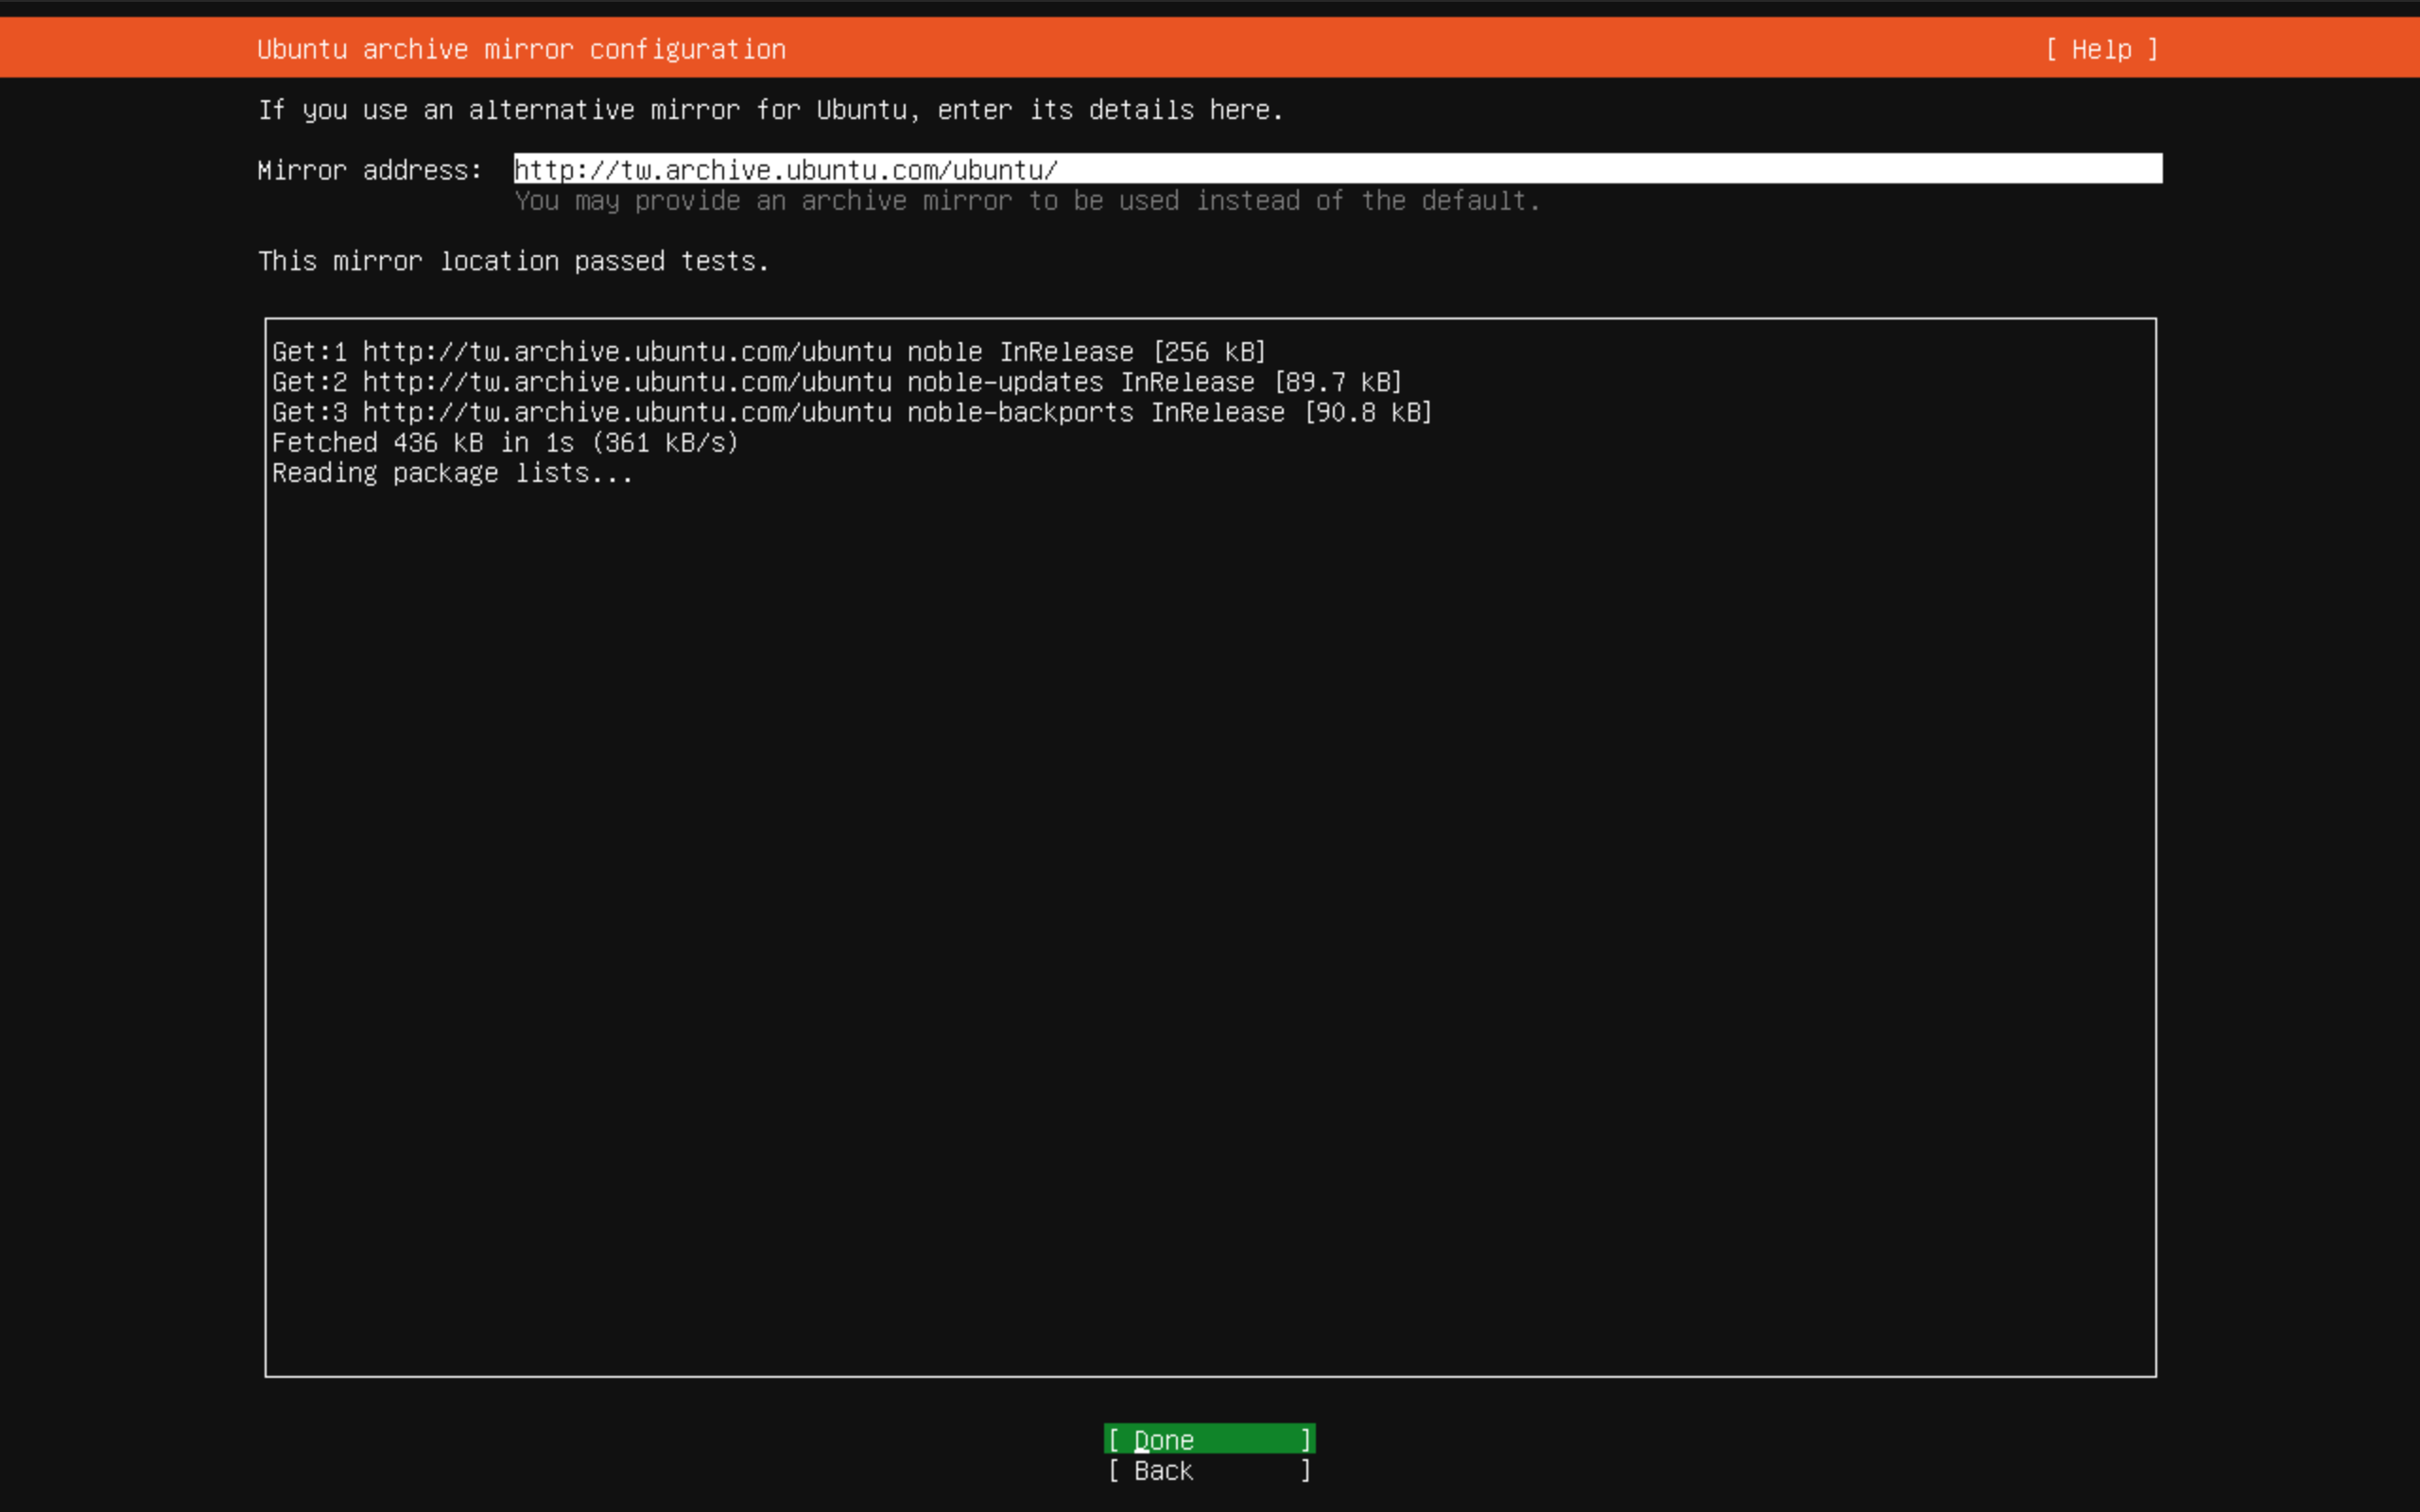
It should choose mirror automatically, if yes, next
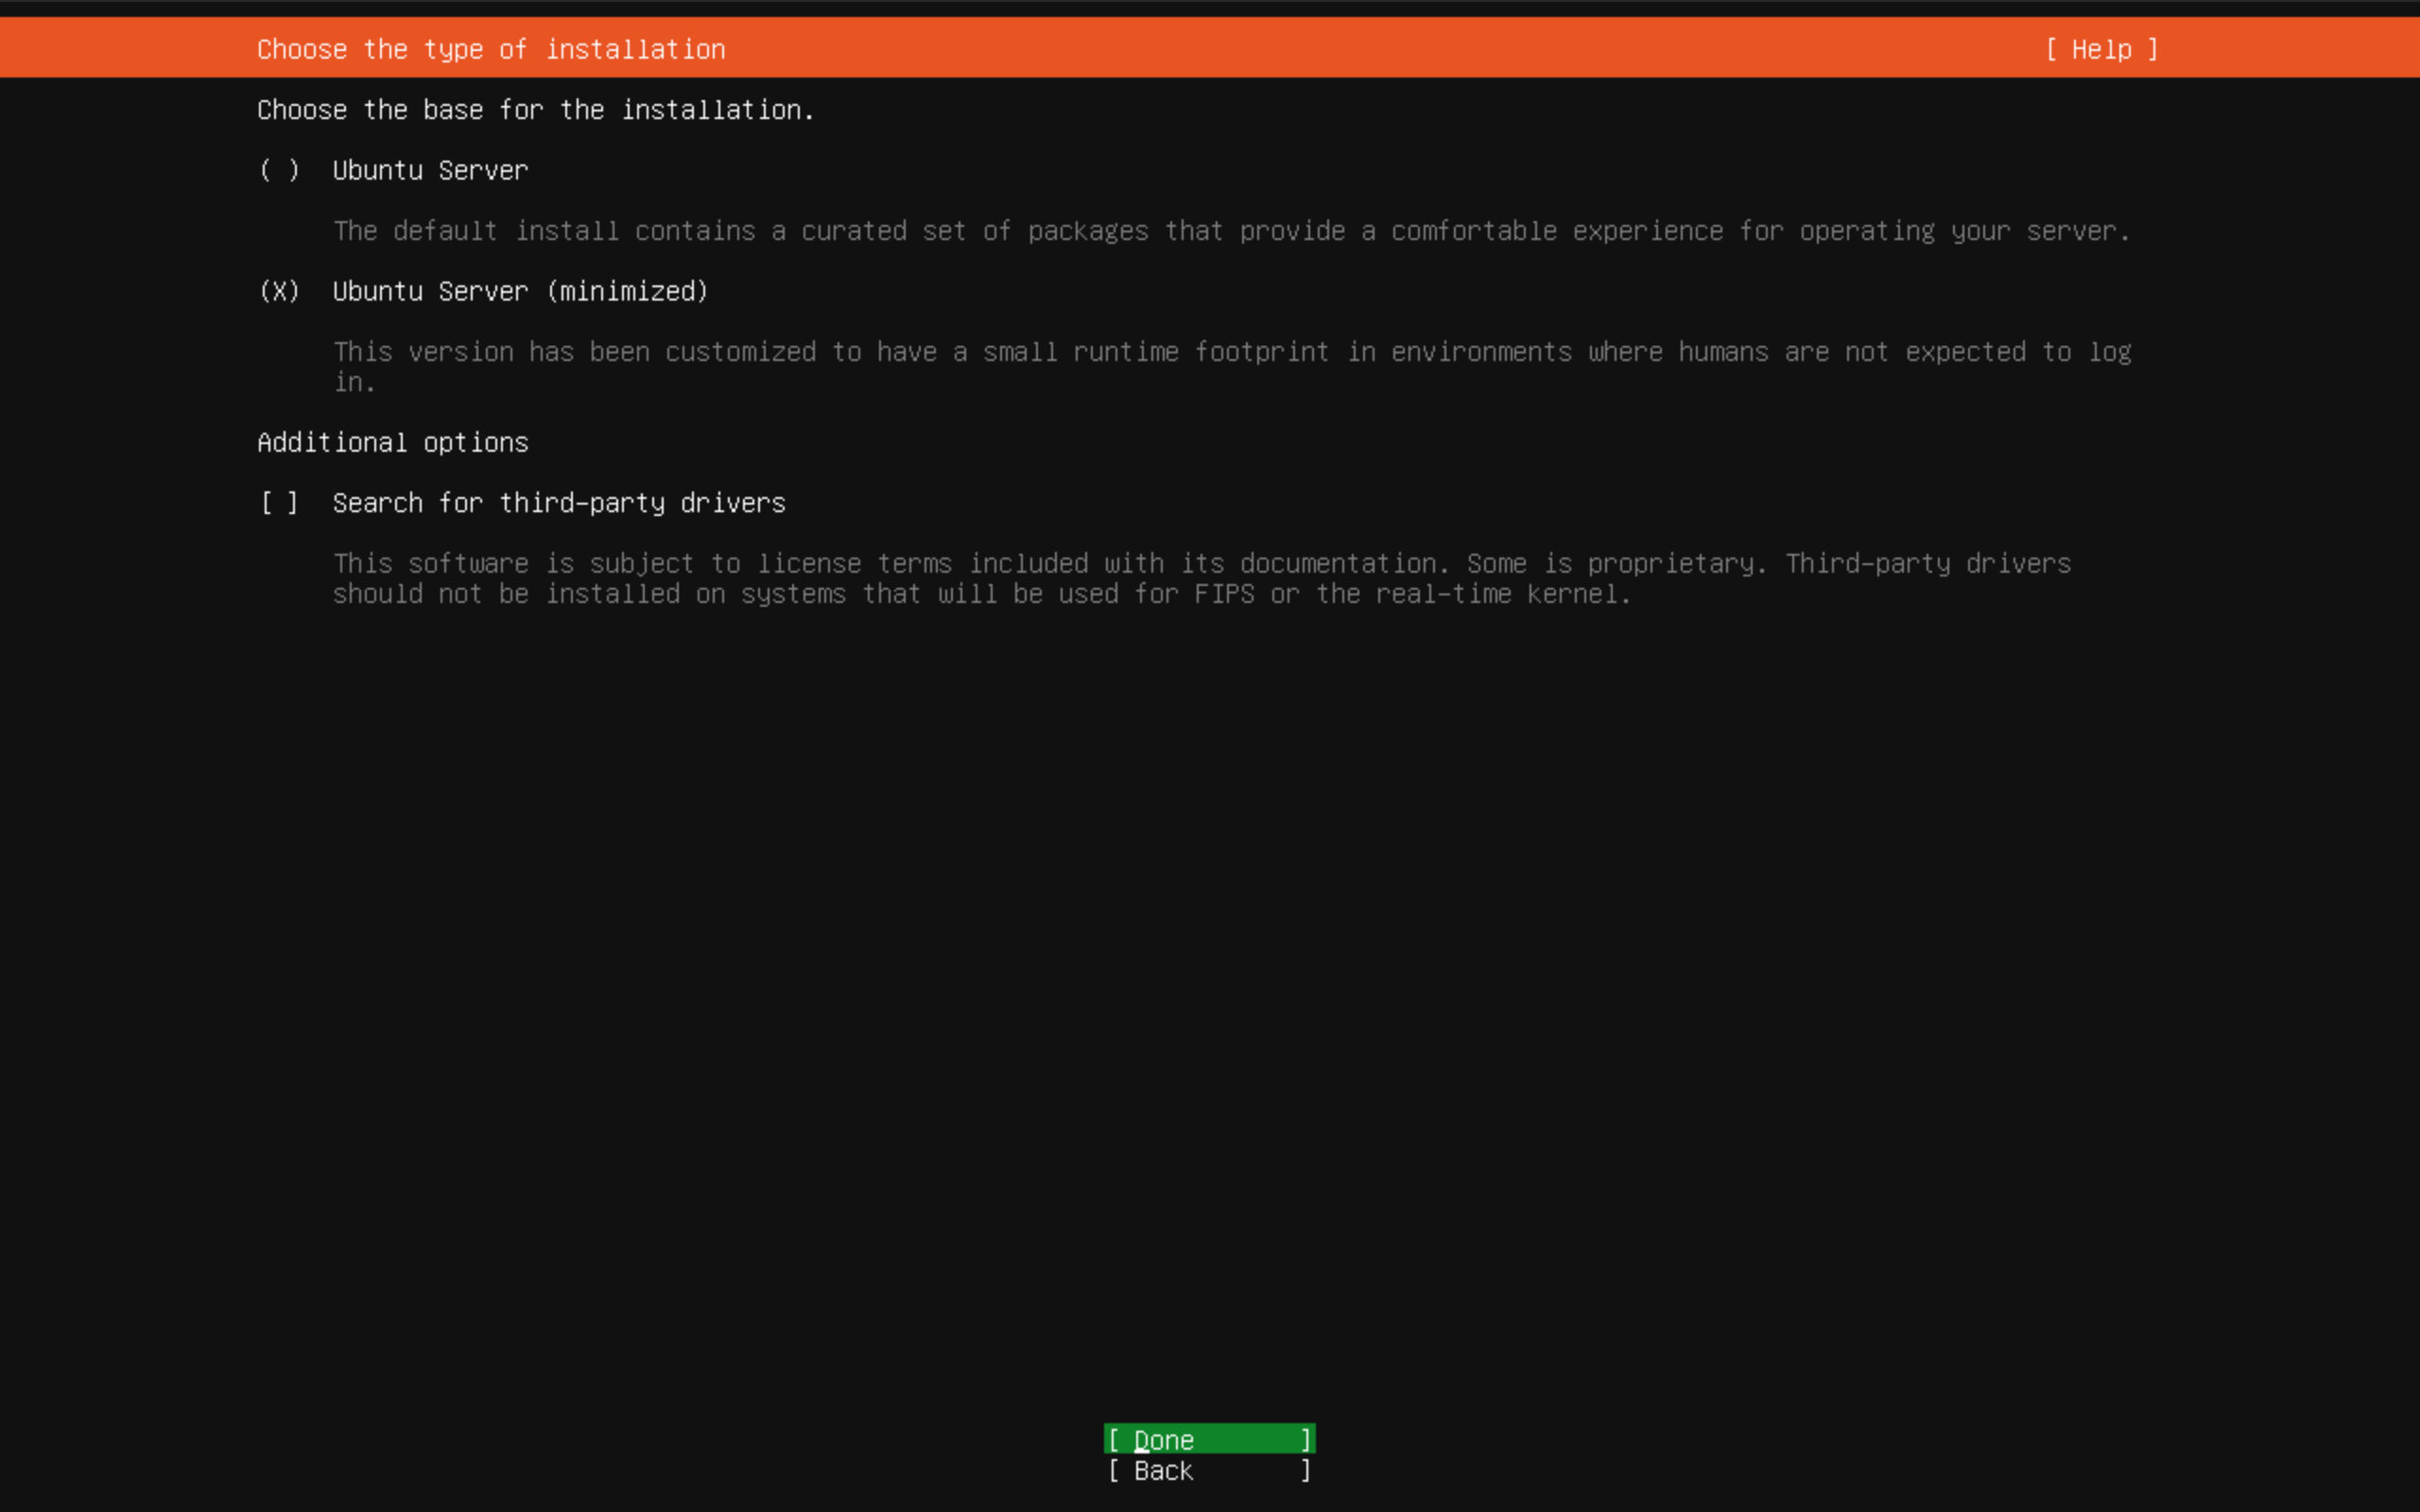
Choose minimized to reduce memory and disk usage
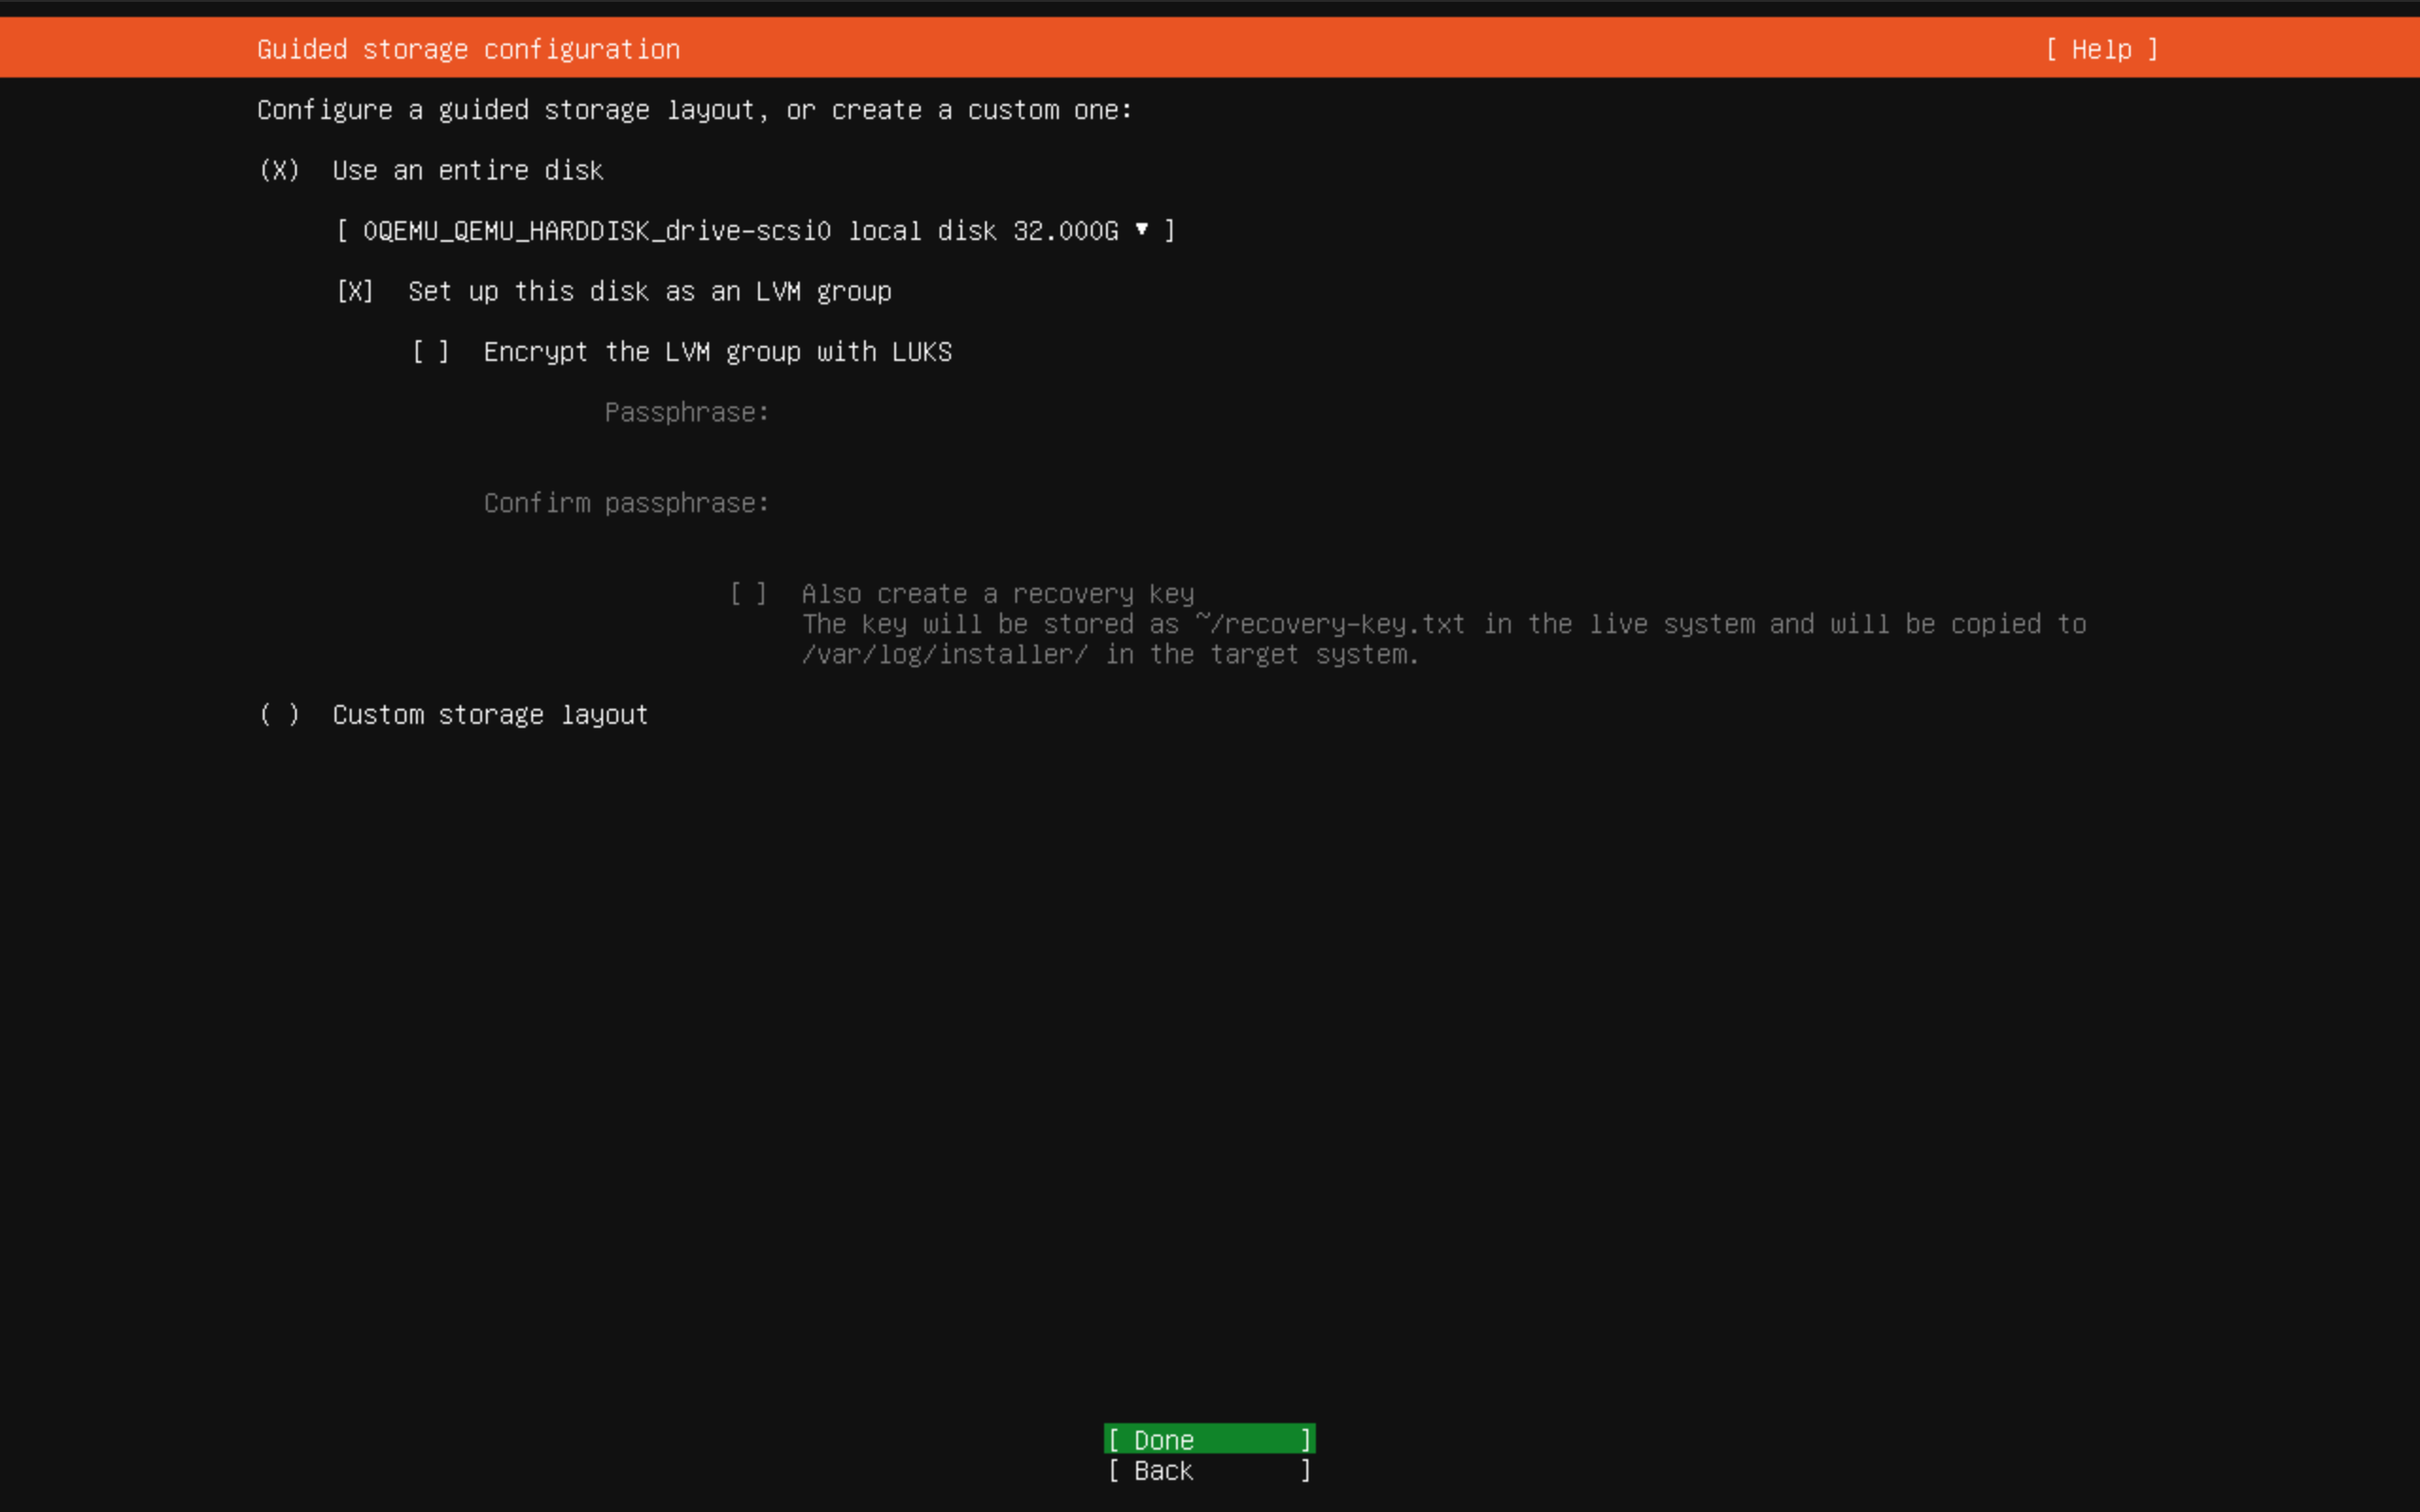
Use entire disk
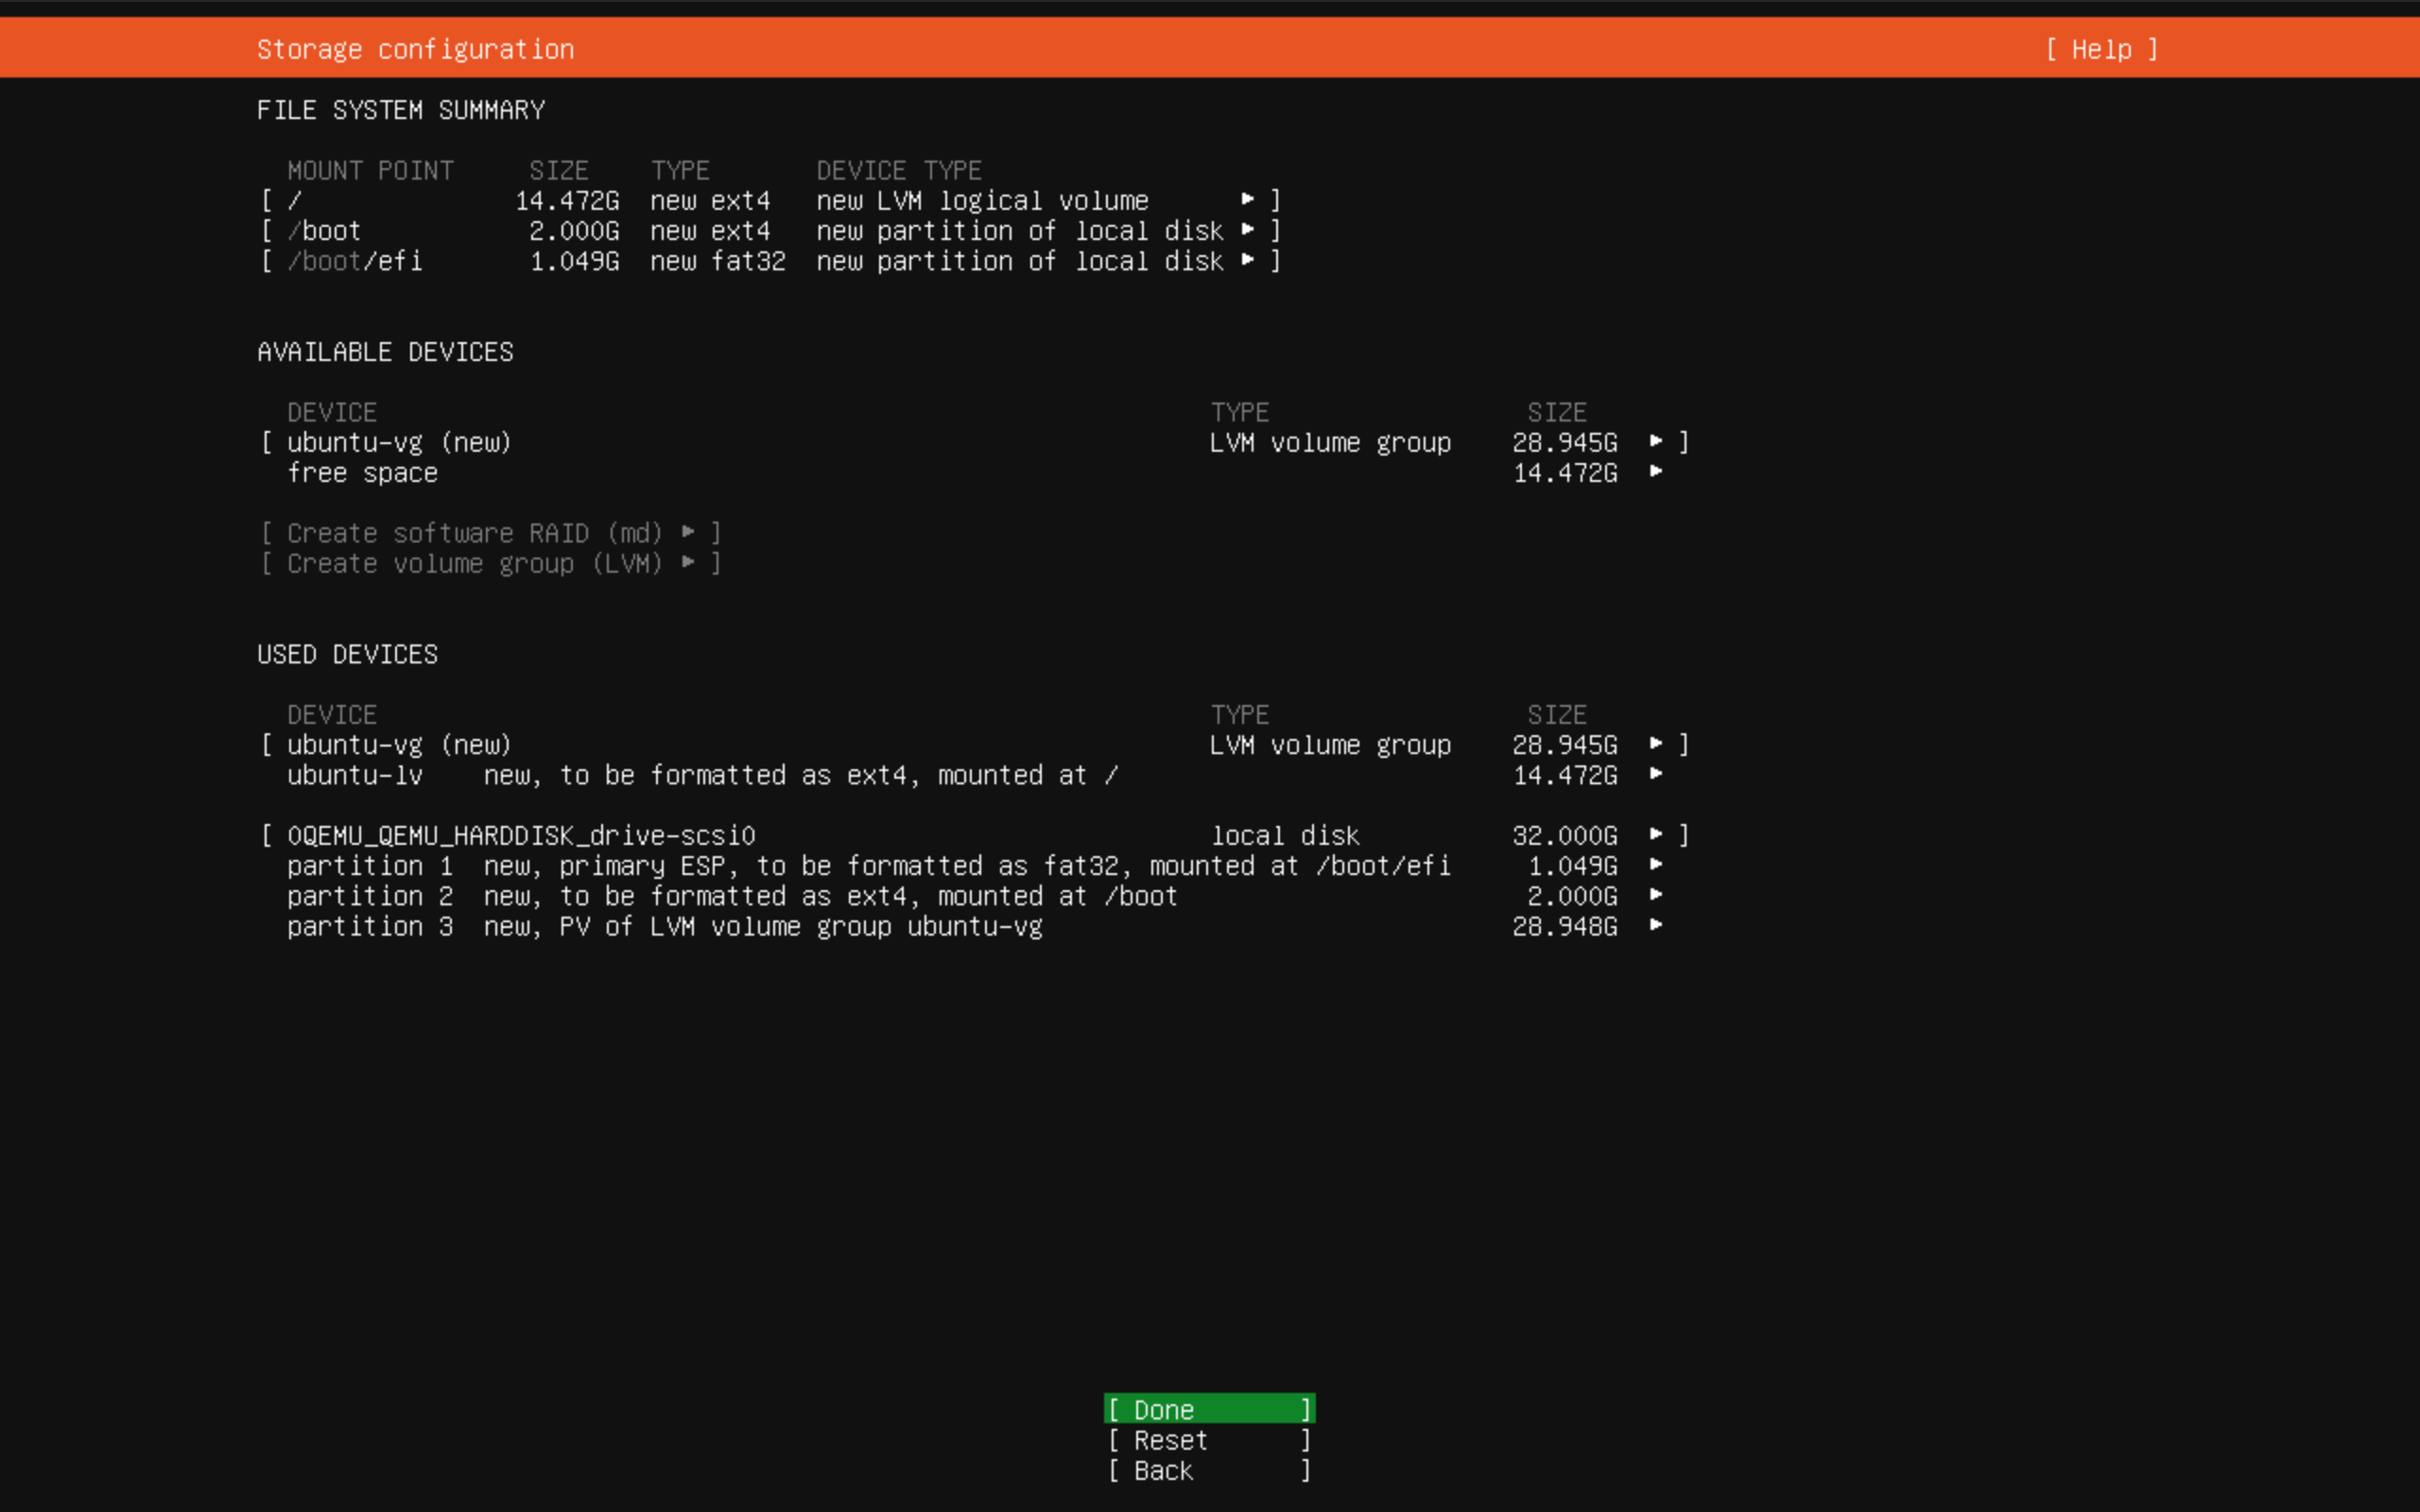
Confirm your disk options
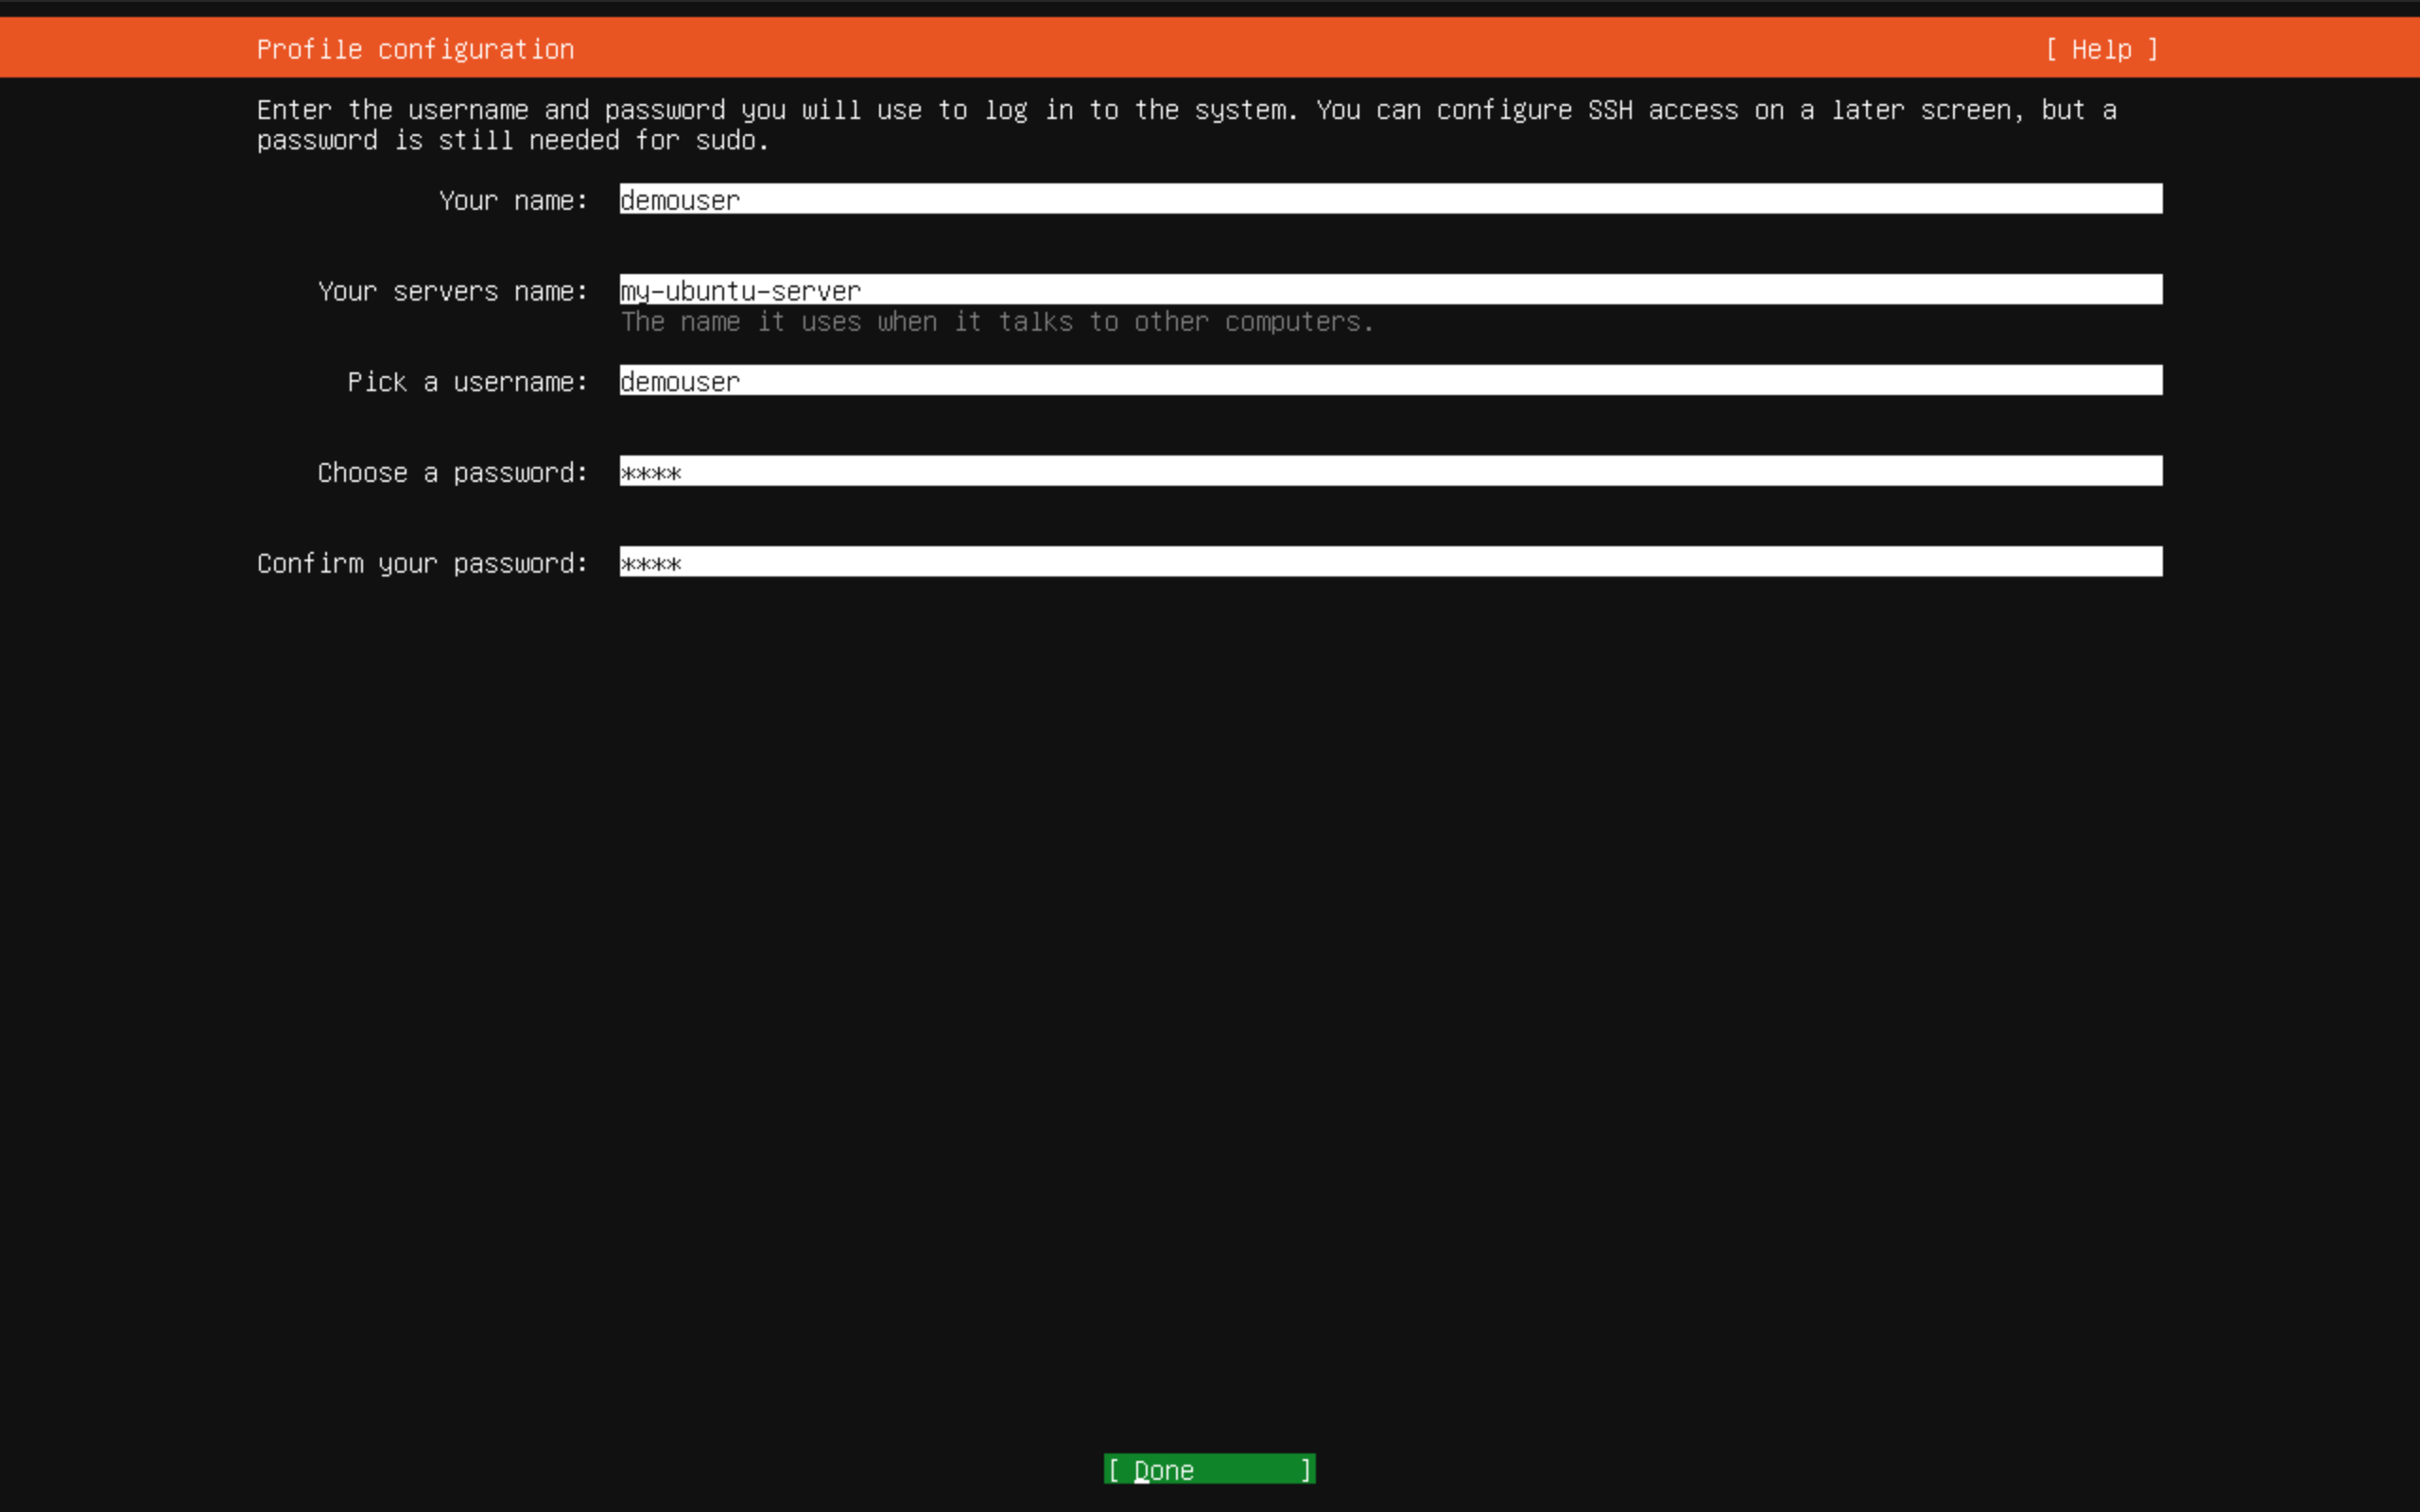
Set your server name, username, and password
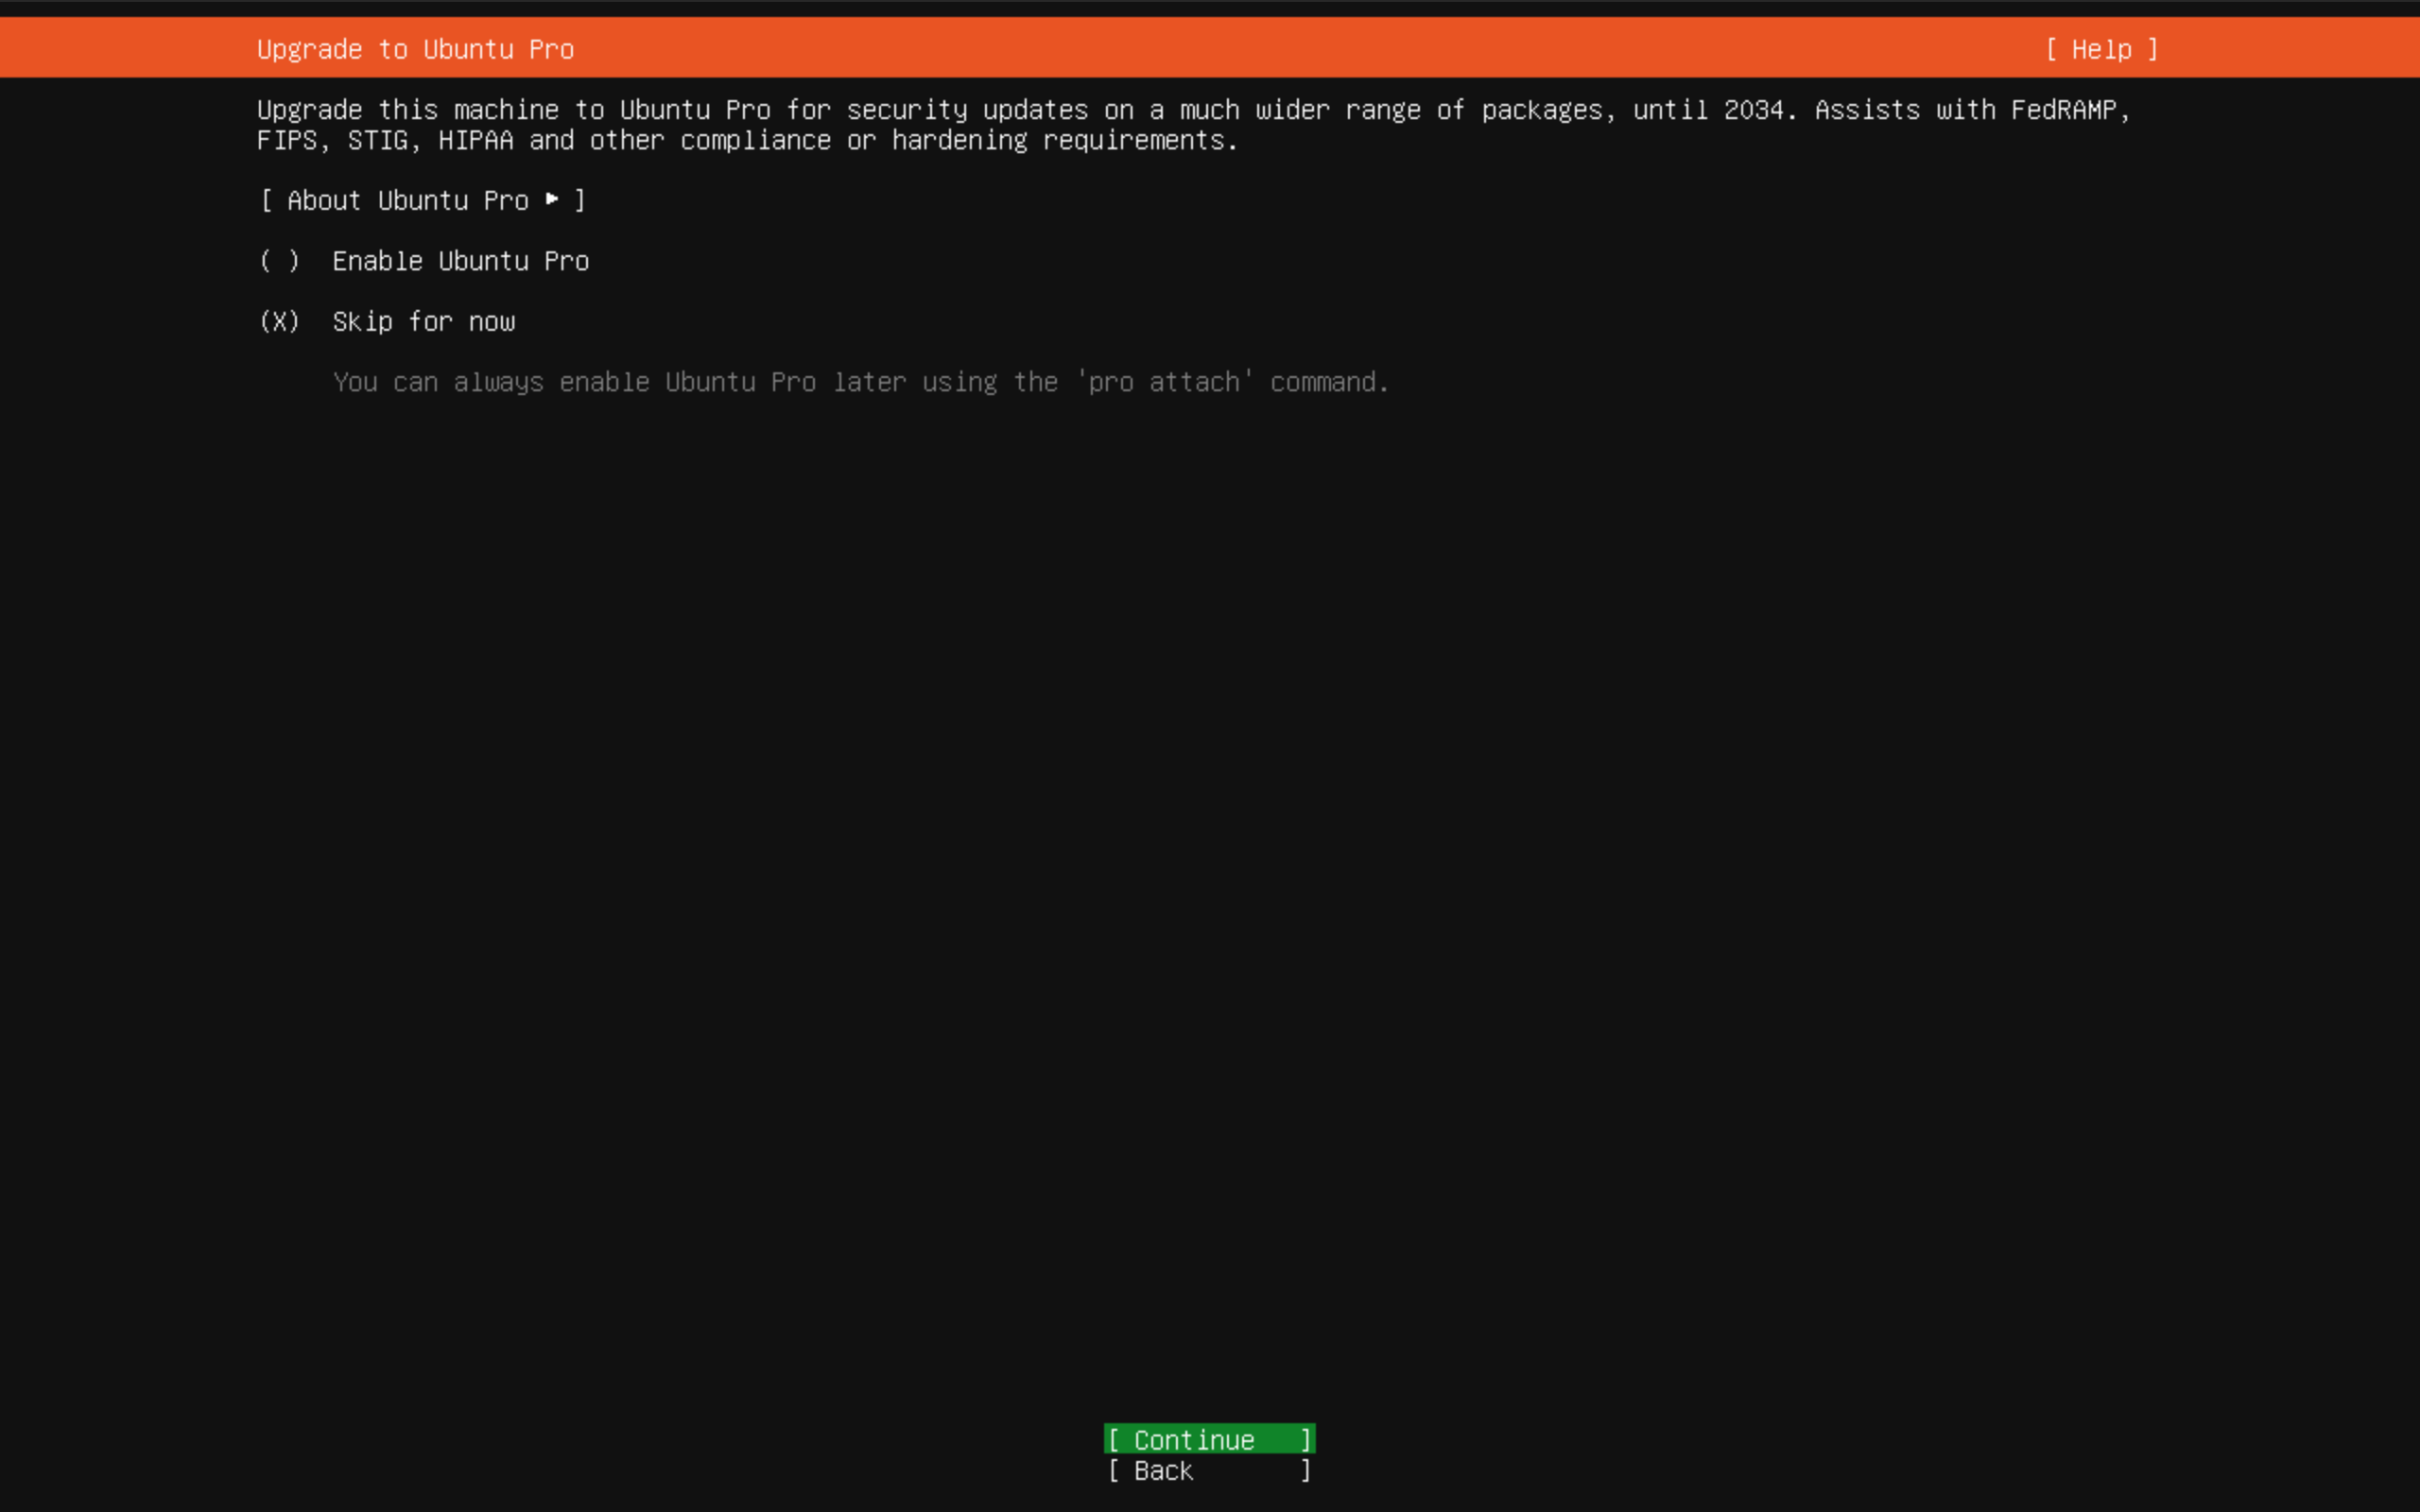
Skip Ubuntu Pro register, or you could do it right now
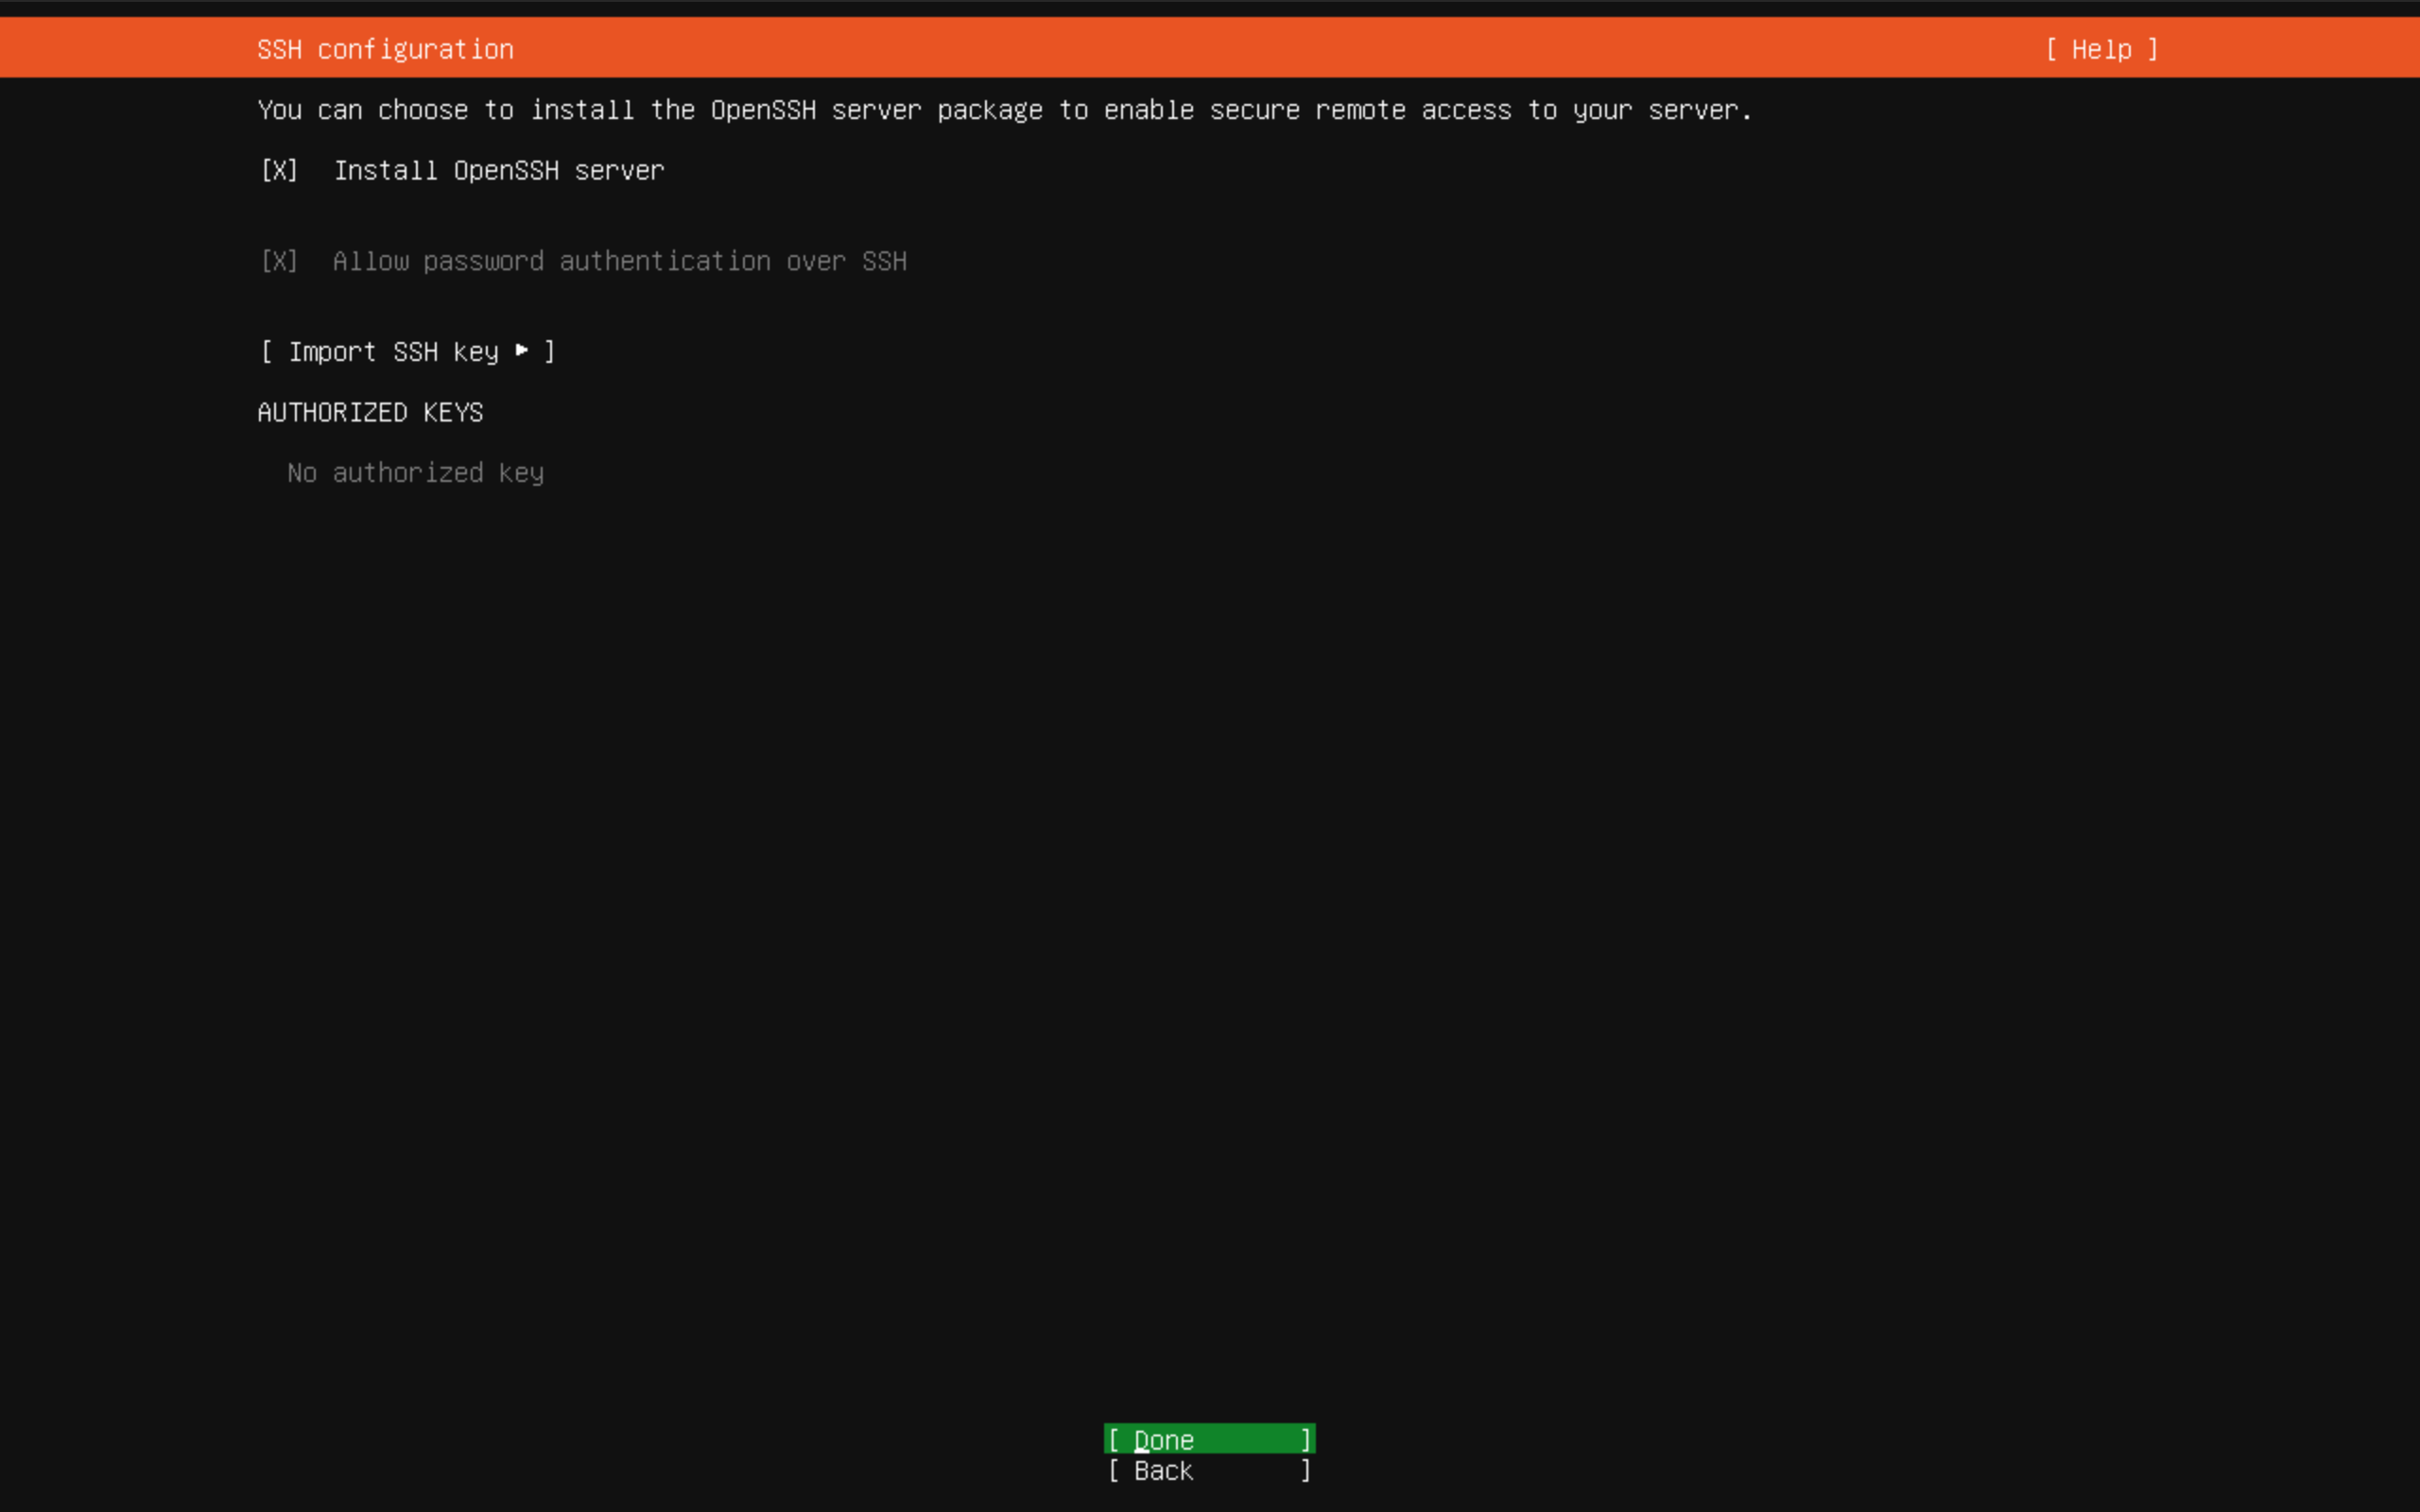
We need to install OpenSSH
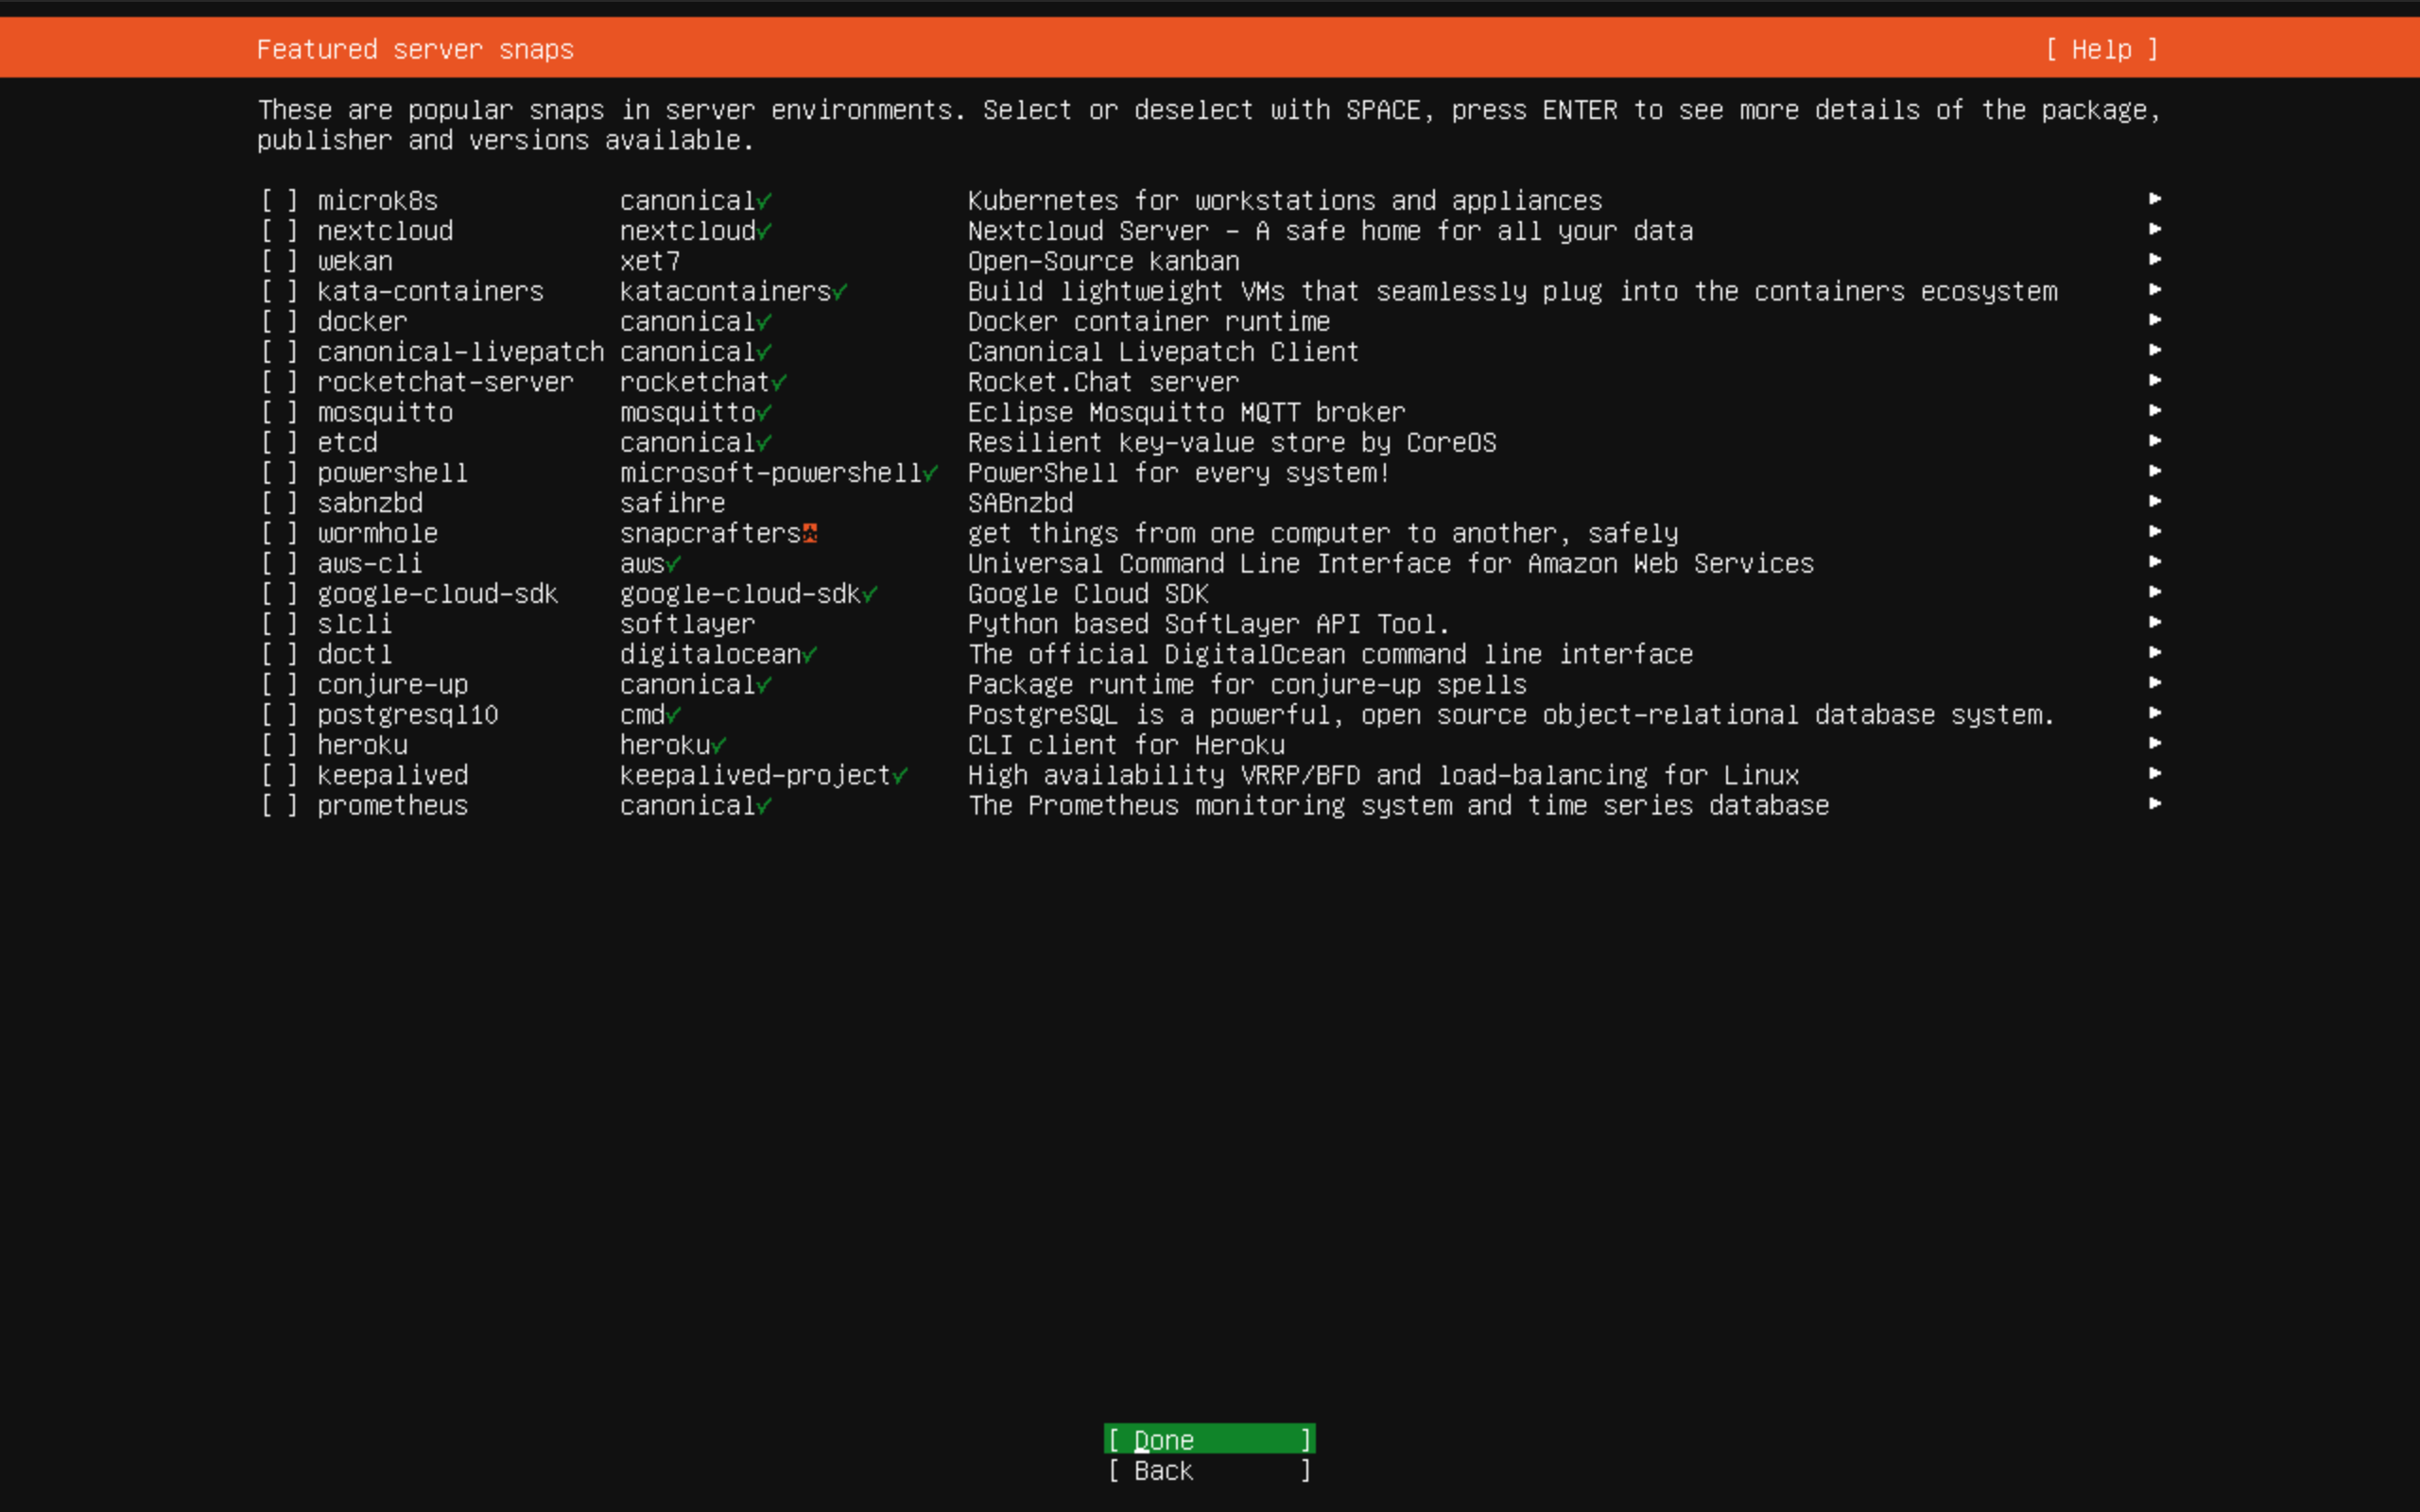
Skip anything at this page, because it is snap package
After installed it may doing auto update, you could let it update, after it done, reboot.
2. Setup Server
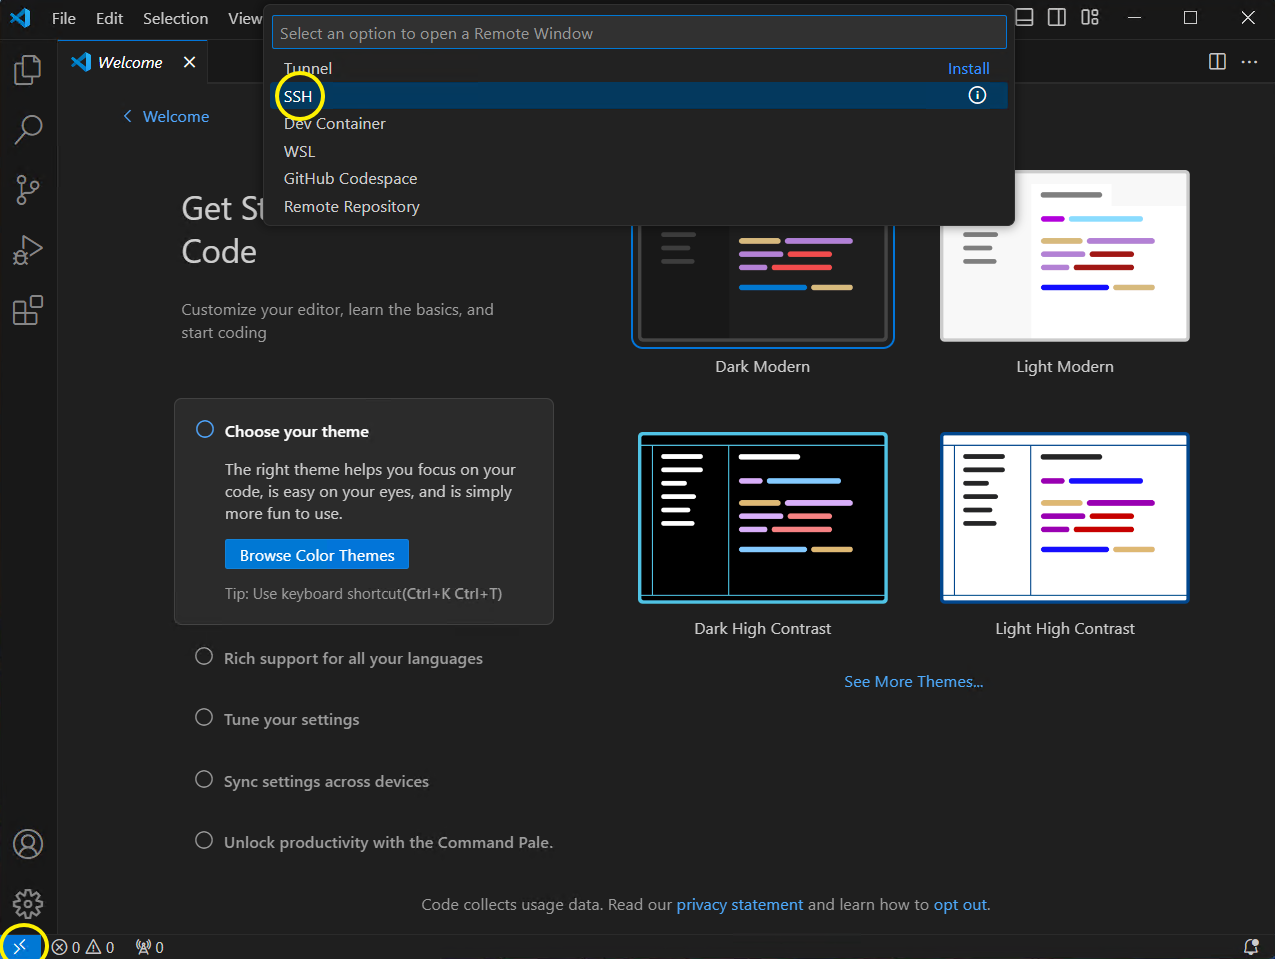
Open VSCode, click button at left corner and select SSH
Enter
username@IP, for exampledemouser@192.168.2.98, and thenEnter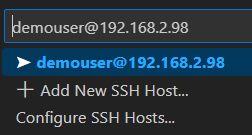
Select your system
LinuxConfirm the fingerprint of the server
Enter the password of your user
Open your home folder
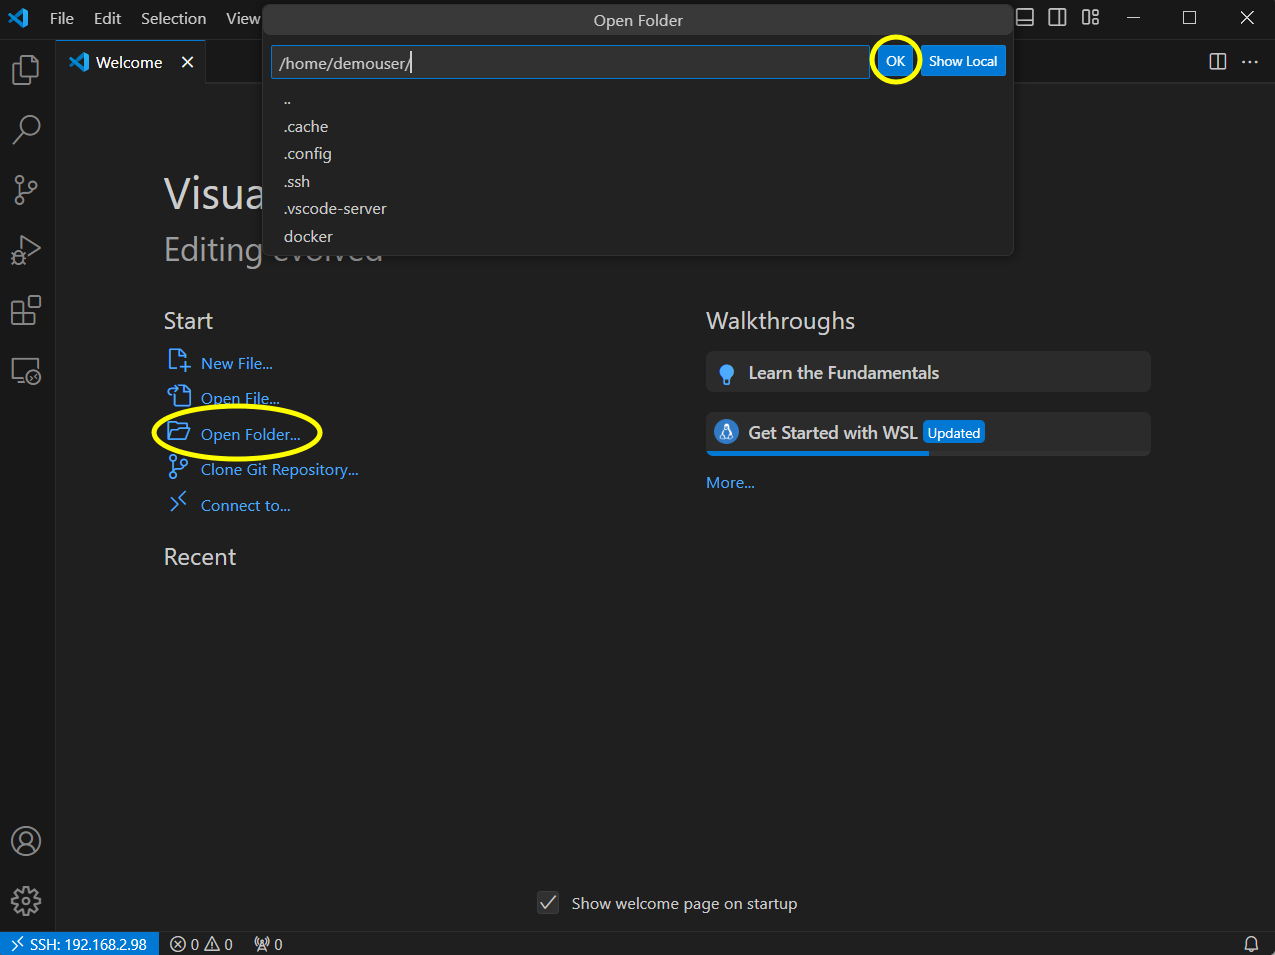
Click
Yes, I trust the authorsOpen terminal
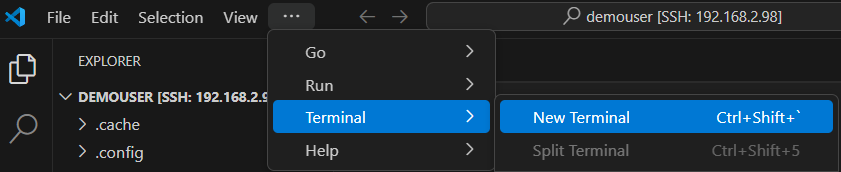
Install packages
sudo apt install docker.io docker-compose python3-pip curl git vim nano zram-config -y
- Disable disk swap
Check if swap file exists
sudo vim /etc/fstab
If you find anything similar to:
/swap.img none swap sw 0 0
If not: Type :qa! then Enter to exit. And skip to step 11
If yes: Press i to activate edit mode, comment that line with # like this:
#/swap.img none swap sw 0 0
Press Esc and type :wq then Enter to save the changes.
- Adjust ZRAM size
ZRAM means “compress ram”, it is more efficient and won’t occupy disk space.
sudo vim /usr/bin/init-zram-swapping
Find the line with
mem=$((totalmem / 2 * 1024))
And adjust it to:
mem=$((totalmem * 2 * 1024))
Save and exit
- Set your timezone
Find your timezone at Wikipedia
sudo timedatectl set-timezone "Asia/Taipei"
- Reboot
sudo reboot
After reboot, reconnect with your VSCode and open terminal.
- Delete
swap.img
(Skip if you don’t have it.)
We’ve replaced swap file with ZRAM, now we can delete swap.img now, replace swap.img with others if your name is different.
sudo rm /swap.img
3. Setup RustDesk Server
- Run this command to create required folders once:
cd ~ && mkdir -p docker/rustdesk-server/data
- Create
compose.yml
Right click rustdesk-server folder, create new file named compose.yml.
Paste this to compose.yml.
You could modify the line with hbbs to your server’s LAN IP temporarily (If you’re deploying in your LAN) to ensure it is working. After you verify your server is working, you should change back.
Having problem after you changed LAN IP to domain? You should check this article.
services:
  hbbs:
    container_name: hbbs
    image: rustdesk/rustdesk-server:latest
    command: hbbs
    volumes:
      - ./data:/root
    network_mode: host
    depends_on:
      - hbbr
    restart: always

  hbbr:
    container_name: hbbr
    image: rustdesk/rustdesk-server:latest
    command: hbbr
    volumes:
      - ./data:/root
    network_mode: host
    restart: always

# Because using docker host mode
# Just in case you forgot the ports:
# 21114 TCP for web console, only available in Pro version
# 21115 TCP for NAT type test
# 21116 TCP TCP hole punching
# 21116 UDP heartbeat/ID server
# 21117 TCP relay
# 21118/21119 TCP for web socket if you want to run web client
Check here to set up your client. Only ID server and Key is needed. Relay server isn’t needed because we’ve set it in hbbs, hbbs will provide this information automatically.
- Start the server
cd ~/docker/rustdesk-server
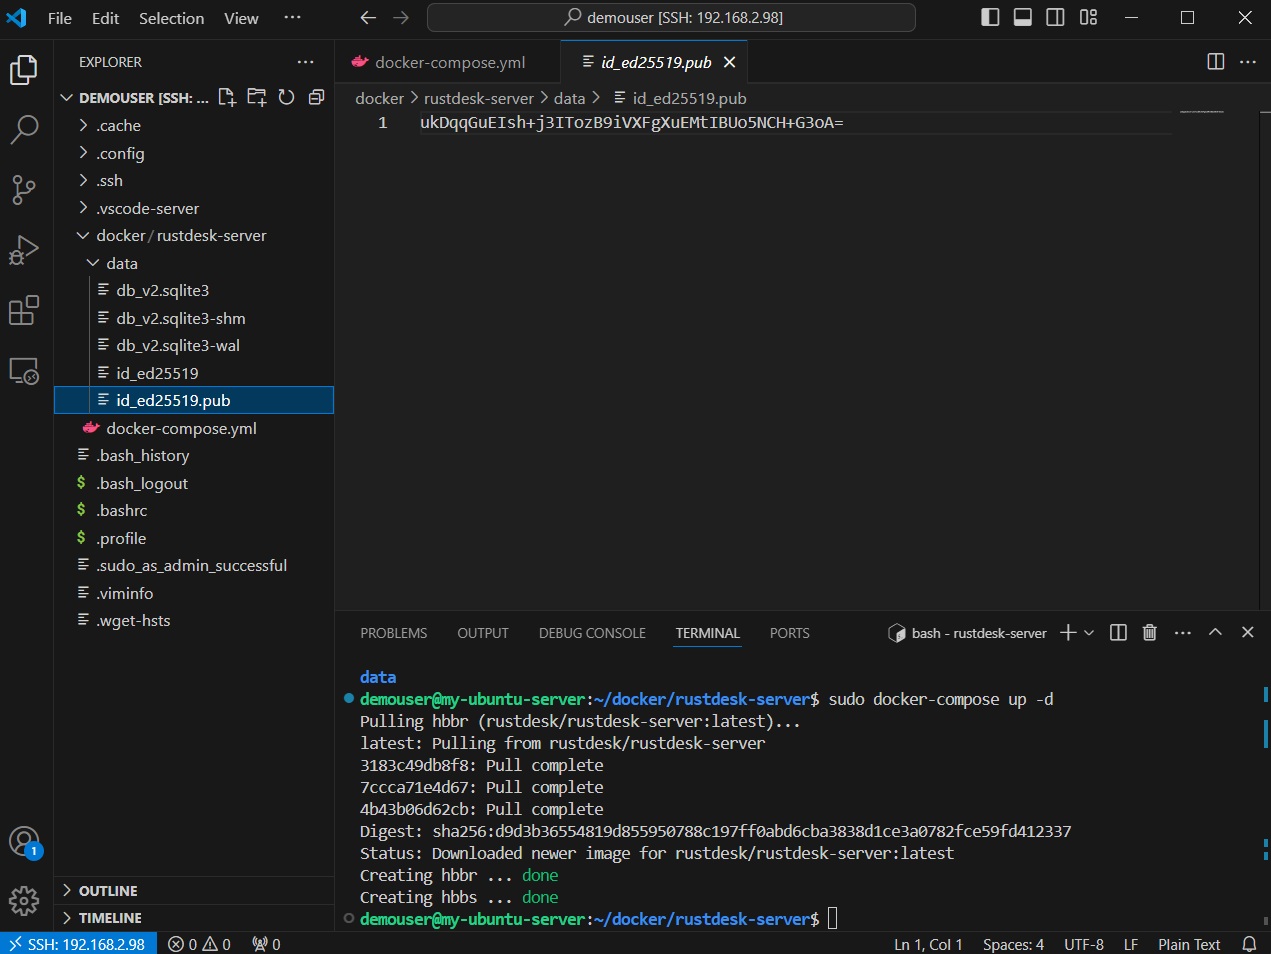
sudo docker-compose up -d
- Check it is working
In your VSCode, you should see id_ed25519, id_ed25519.pub on your docker/rustdesk-server/data folder. You could click id_ed25519.pub, this is the public key that you need for your RustDesk client.
The public key will looks like this:
4. Set port forwarding on your router/VPS
Go to your router’s admin webpage, find anything related to Port forwarding, it should appear in WAN or Firewall settings.
If you still can’t find the setting, Google search {Router brand} + port forwarding or {Router model} + port forwarding. If this device is from your ISP, ask them.
If you’re using VPS, Google search {VPS vendor name} + firewall port to find the specific procedure for your VPS.
Open these required ports:
21114TCP for web console, only available in Pro version21115TCP for NAT type test21116TCP TCP hole punching21116UDP heartbeat/ID server21117TCP relay21118/21119TCP for web socket if you want to run web client
5. Some basics
- How to apply the settings after you modified
compose.yml?
Run this again:
sudo docker-compose up -d
- How to stop and delete the container?
(This won’t clear your data)
sudo docker-compose down
- How to backup the server?
First, run sudo docker-compose down, than download it.
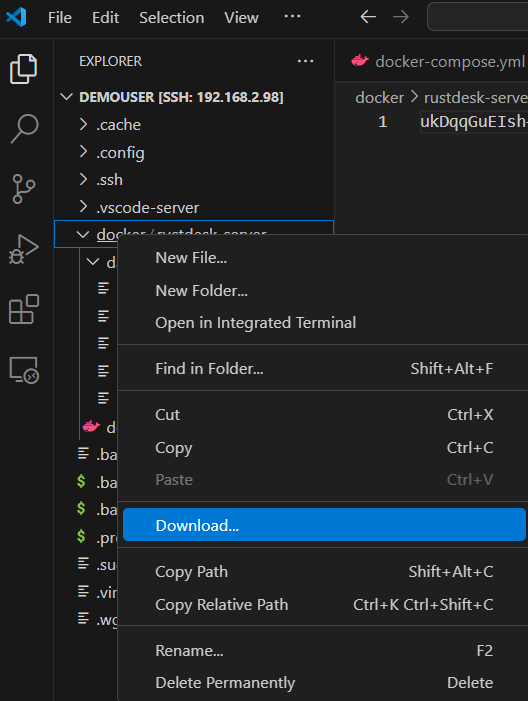
Drag and drop them to VSCode Explorer if you want to upload it.
- How to update the container automatically?
Use Watchtower.
Create folder and put the compose.yml in it.
mkdir ~/docker/watchtower
Change your timezone with yours at TZ.
If you didn’t specify any container name, it will update all of your containers.
At the following command, it will run everyday at 3 AM, for more details, check their documentation.
version: "3"
services:
  watchtower:
    image: containrrr/watchtower:latest
    container_name: watchtower
    network_mode: bridge
    volumes:
      - /var/run/docker.sock:/var/run/docker.sock
    environment:
      TZ: Asia/Taipei
    command: --cleanup --schedule "0 0 3 * * *" hbbr hbbs
    restart: always
- How to update Ubuntu system automatically?
By default, Ubuntu will installing security updates automatically, Google search: ubuntu unattended-upgrades or check the file at /etc/apt/apt.conf.d/50unattended-upgrades for more details.